The initiator initiates the document and the document initiation process consists of the following steps:
To initiate a document, follow these steps:
1.On the Explorer, click DMS click Transaction, and then click Document Initiation. The Document Initiation screen appears as shown in the figure:
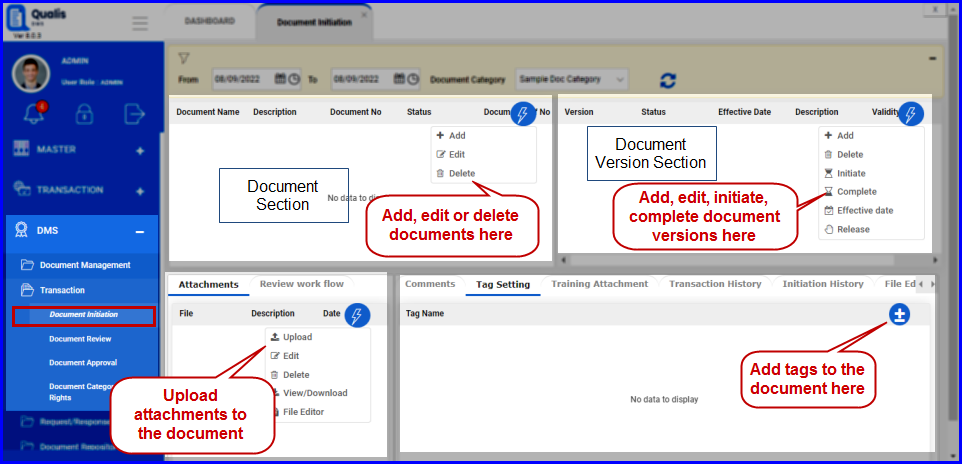
FIGURE: - Document Initiation Screen
To add a document, follow these steps:
2.In the Document Initiation screen, In the Document Section click action menu and then click Add. The Add Document screen appears as shown in the figure:
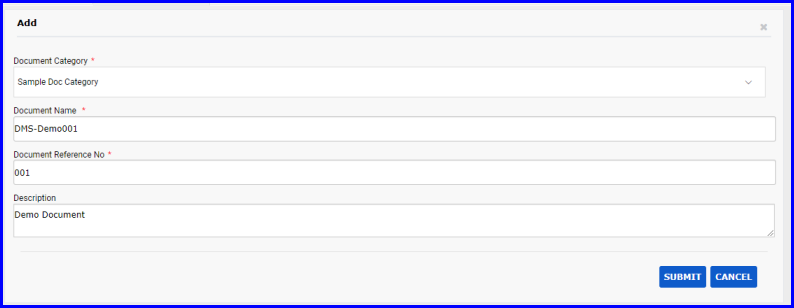
FIGURE: - Add Document Screen
3.In the Document Category field, select document category to add the document.
4.In the Document Name field, type the name of the document you add.
5. In the Document Reference No field, type the reference number for the document.
6.In the Description field, type description if an
7.Click SUBMIT. You can see the document you added in the document section listed as shown in the figure:
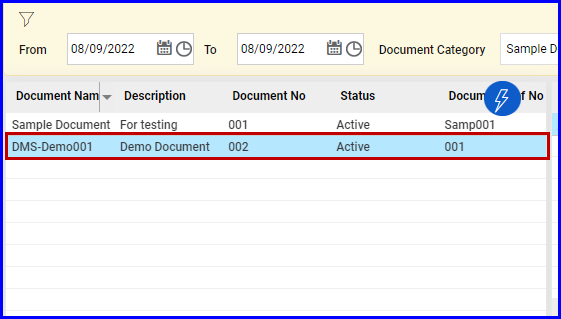
FIGURE: - Document Added
Once you add a document, you must add document version. By default the document version will be in the “draft” status until it is changed manually.
To add a version for the document, follow these steps:.
8.In the Document Initiation screen, In the Document Section select the document to add a version.:
9.In the Document Version Section, click action menu and then click Add as shown in the figure:
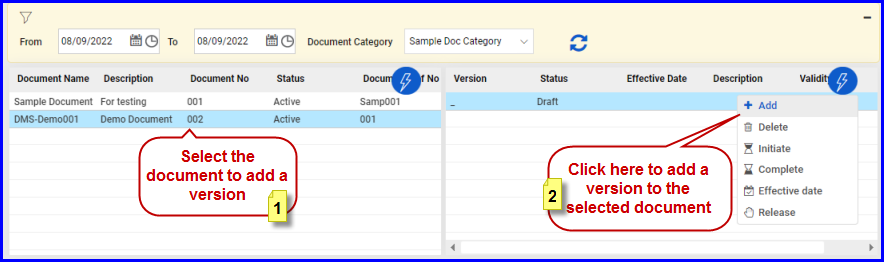
FIGURE: - Adding a Document Version
10.In the confirmation dialog click OK. A version of the document is added and appears in the ‘Draft’ status as shown in the figure:
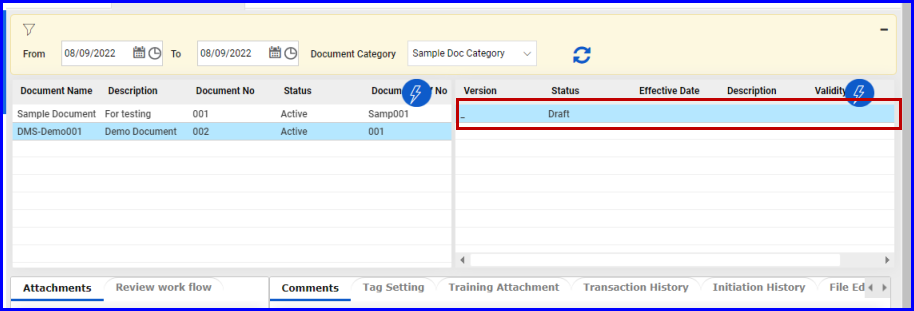
FIGURE: - Document Version Added
You can add or remove users to the review workflow until the document is initiated. Once the document is initiated, you cannot modify the list of users in the workflow.
To add/remove users to the review workflow, follow these steps:
In the Document Initiation screen, In the Review workflow tab, click 
2.For more details on adding and removing roles/users to review workflow click here.
You must add the document as attachment in the Document Initiation screen. Documents with Docx and PDF extension can be added.
To add attachment, follow these steps:
3.In the Document Initiation screen, In the Document Version Section, select the document version to add attachment.
4.In the Attachments tab, click action menu and then click Upload as shown in the figure
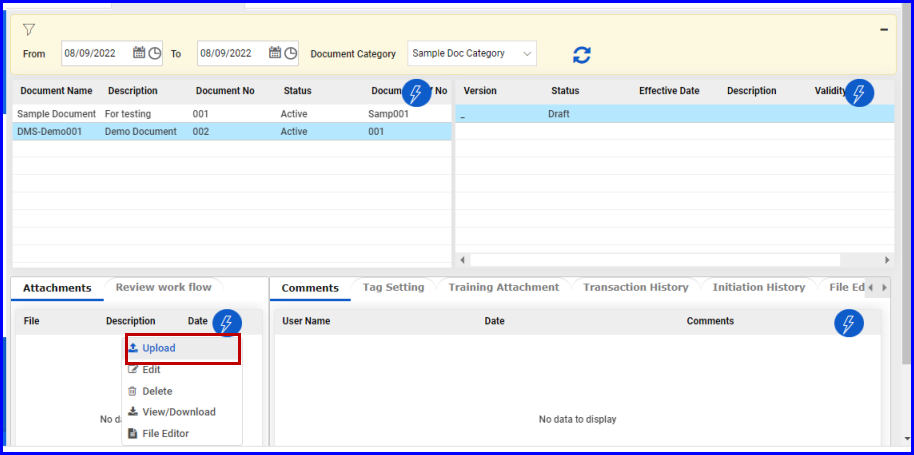
FIGURE: - Adding Attachments
The Attachment dialog appears as shown in the figure:
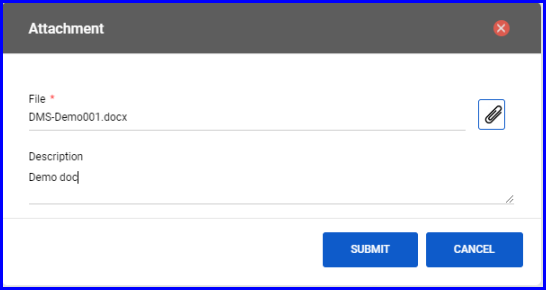
FIGURE: - File Attachment Dialog
5.In the File field, click.  In the file Open dialog, locate the file and then click Open.
6.In the Description field, type description about the file.
7.Click SUBMIT. The attached file is listed as shown in the figure
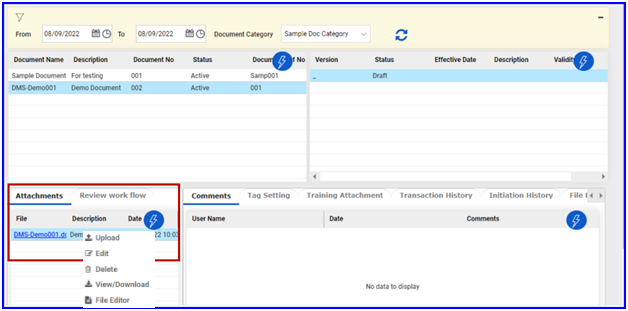
FIGURE: - File Attached
8.Click action menu and then click File Editor.
Note: If some other user is using i.e. opened / viewing the same file, then you will receive an alert saying the file is opened/being used by some other user.
The attached file opens in ONLY OFFICE editor as shown in the figure:
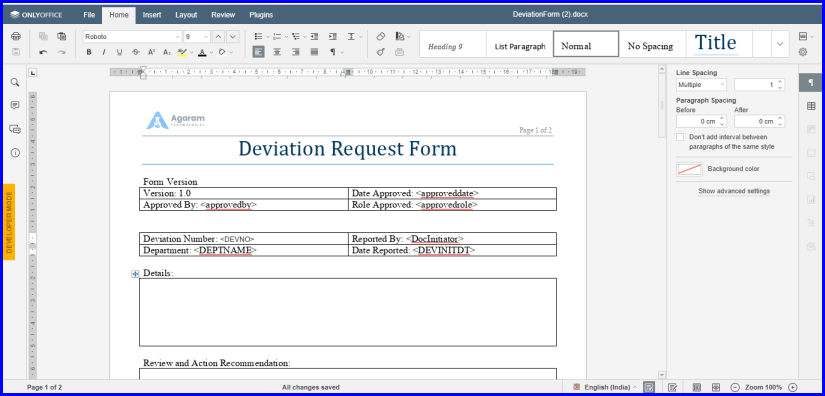
FIGURE: - File Editor
9.Do required edits and save.
You can add attachments in the Training Attachments tab as shown in the figure:
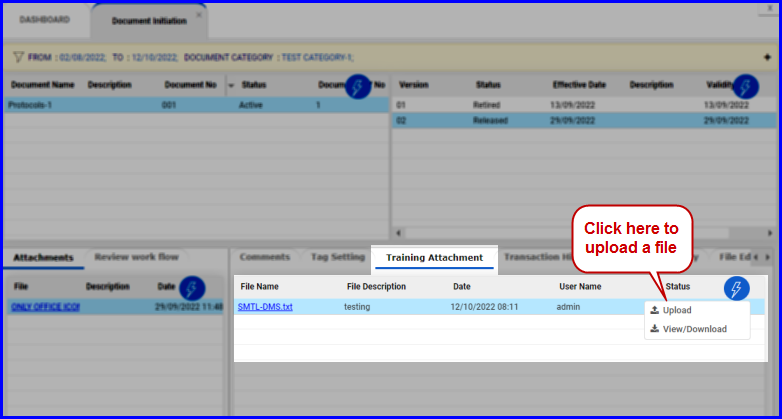
FIGURE: - Uploading Training Attachment
Click View/Download to download the attached document to t he local storage as shown in the figure:
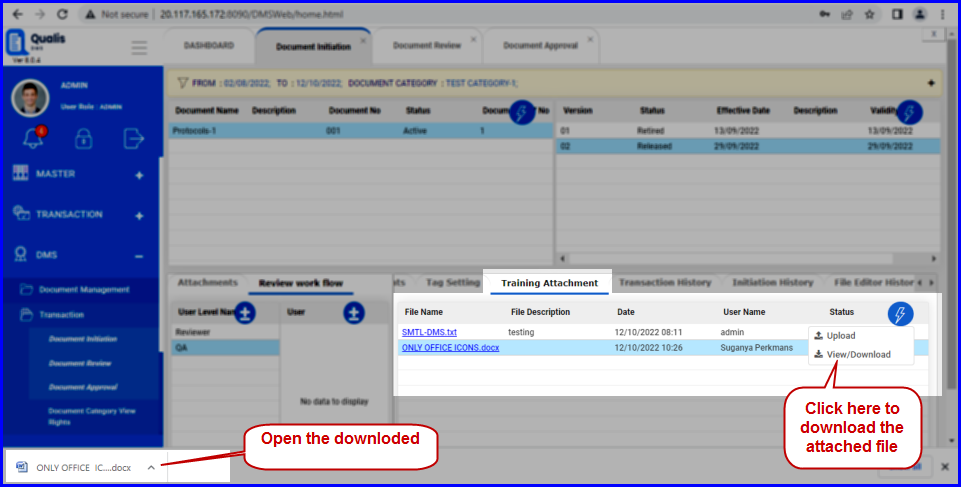
FIGURE: - Downloading Training Attachment
1.In the Attachment tab, select the file you want to add comments.
2.In the Comments tab, click action menu and then click Add. The Add dialog appears as shown in the figure:
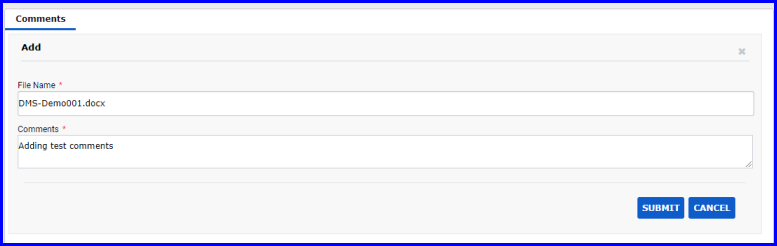
FIGURE: - Add Comments Dialog
3.In the Comments field, type your comments and then click SUBMIT.
4.Now you can see comments you just added appears in the grid.
Note: Before adding tags here in the Tag Setting tab, go to the Tag Master and add all tags relevant to the current document.
To set tags to the document, follow these steps;
5.In the Document Initiation screen, In the Attachment tab select the attached file to add tags. And then go to the Tag Setting tab.
6.In the Tag Setting tab, click. The Add / Remove Tag dialog as shown in the figure:
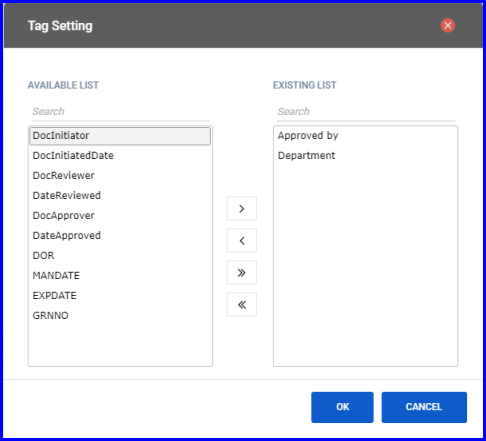
FIGURE: - Add / Remove Tags Dialog
7.You can see the list of available tags in the left side. Select a tag and click  to add them to the document. You can add multiple or all tags to the document as required.
8.Click SUBMIT
The added tags appear in the grid as shown in the figure:
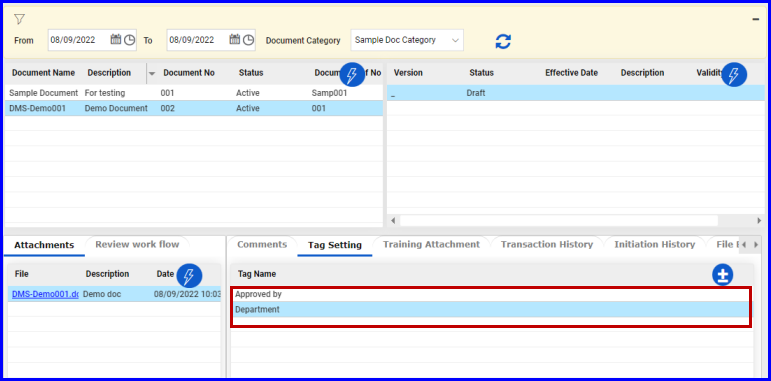
FIGURE: - Tag Setting Tab Showing Tags Added
The document has to be initiated by the initiator to make the document available for review for the reviewer. To initiate the document follow these steps:
In the Document Initiation screen, after you add document, add version, add attachment and set tags, follow these steps to initiate the docume
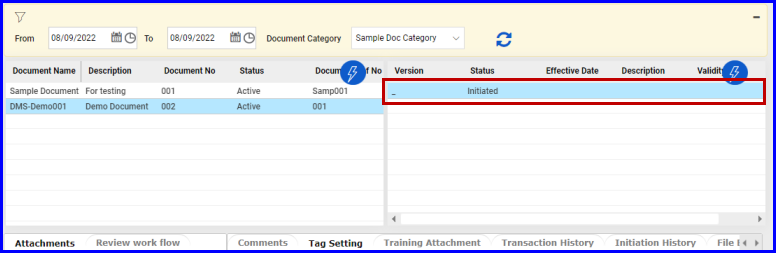
9.Select the document, select the version you want to initiate click action menu and then click Initiate as shown in the figure:
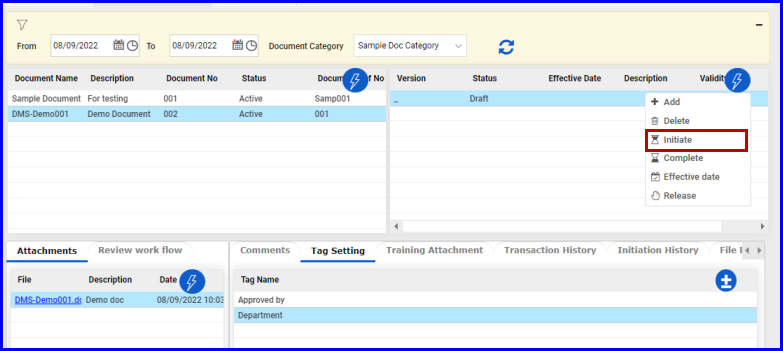
FIGURE: - Initiate Document
10.The document is initiated and the status appears as Initiated as shown in the figure: