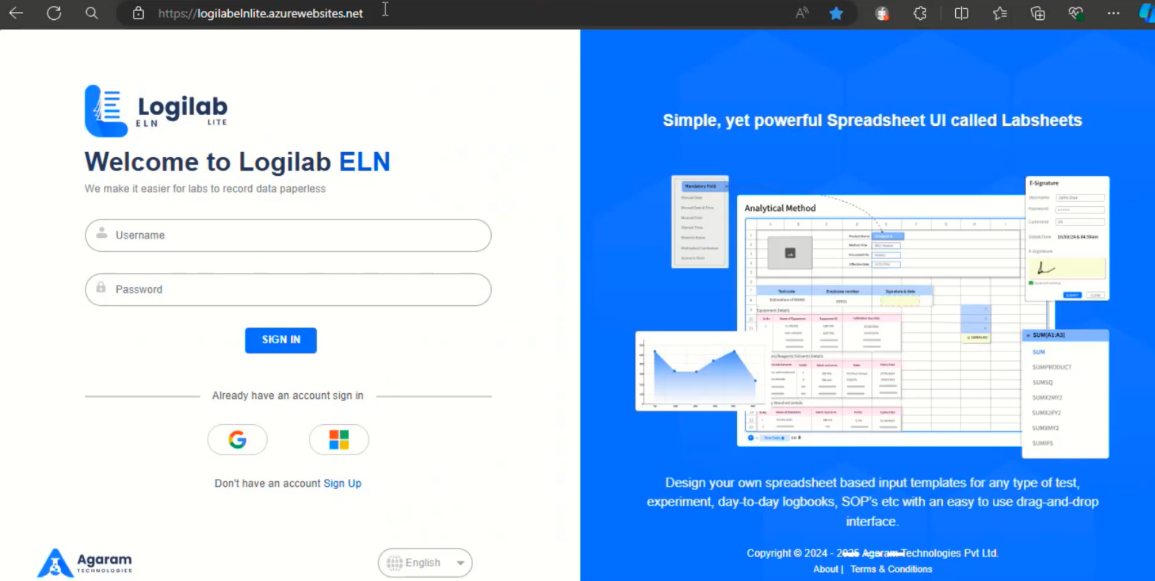
Open browser, in the address bar type “https://logilabelnlite.azurewebsites.net/ and then press ENTER.
The Logilab ELN login screen appears as shown in the figure
You can get started by using your Email ID or Google / Microsoft account to create an account.
To create a new user using email id, click on ‘Sign Up’ link.
https://logilabelnlite.azurewebsites.net/
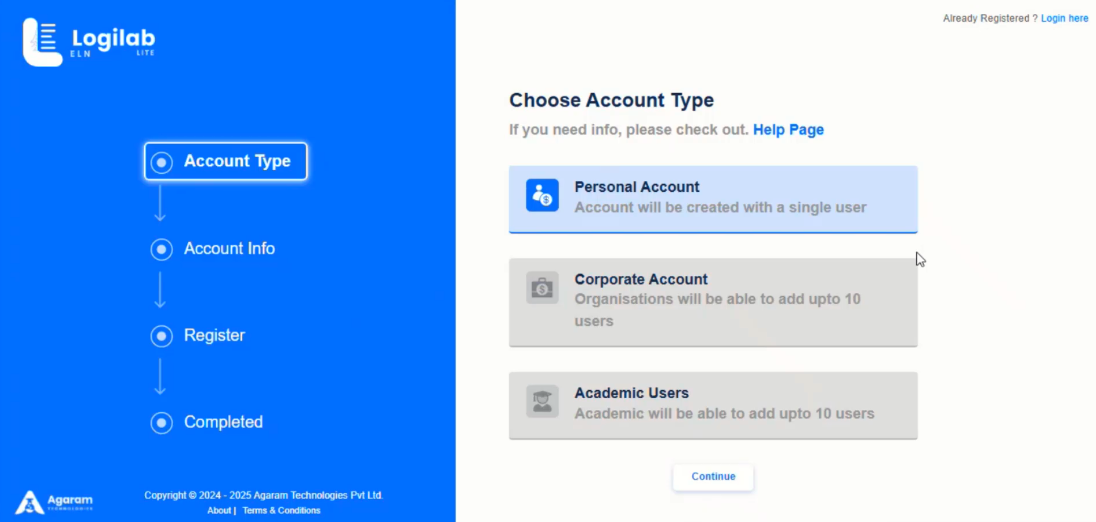
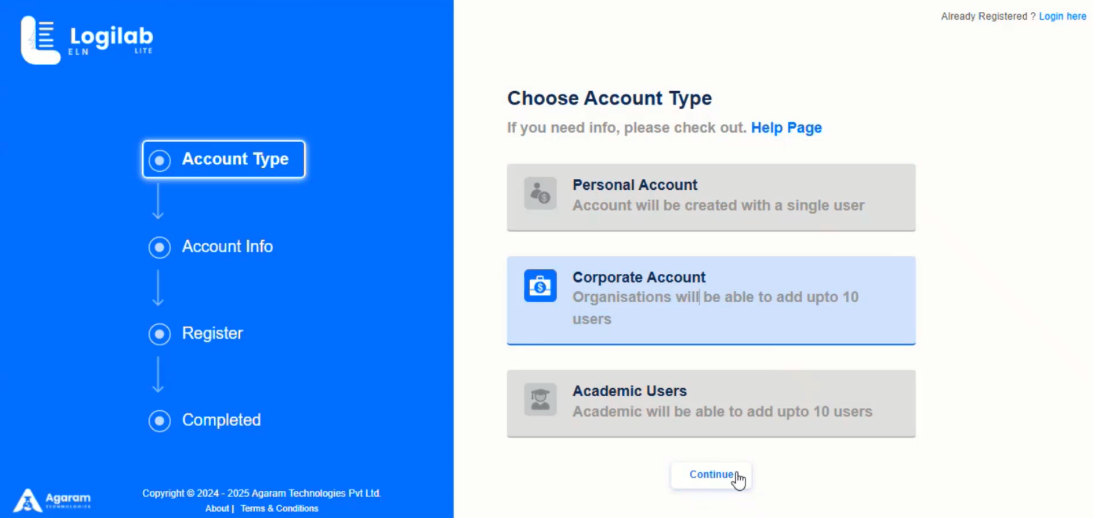
In the ‘Choose Account Type’ page, select the type of account. The following are the types of account:
Personal Account Registration
In ‘Choose Account Type’ page, select ‘Personal Account’.
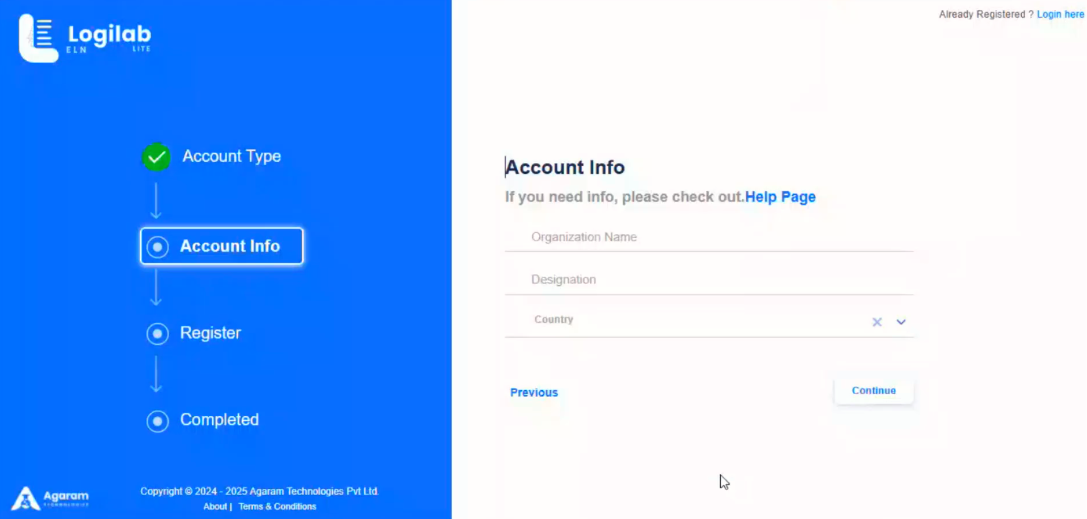
In ‘Account Info’ page, enter the details such as Organization name, Designation and Country and click ‘Continue’ button.
In the ‘Register’ page, enter Name and Email id. Click ‘Register’ button.
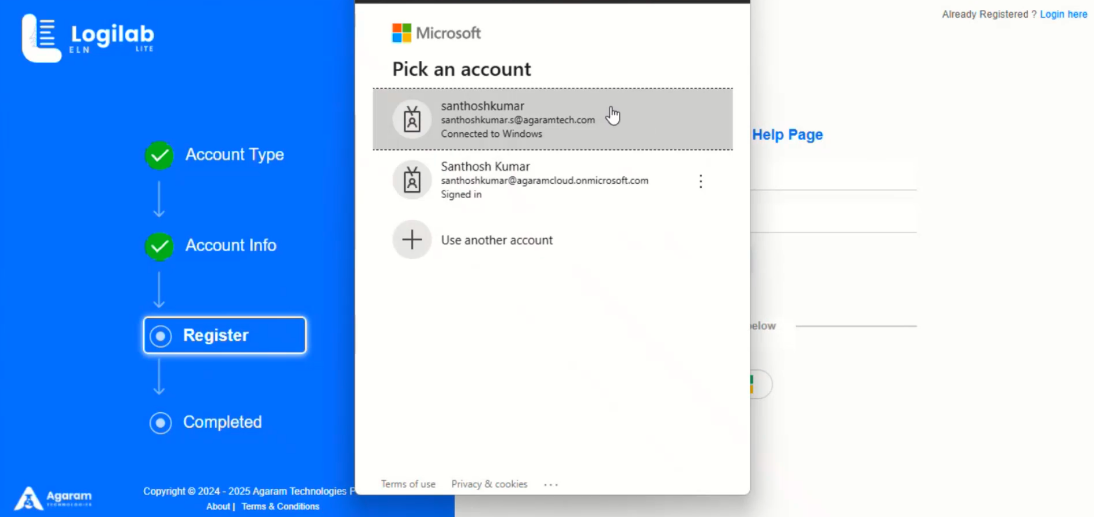
If Google or Microsoft user names need to be used, click on the respective icons instead of clicking ‘Register’ button.
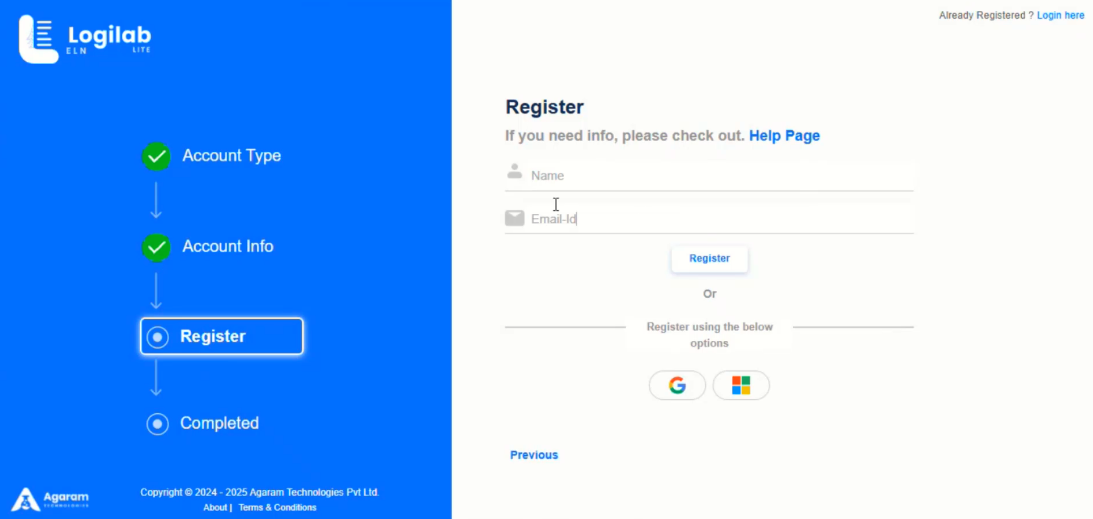
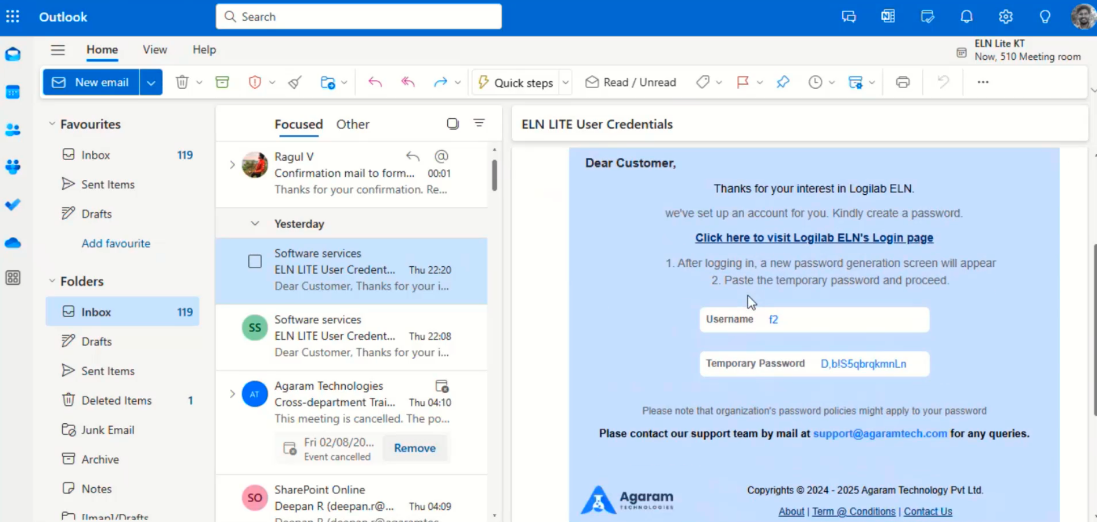
In case of non-google non-microsoft users’ registration, email notification will be received by the user.
Note down the temporary password as in the email notification. This password needs to be used while logging into the system for the first-time.
Click on the link ‘Click here to visit Logilab ELN’s Login page’.
In case of Microsoft or google account users, the following screen will be displayed. The users can use the same to register.
Corporate User Registration
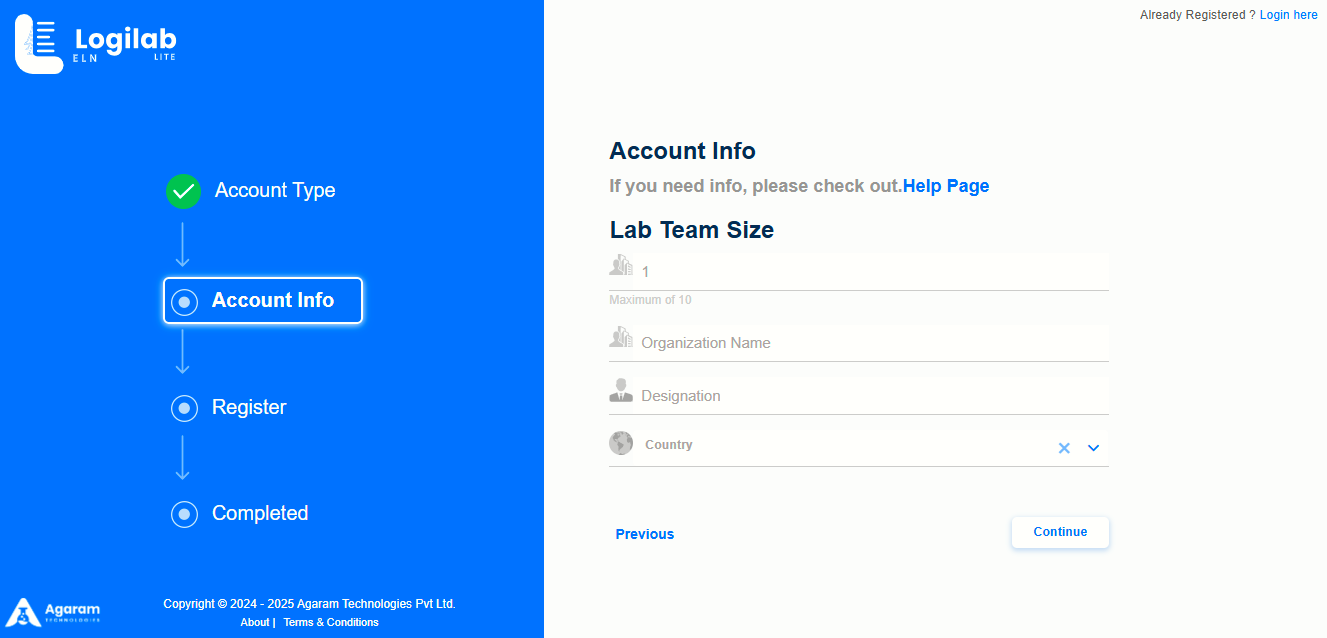
Click on ‘Corporate Account’ option in ‘Choose Account Type’ page.
In ‘Account Info’ page, enter valid values in Lab Team Size (default 1, Maximum 10) Organization Name, Designation and Country fields.
Click ‘Continue’ button.
An email notification will be received which has temporary password.
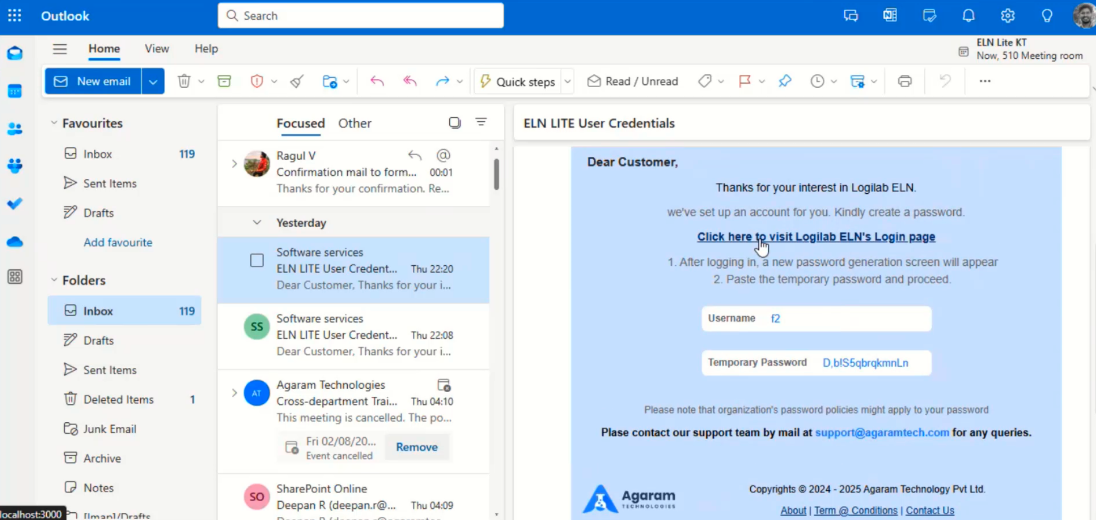
Note down the password and enter the same in the application login page, while logging into the system for the first time.
Click on the link ‘Click here to visit Logilab ELN’s Login page’.
Academic Users
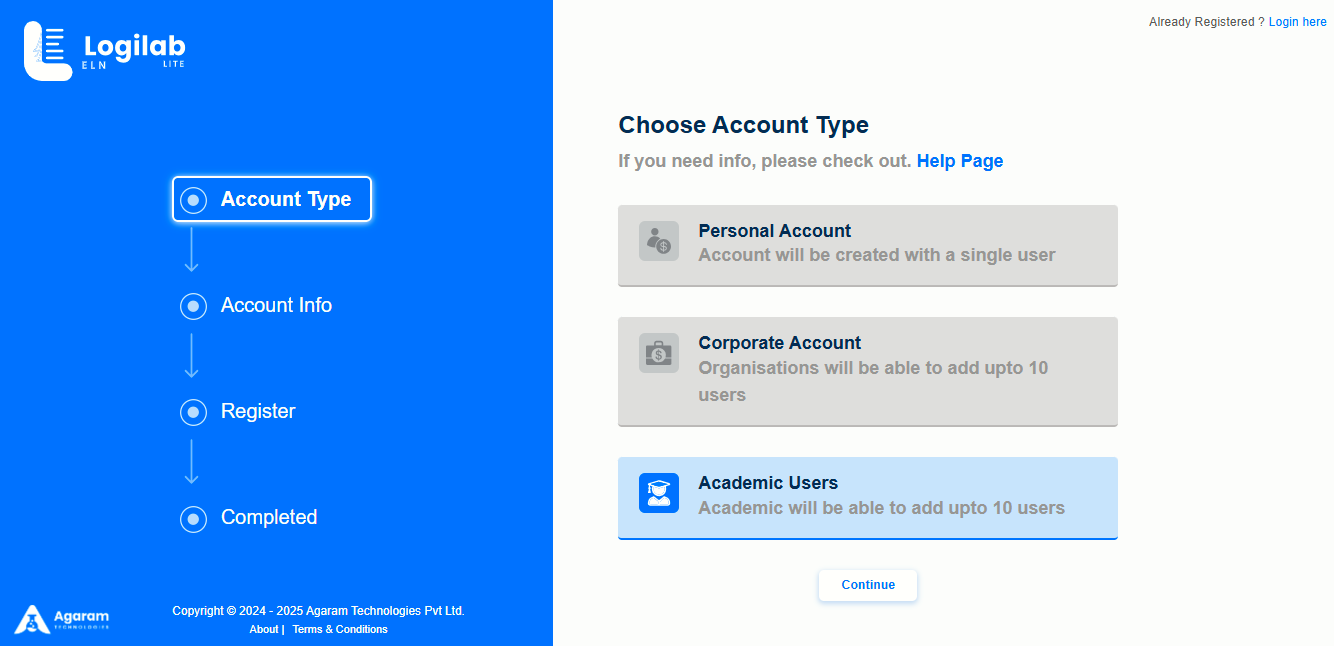
Click on ‘Academic Users’ option in ‘Choose Account Type’ page
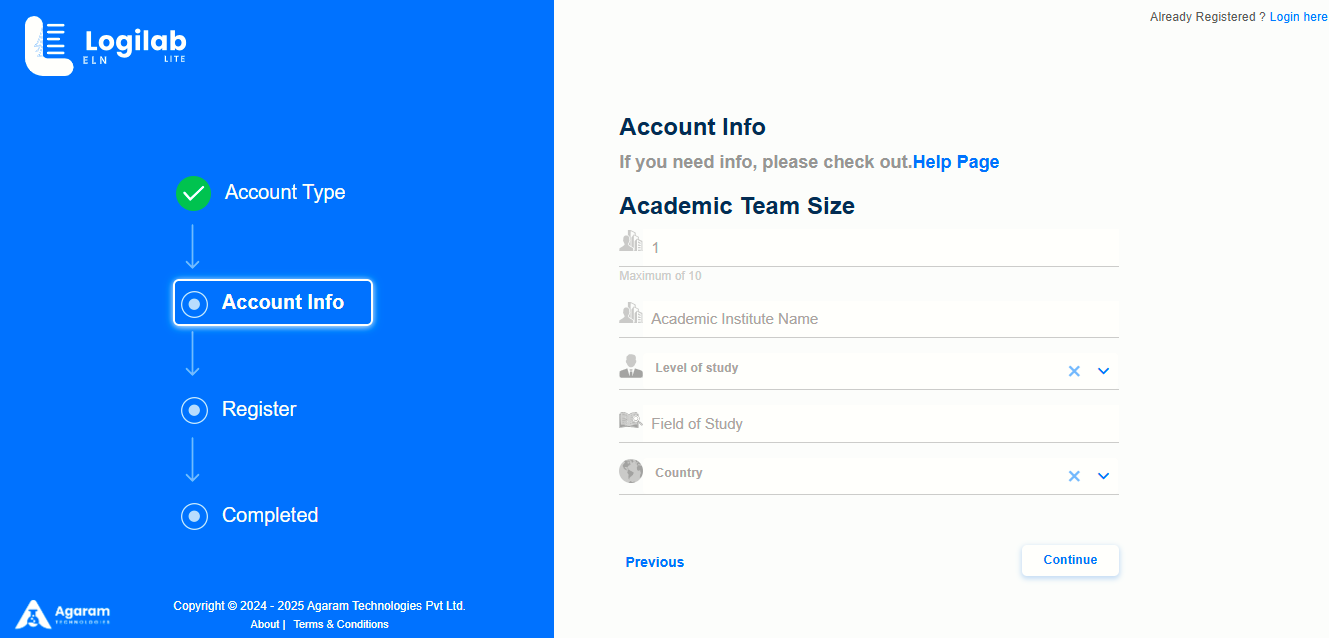
On ‘Account Info’ page, enter valid values in Academic Team Size (default 1, Maximum 10) Academic Institute Name, Level of study, Field of study and Country fields.
Click ‘Continue’ button.
On the ‘Register’ page, enter valid values in Name and Email-id fields.
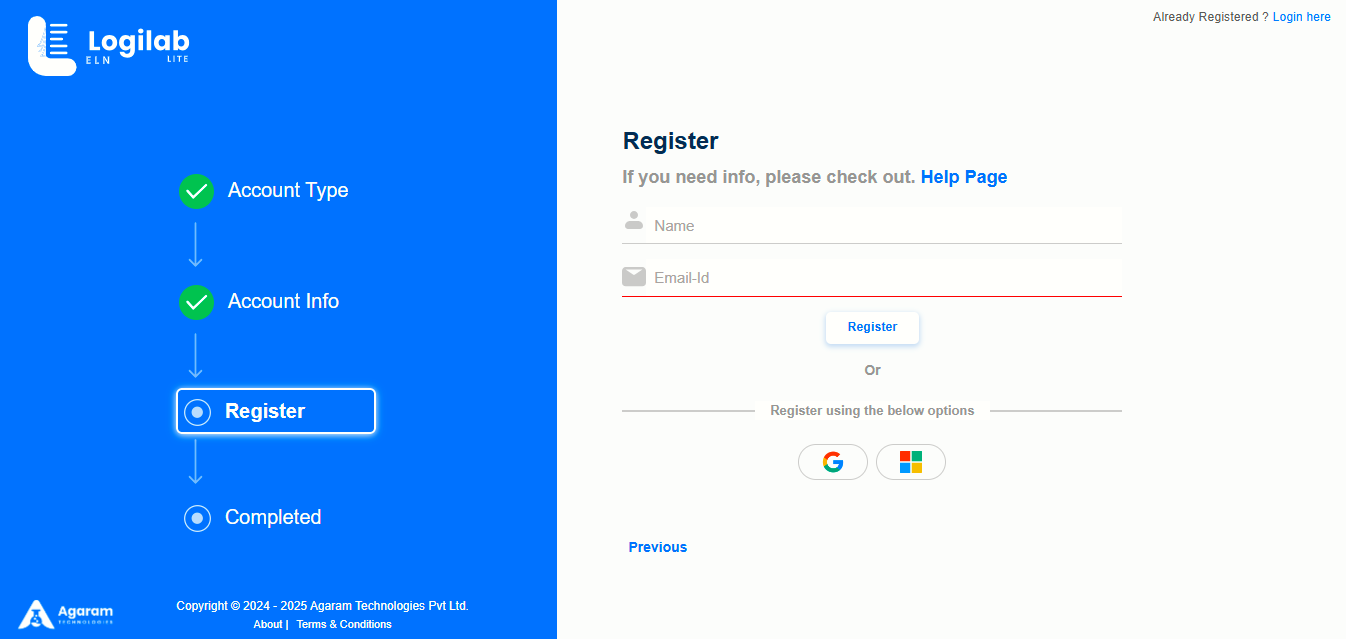
Click on ‘Register’ button.
An email notification will be received which has temporary password.
Note down the password and enter the same in the application login page, while logging into the system for the first time.
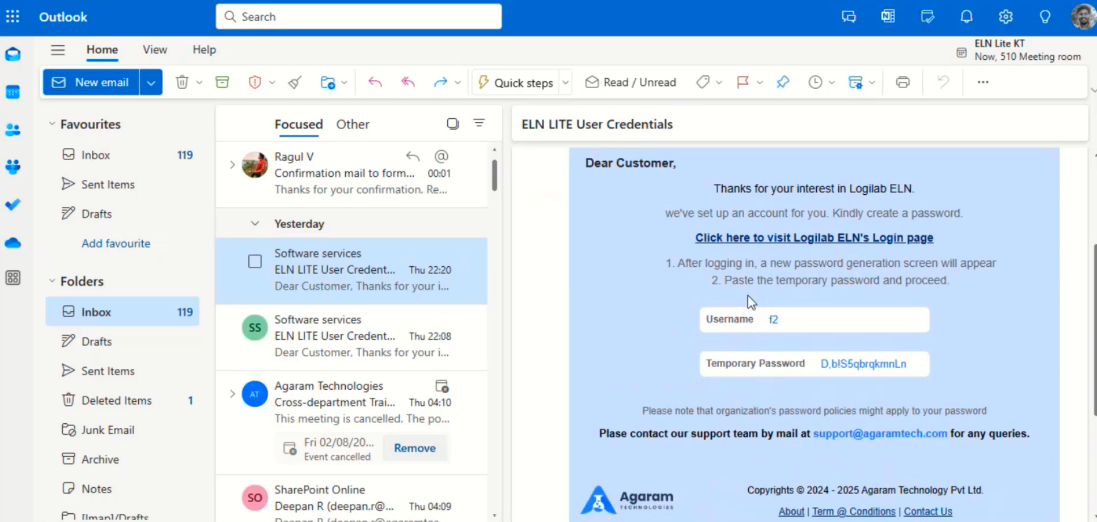
Click on the link ‘Click here to visit Logilab ELN’s Login page’.
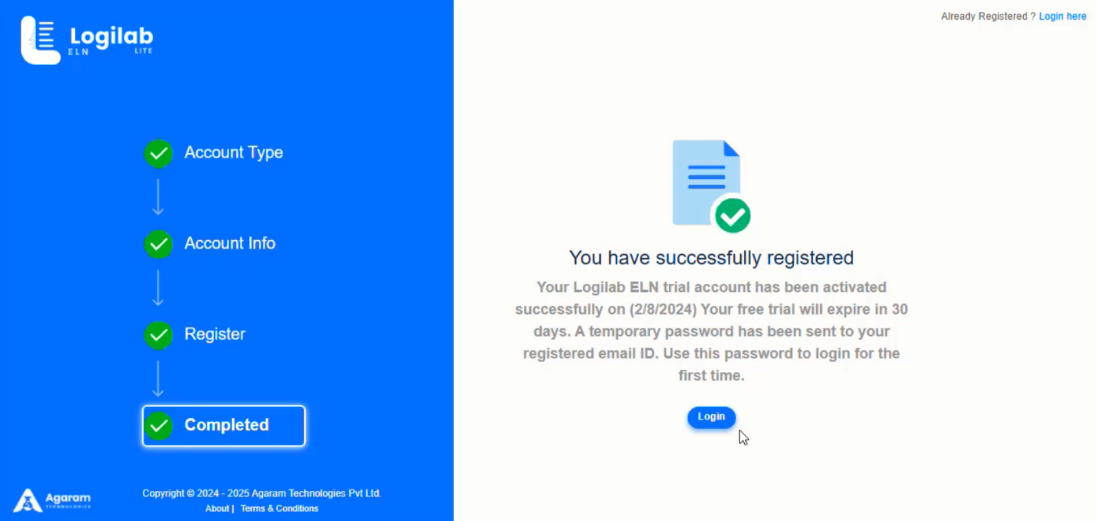
Registration Completion
On successfully completion of the registration process, the following information page will be displayed.
To navigate and login to the ELN Lite, click on ‘Login’ button.
To login to Logilab ELN Lite, follow these steps:
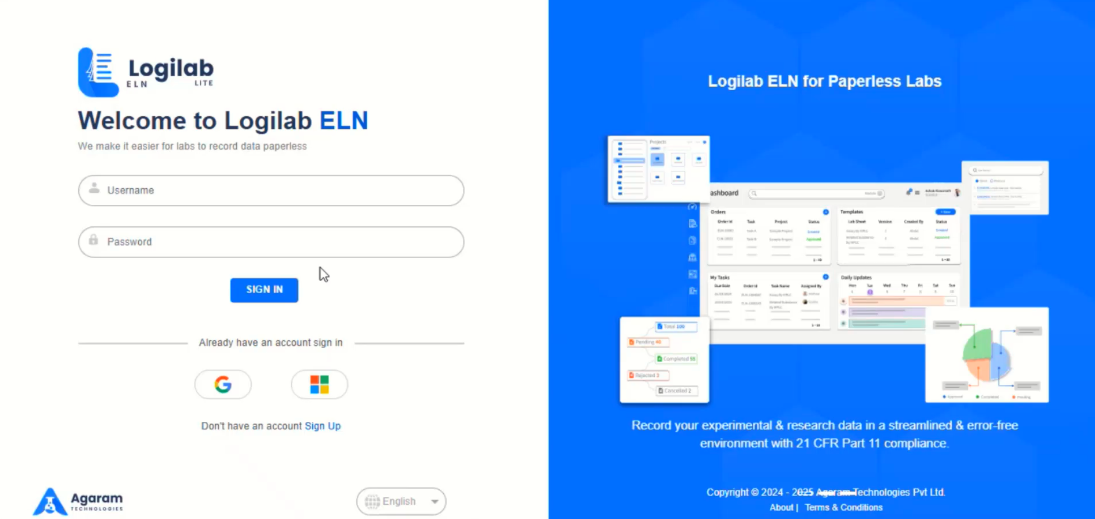
In the Username field, type the login id received from your administrator or E-mail.
In the Password field, type valid password.
For the first-time login, the following will be displayed.
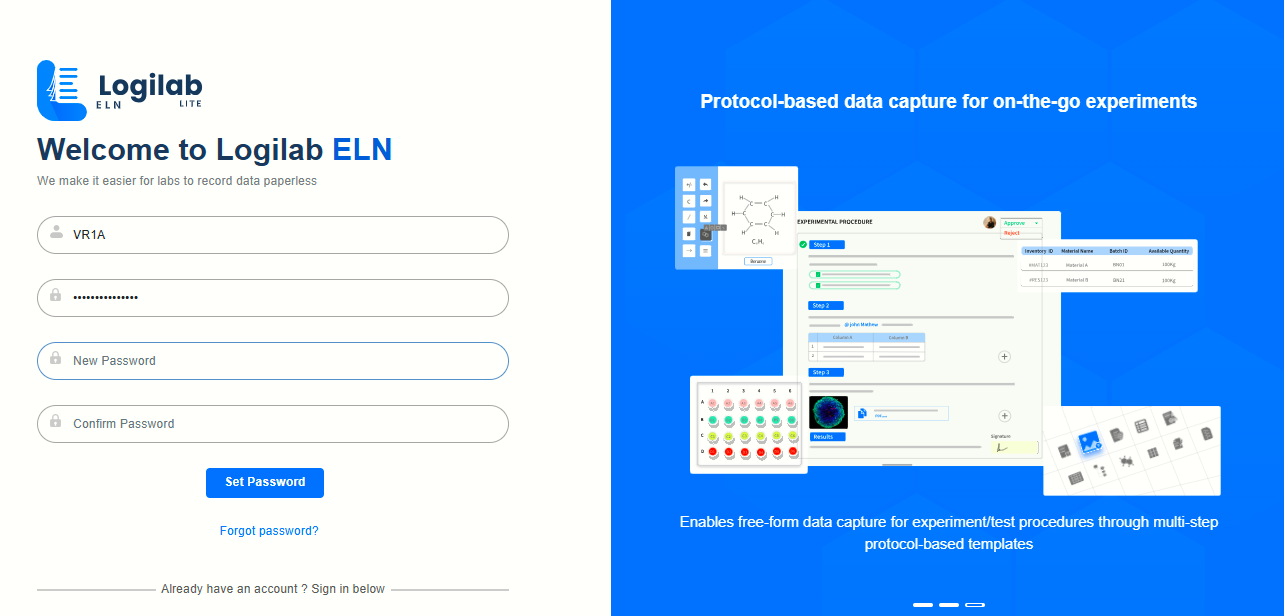
Enter valid values in New Password (must be different from the existing one) and Confirm Password fields.
Click on ‘Set Password’ button.
PASSWORD RESET SUCCESSFULLY message will be displayed.
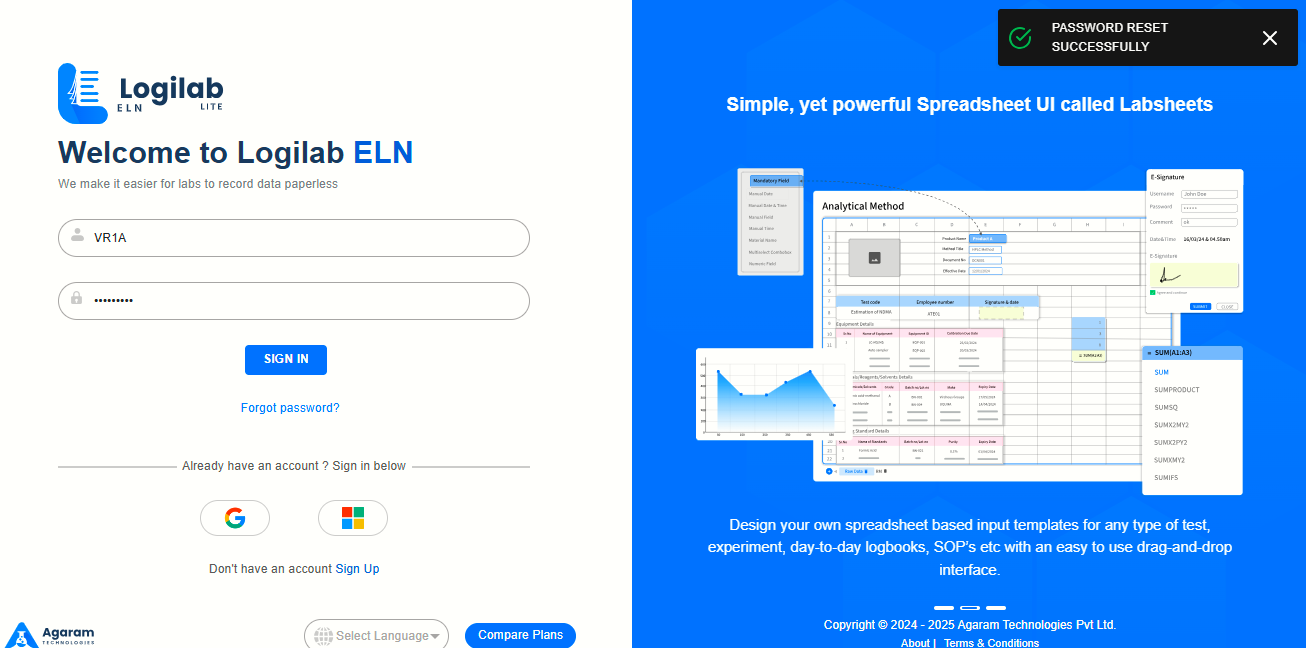
Click SIGNIN.
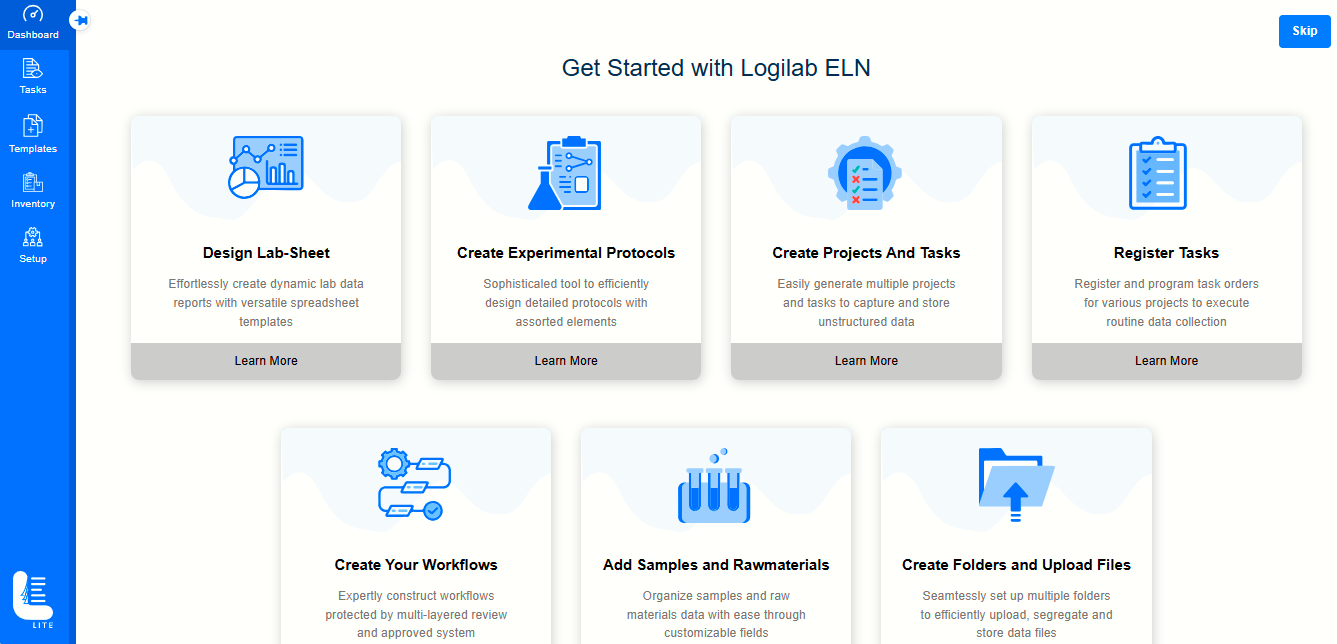
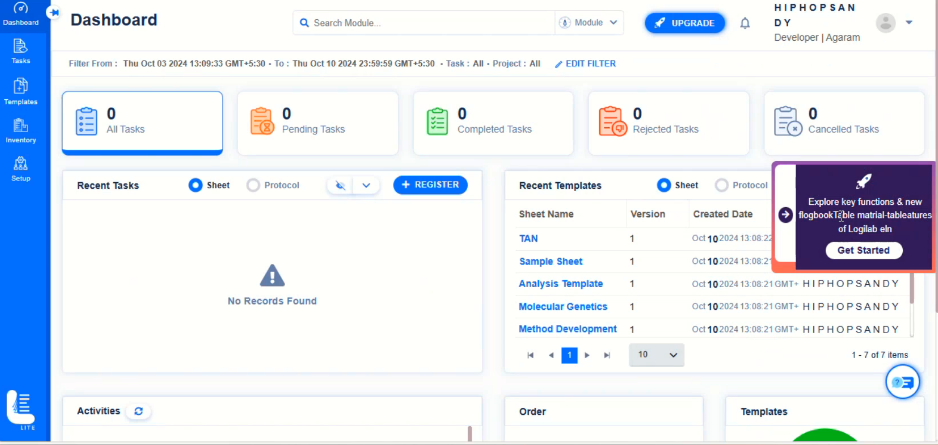
On successful login, the Logilab ELN Lite dashboard appears as shown in the figure:
Logilab ELN Lite main menu appears as shown in the figure:

Logilab ELN main menu consists of the following:
 Dashboard: Enables you to view quick progress of the ELN orders. You can view the trend in the graph. Also enables creating sheet templates and protocol templates from dashboard.
 Tasks
Tasks
Sheet Tasks: Helps to register sheet orders and execute the orders. The Pending Tasks and Completed Tasks folders enables manage orders pending and completed.
Protocol Tasks: Enables register protocol orders/dynamic protocol orders and execute. Pending Tasks and Completed Tasks folders enables manage protocol orders pending and completed.
 Templates:
Sheet Templates: Enables creating templates for lab sheets that are used in Sheet Tasks screen.
Protocol Templates: Enables creating templates for protocols that are used in Protocol Tasks screen.
Template Mapping: Helps you to map sheet templates and protocol templates to Tests/Tasks.
 Inventory: Enables to create and manage masters and transactions related to inventory.
 Setup: Helps to create and manage user accounts. Also enables defining Task workflow, Sheet workflow & Protocol workflow.
The descriptions of common controls in ELN are listed below:
| Button Name | Image | Description |
|---|---|---|
| Save |  | Will save the changes done to the current screen / dialog. |
| Submit |  | Will submit the entries given by the user to perform certain task. |
| Add |  | Enables add new records to the masters. |
| Edit |  | Enables edit the selected record in the master |
| Delete |  | Enables delete the selected record in the master |
| Import |  | Imports data to the masters |
| Export / Download |  | Exports downloads master data to Excel / PDF / CSV |
| Close |  | Will close the screen / dialog without saving. |
| Refresh |  | Will clear the entries in the current form for fresh entry. |
| Mandatory Fields |  | All fields marked with a * are mandatory and must be filled to avoid error/alert messages. |
To add a new record to the master, follow these steps:
 The add screen appears. Fill in mandatory fields and then click SUBMIT.
To set number of records to view in the master screen, click the dropdown arrow and select number of records to display on the screen as shown in the figure:
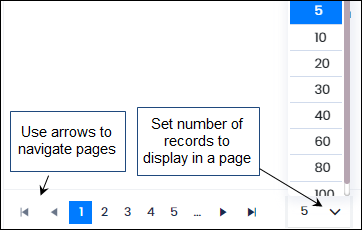
You can view the selected number of records in the master screen. For example, if you select 5. Then each page displays 5 records.
Use the arrows to navigate to the next, previous, first and last pages. You can also navigate the pages by clicking on the page numbers as shown in the above figure.
The notification feature helps the user to view all the activities related to them and the project team the user belongs to. The number of unviewed notifications appears in red on top of the notification bell.

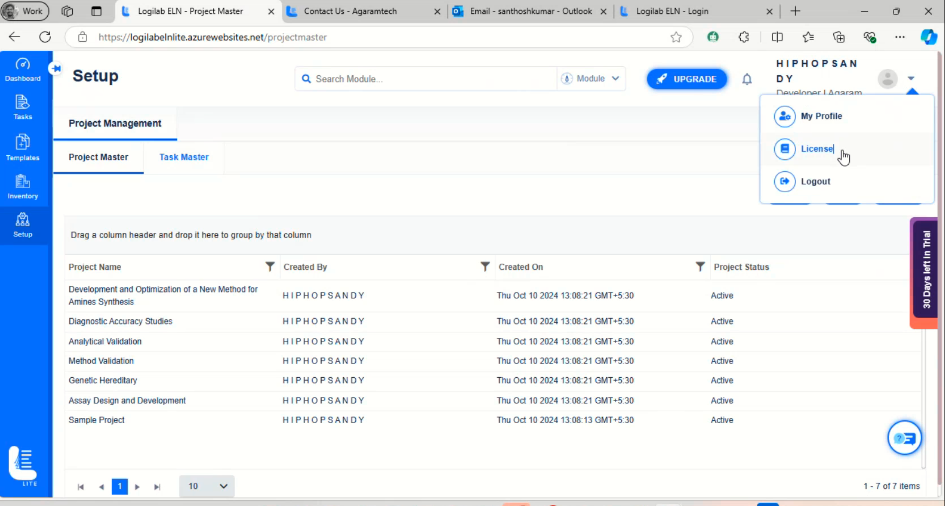
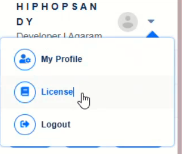
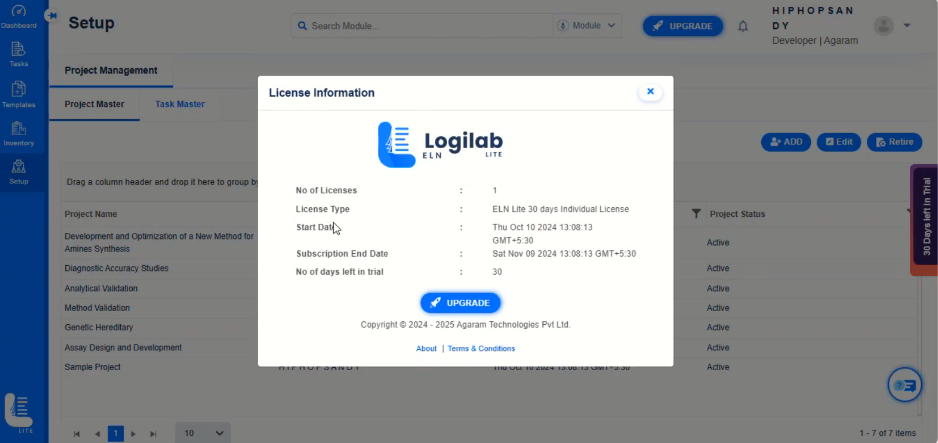
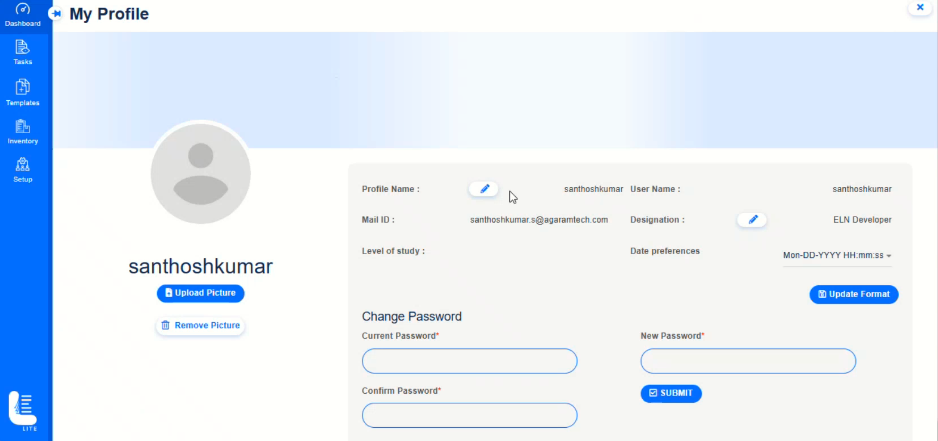
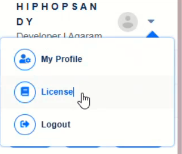
The Profile menu enables you to view/update profile, view license information and logout. Click on the dropdown icon that appears at the top-right corner of the screen. The profile menu appears as shown in the figure:
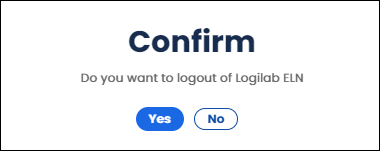
The Logout option helps you logout Logilab ELN Lite.
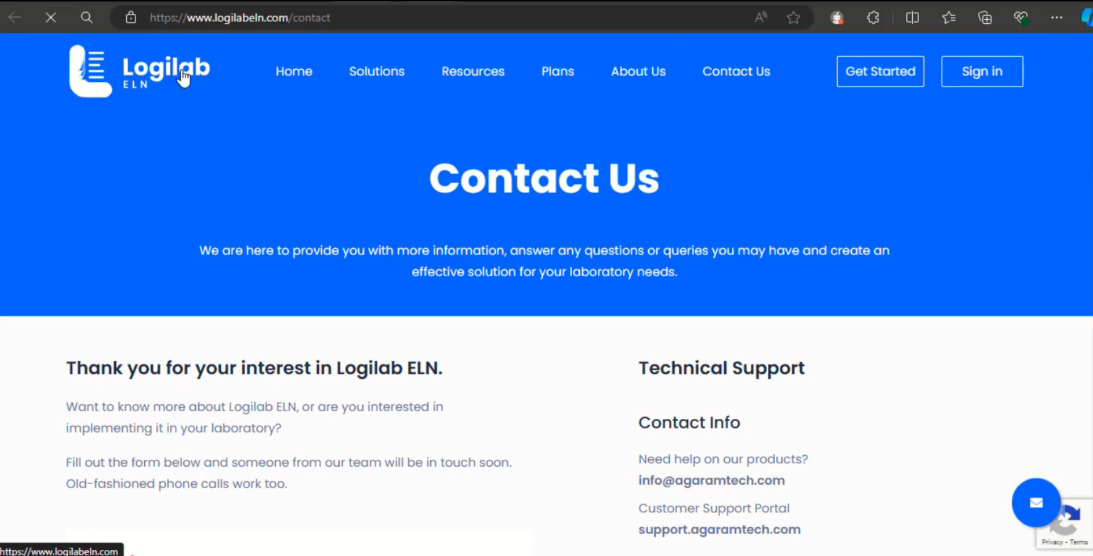
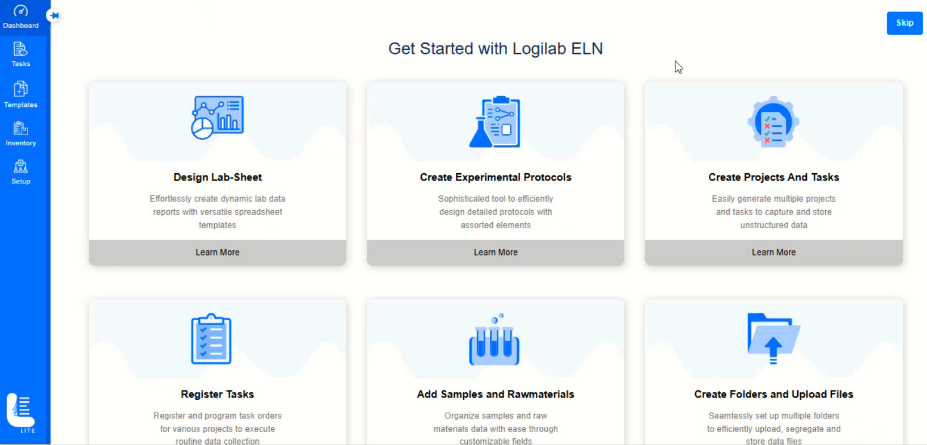
Click on ‘Get Started’ button.
It will display ‘Get Started’ page
It will display ‘Get Started’ page
On clicking the various menu options, the corresponding module page will be navigated.

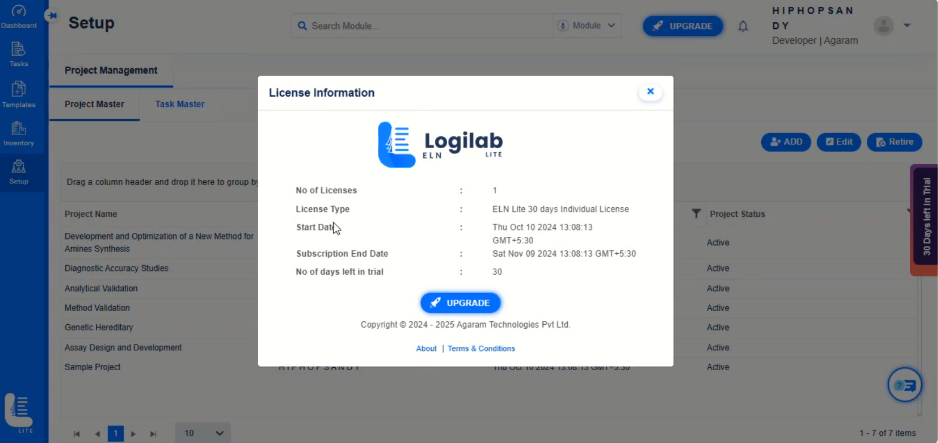
On clicking ‘Upgrade’ button in the ‘License Information’ dialog window, the ‘Contact Us’ page of the Logilab ELN website page will be displayed.
On referring the contact information displayed on this page, the user can request for the upgrade from Lite to full version of Logilab ELN.
