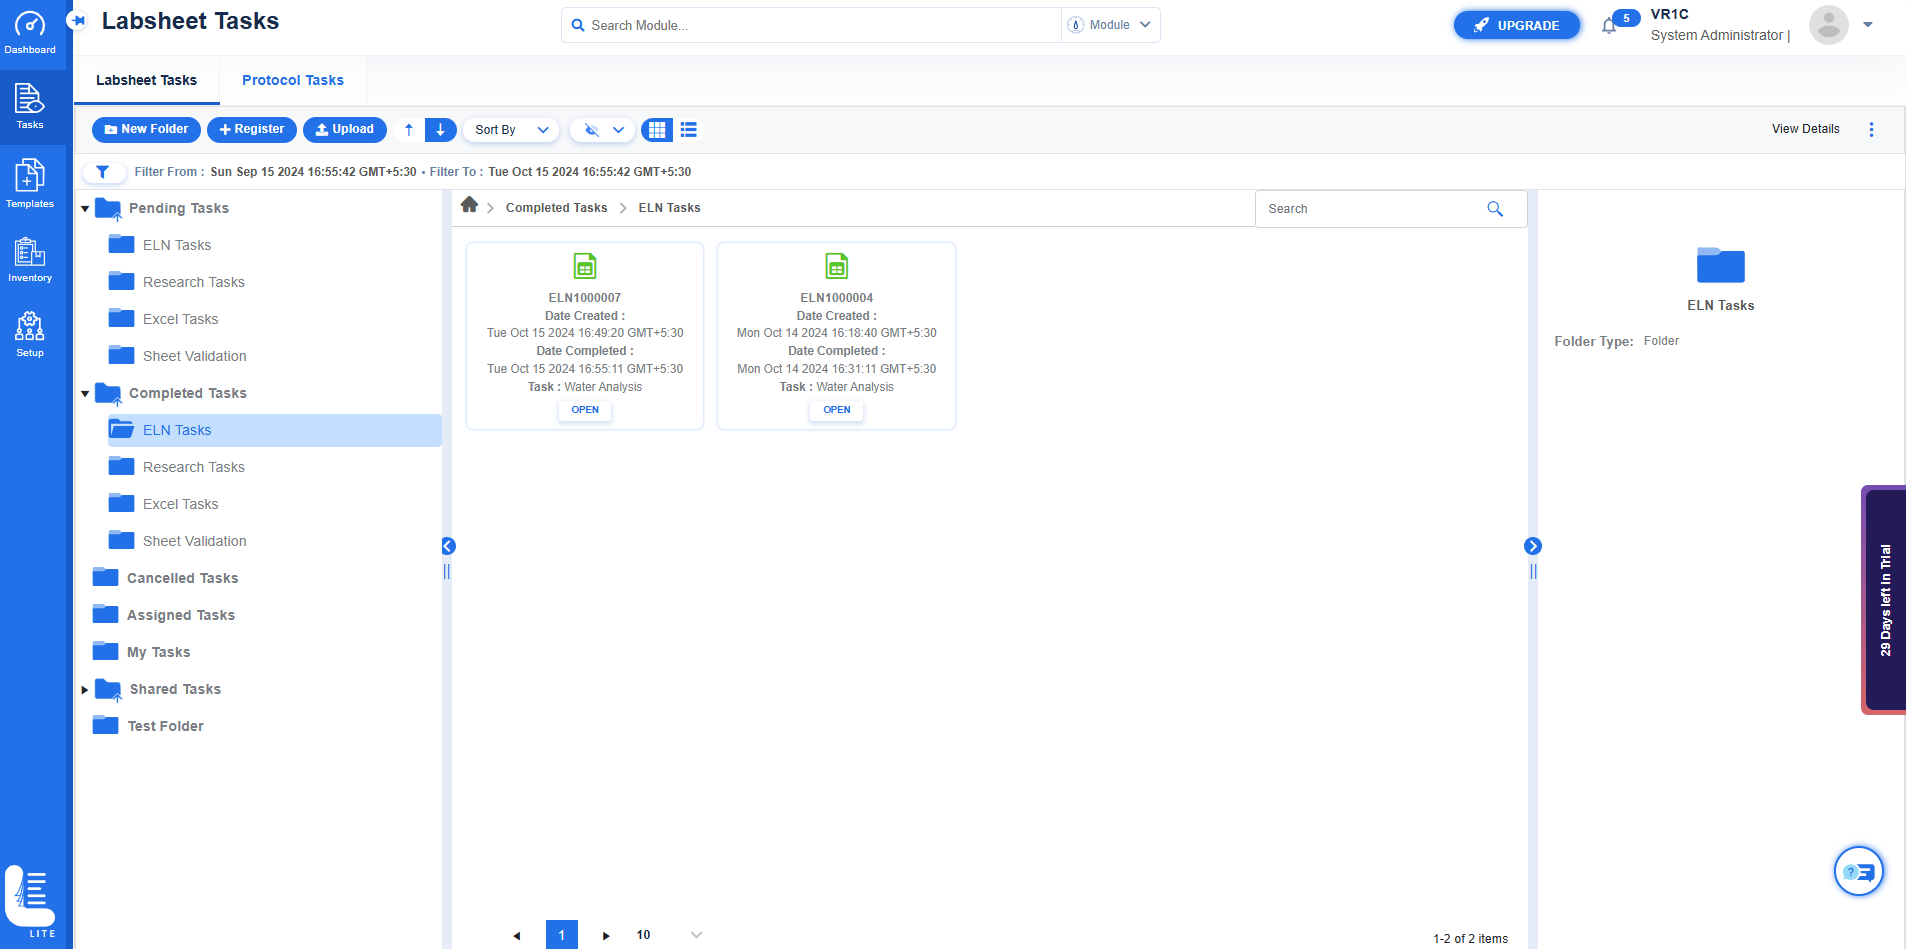
The Sheet Tasks screen enables you to register tasks to be processed.
ELN Tasks: Tasks shall be registered for tests, templates and analysis created in Logilab ELN.
Research Tasks: Registering an task with this option enables the user to redesign / add or modify fields in the lab sheet during task processing.
Excel Tasks: Registering tasks with this option will enable the user to import Excel sheets during task processing.
Sheet Validation: Sheets that are designed/created are evaluated if they are working properly.
To register ELN Labsheet Tasks, follow these steps:
On the main menu, click and then click Labsheet Tasks.
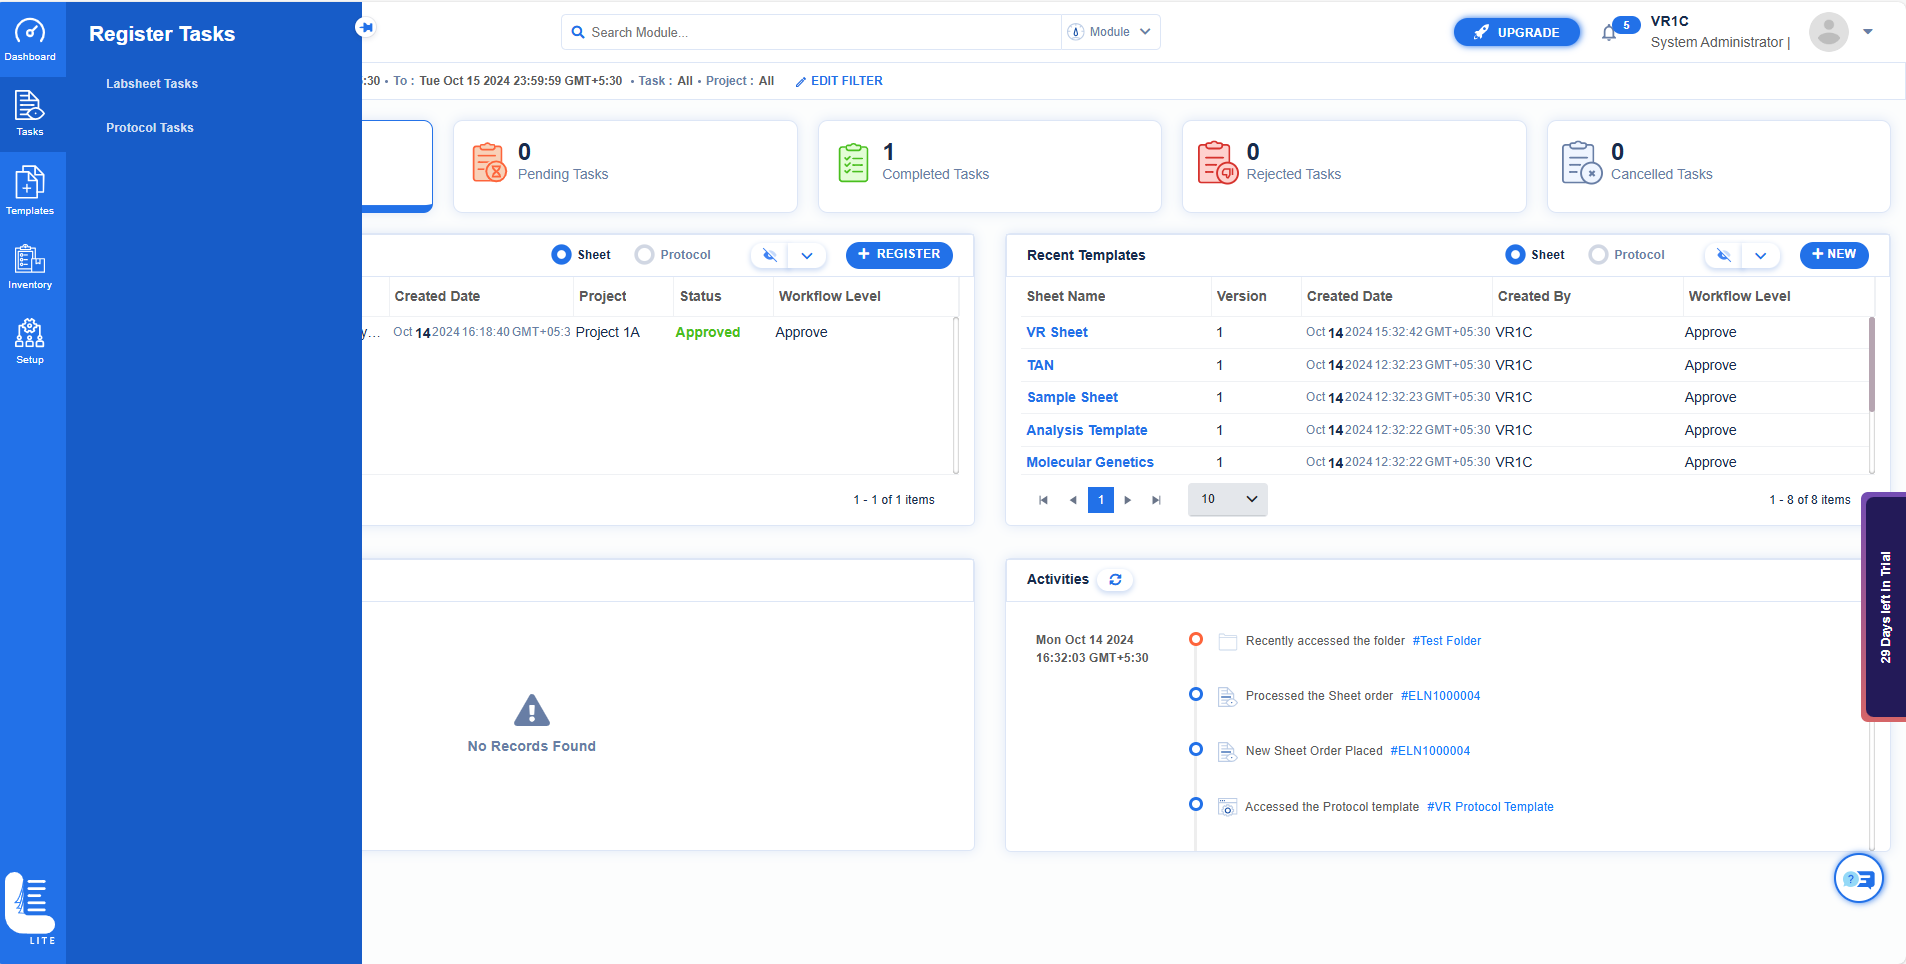
The Labsheet Tasks screen appears as shown in the figure:
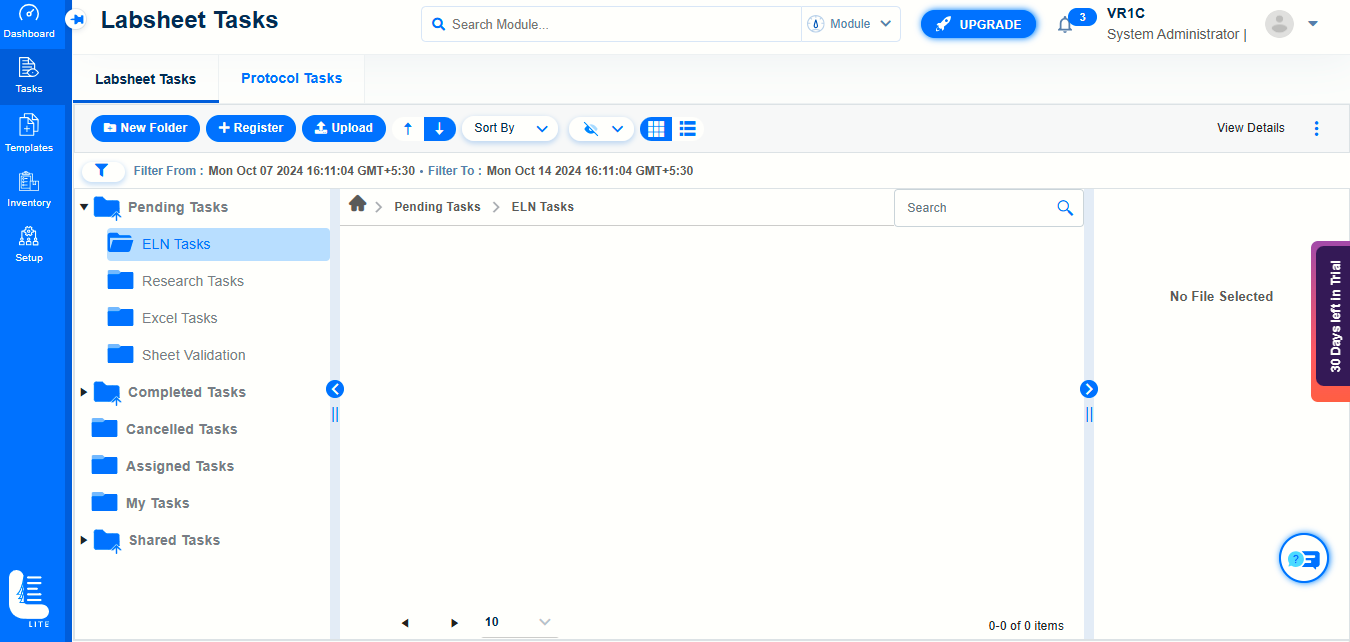
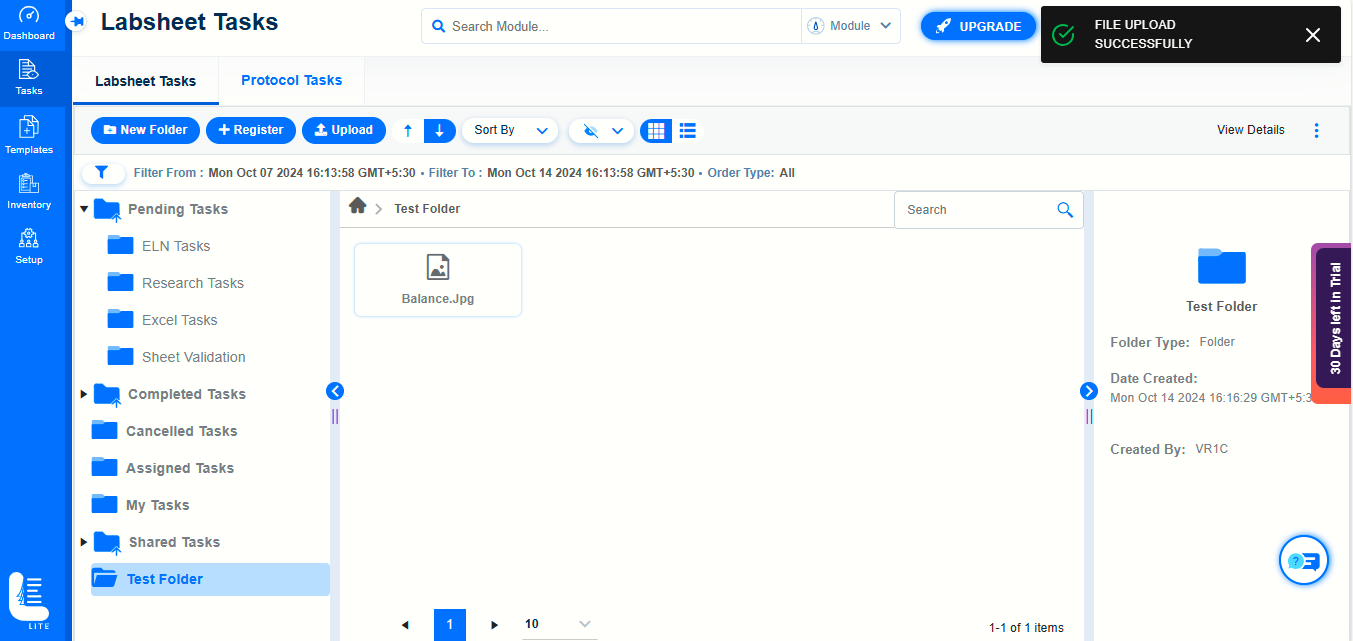
The Labsheet Tasks screen consists of the following predefined folders.
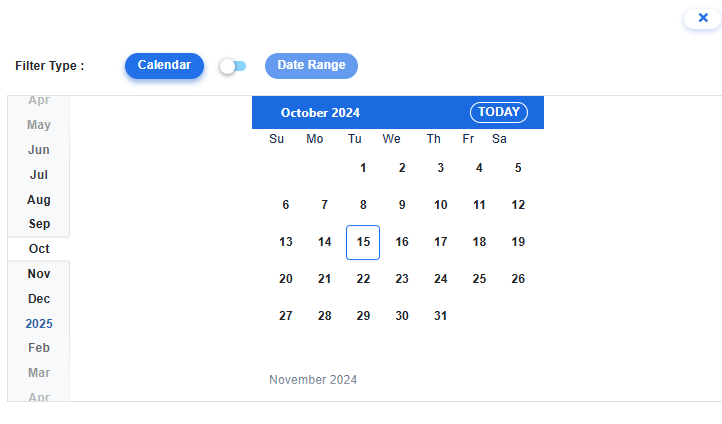
You can filter tasks based on a selected date. To do so, follow these steps:
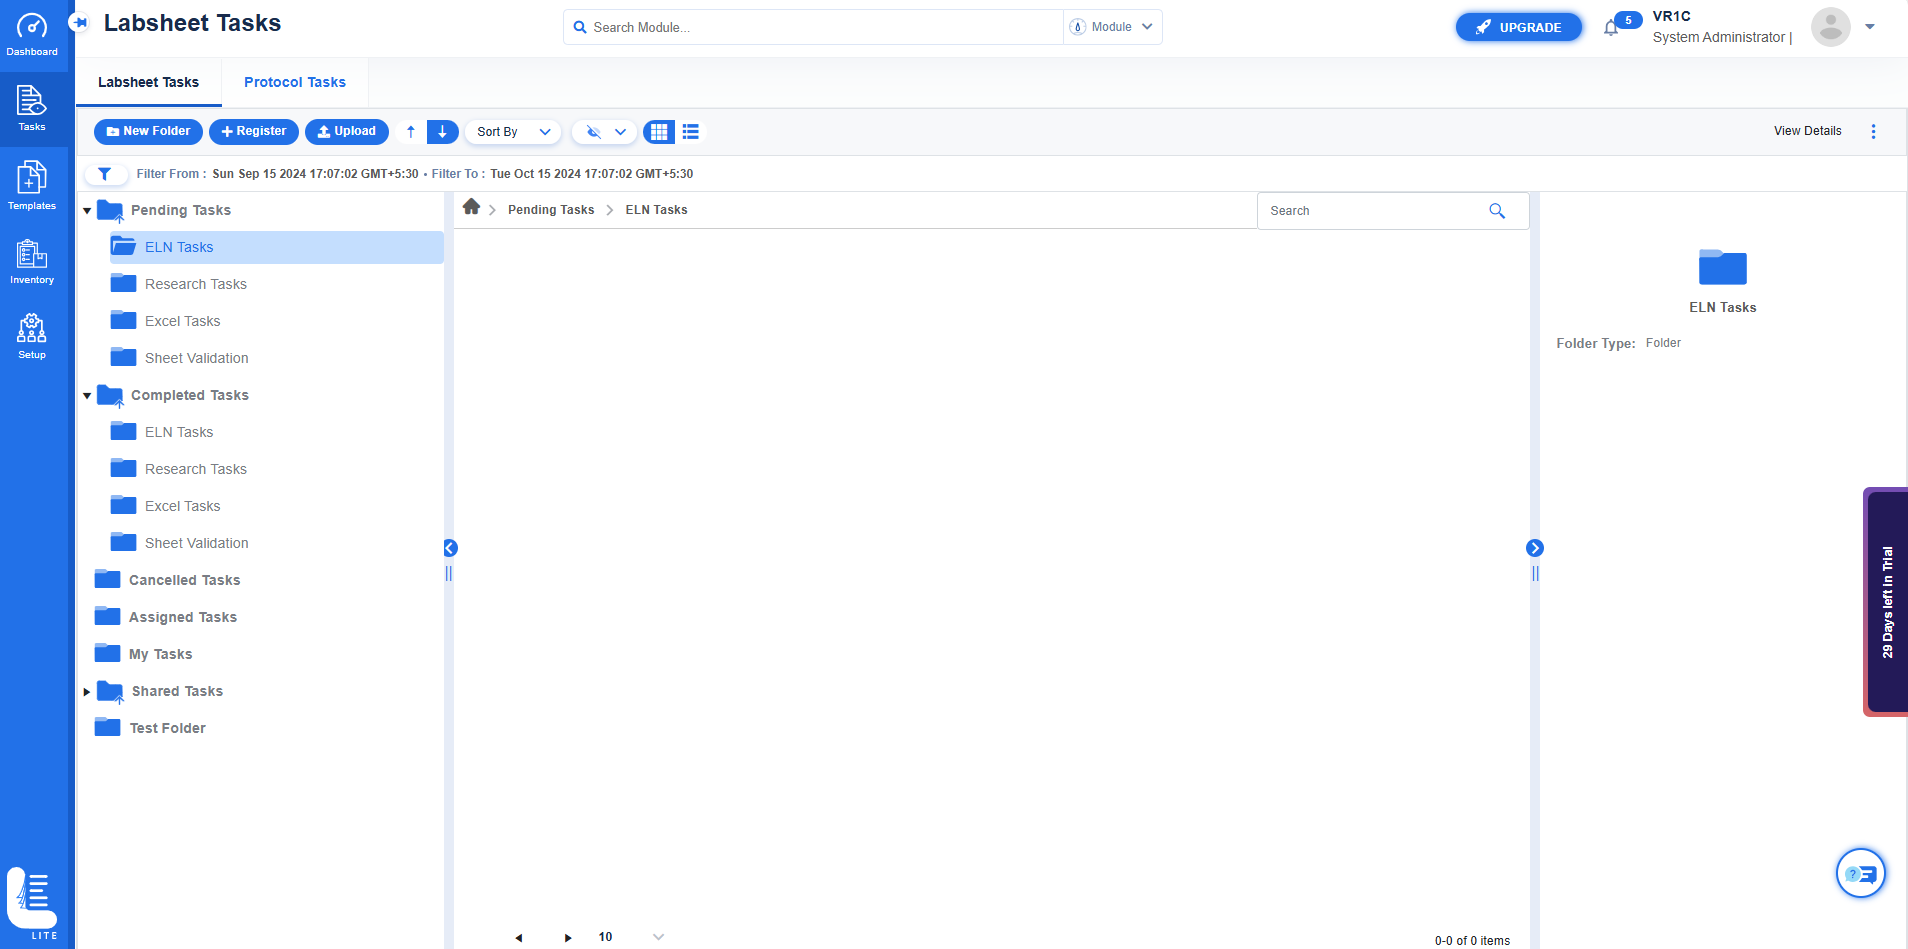
 The filter dialog appears. In the filter dialog, click Calendar. The calendar appears
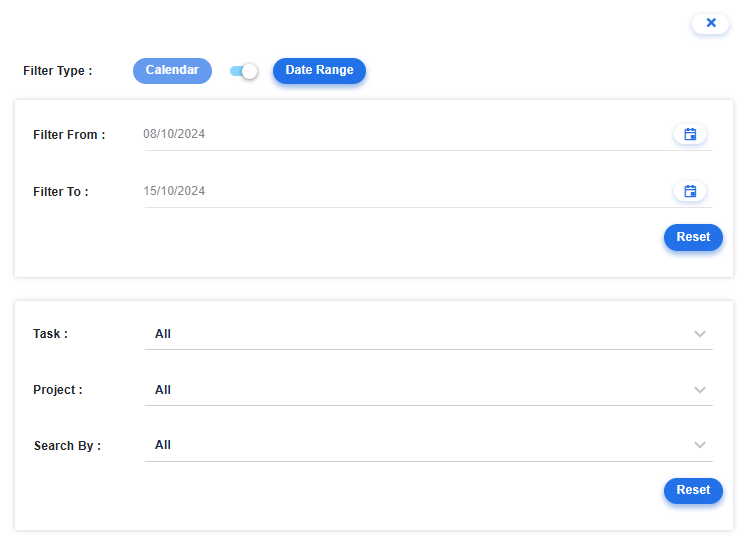
To search tasks based on a specific period, task, project and search key, follow these steps:
 The filter dialog appears. In the filter dialog, clickDate Range.
You can create your own folder and sub folders in ELN Lite.
To create a new folder, follow these steps:
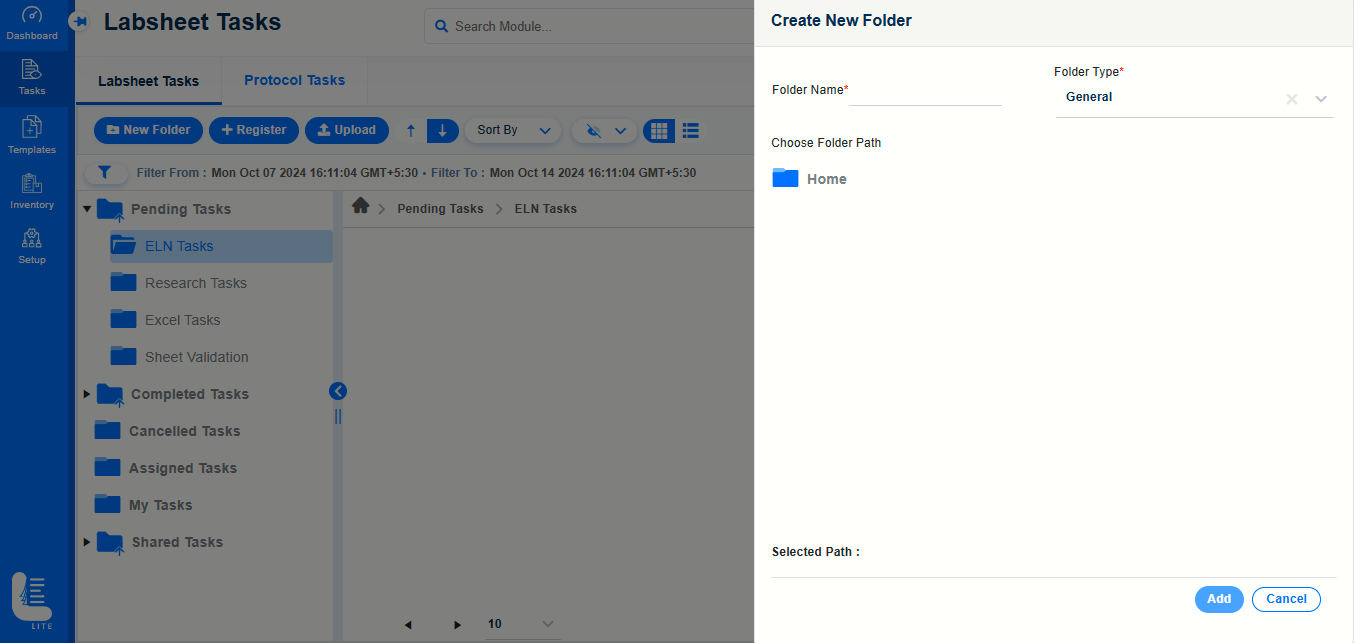
Enter the name of the folder in Folder Name field.
Select Folder Type.
Click Add button.
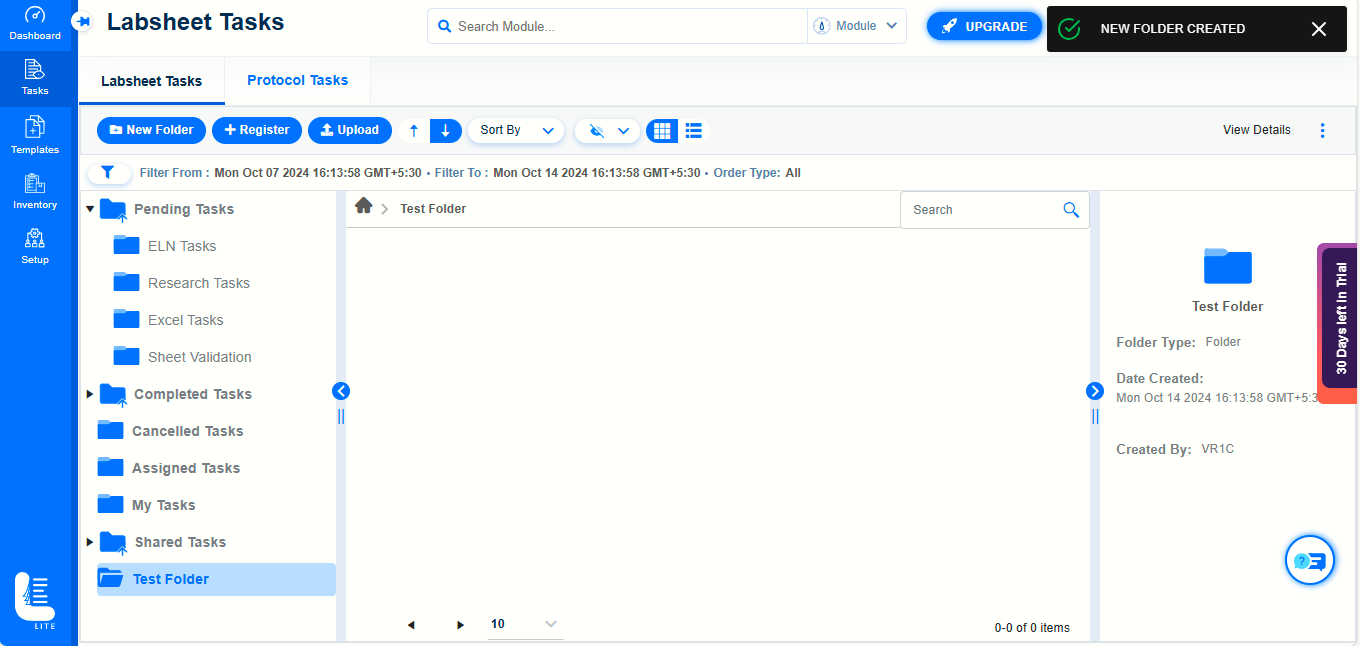
The folder is created and message NEW FOLDER CREATED is displayed
Logilab ELN enables you to upload files to user defined folders/dynamic folders.
Note:You cannot upload files to default / system folders.
To upload a file, follow these steps:
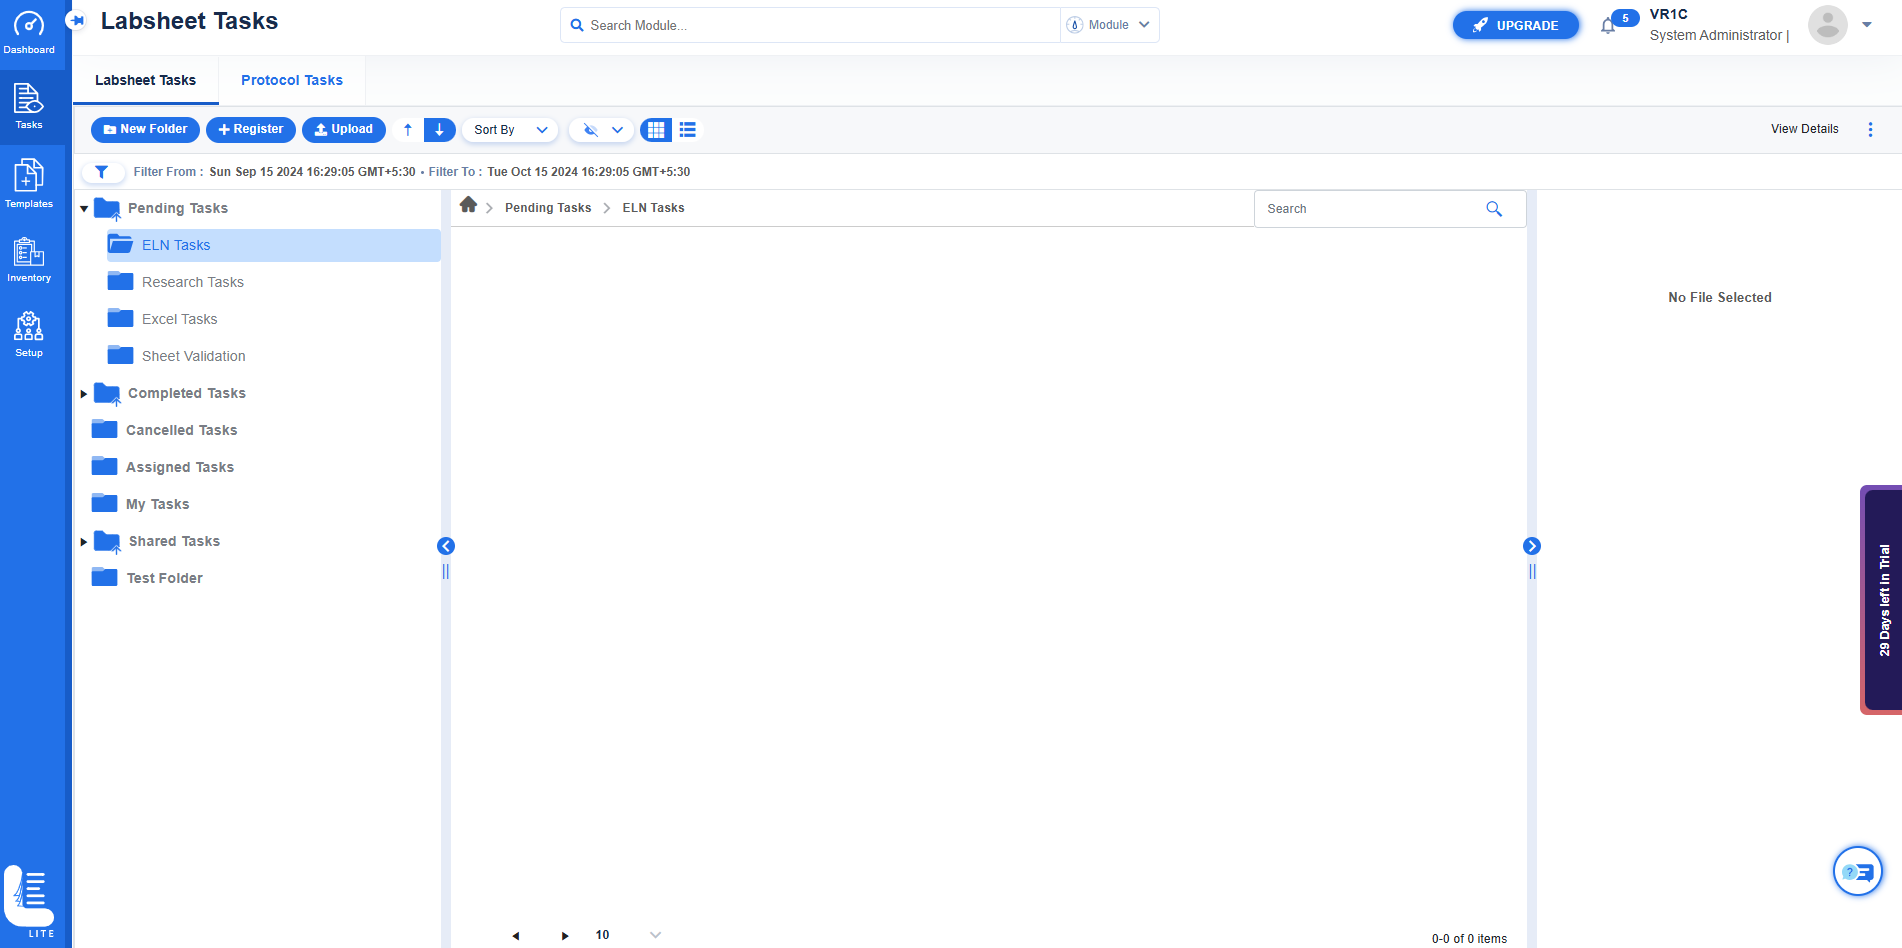
Choose Destination Folder dialog window is displayed
Choose the path option and click NEXT button.
Note: If you want to create a new folder first and then upload files into it, click on NEW FOLDER button.
In Upload Files dialog window, click Select Files button
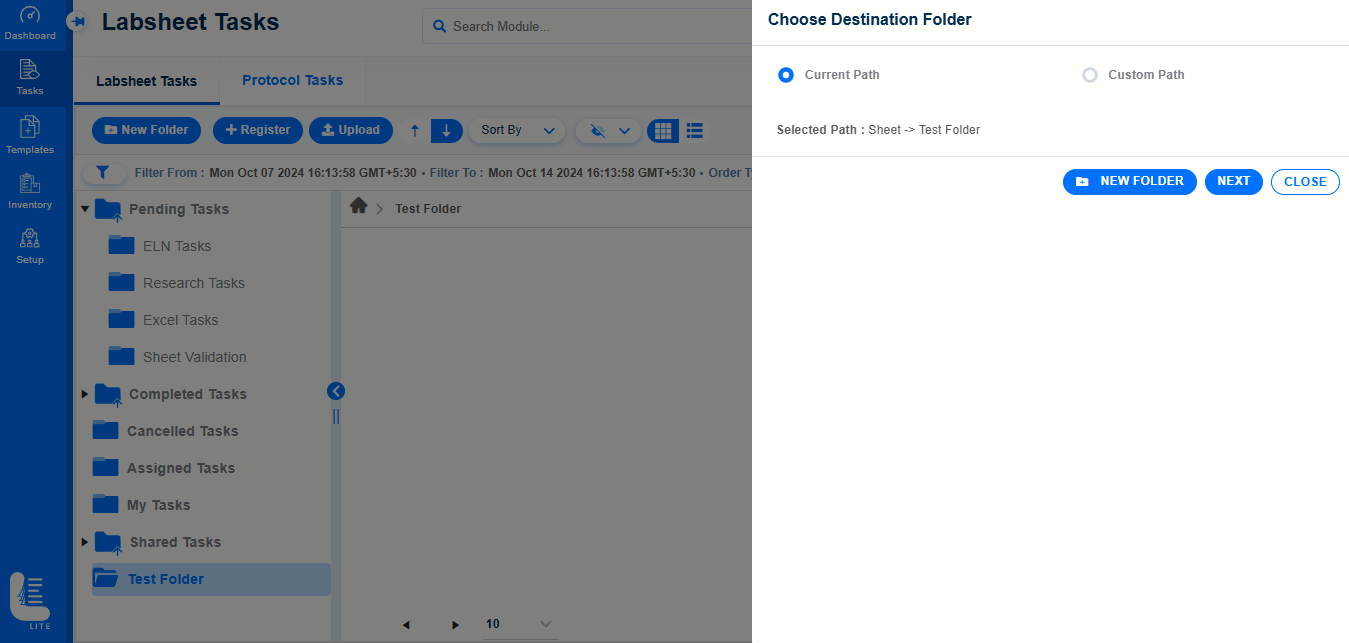
It will navigate to the system folder.
Choose the folder first and select the file from the system.
Click on Open button.
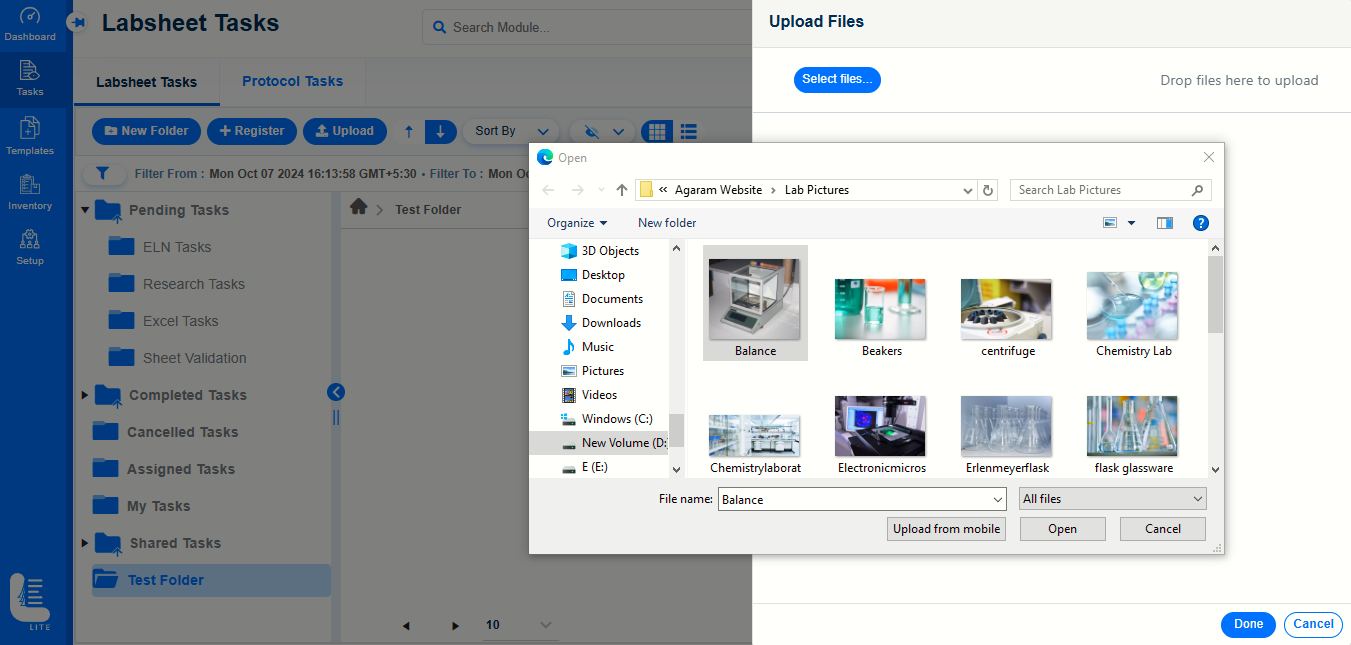
The selected file is uploaded and is indicated by ‘Done’.
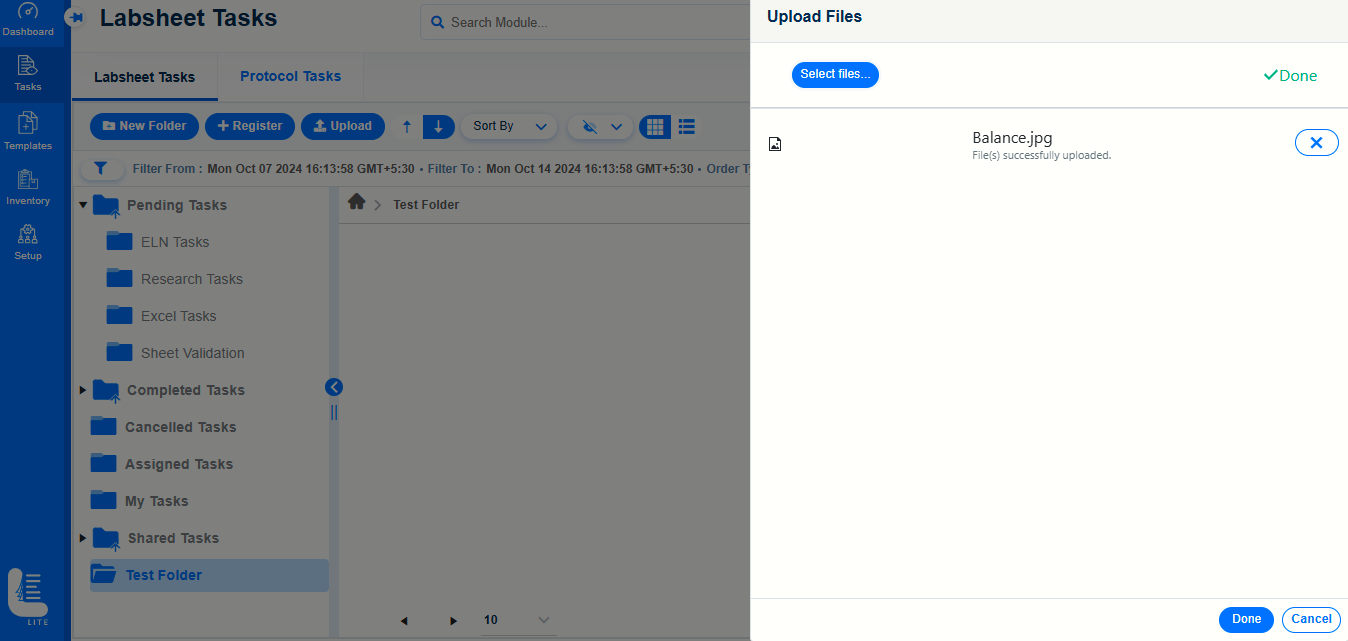
Click ‘Done’ button to navigate back to Tasks page.
The message FILE UPLOAD SUCCESSFULLY is displayed.
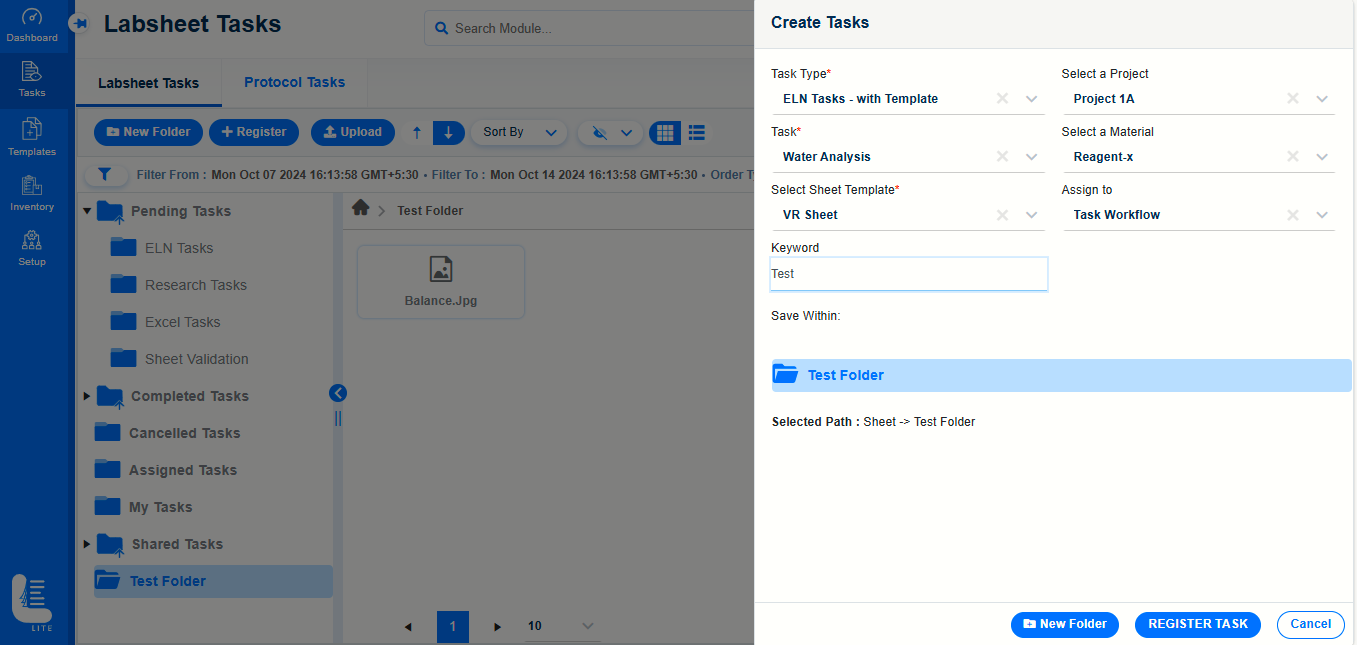
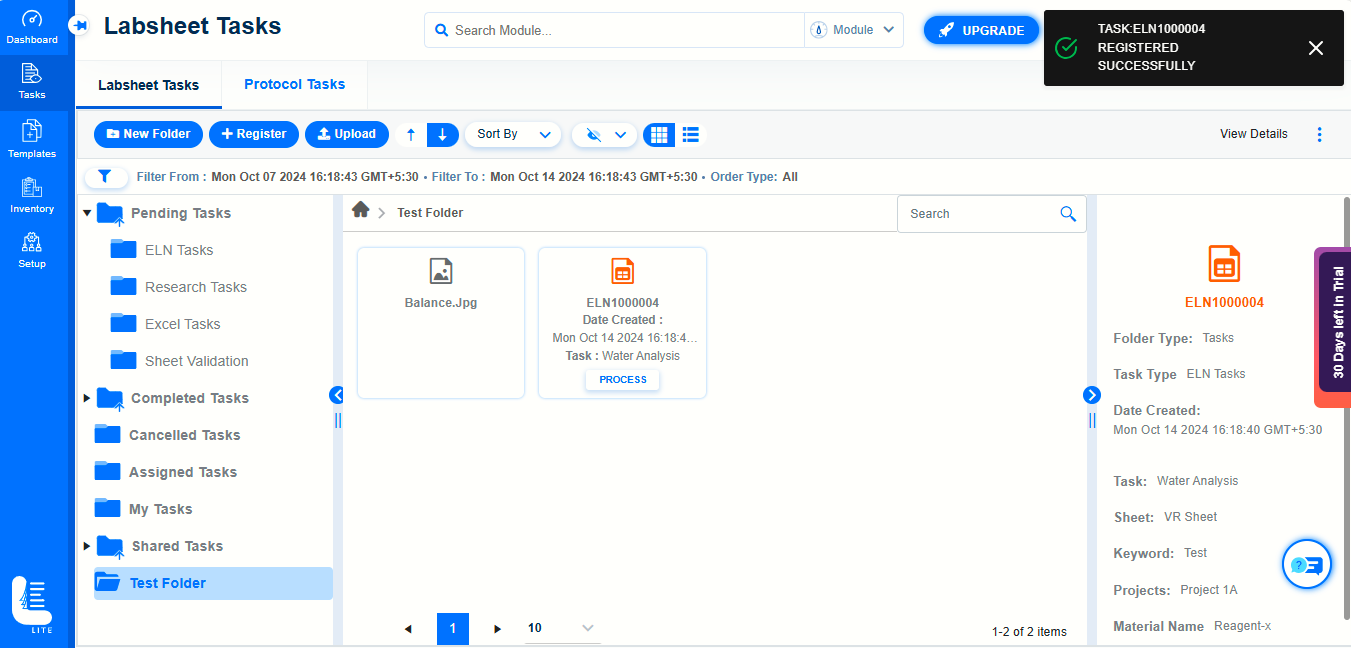
To register a sheet task, follow these steps:
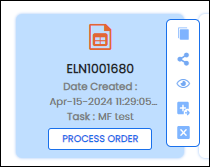
 Copy Link: Copy and send the link to any external user to enable them to view the task content/details.
 Share: Share the task to other ELN users.
 Transaction History: View version history, transaction history and workflow history.
 Open in New Tab: Open the task in a new tab enables user to open multiple tasks in new tabs for comparison.
 Cancel Task: Cancel task for some reason.
Note: After creation of the Task, it has to routed through the configured workflow steps. For example, review and approve. The status of the Task must be in Approved status for processing it further.
Once an task is registered, the registered tasks appear in the Pending Tasks folder by default. If the task is registered with any specific folder, then it appears in the same folder.
When you open the task for processing, the results from the instrument are captured and appear on the sheet. You can review results, calculations etc. and approve/reject the task.
When approved the task goes to the next step in the workflow. The rejected task goes to the previous step in the workflow for corrections.
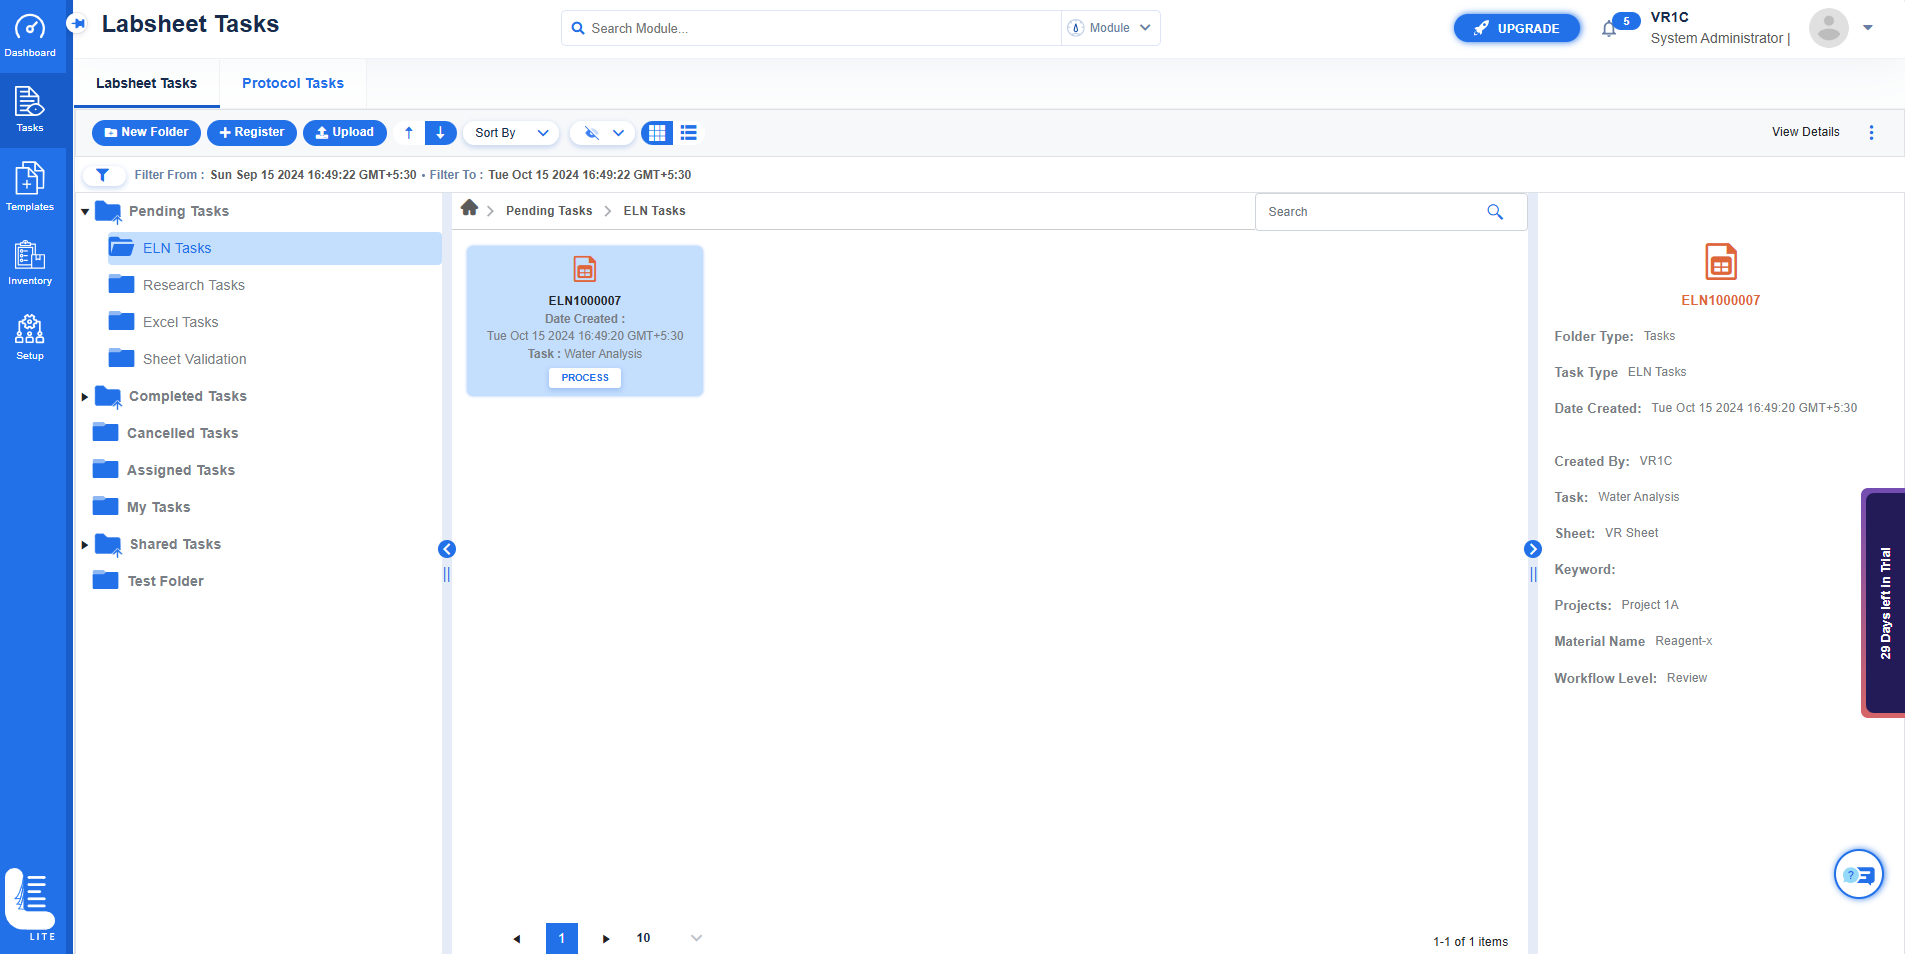
When the task is in the final step of the workflow, you can complete the task.
To process task, follow these steps:
On the Labsheet Tasks screen, select an task; click PROCESS button.
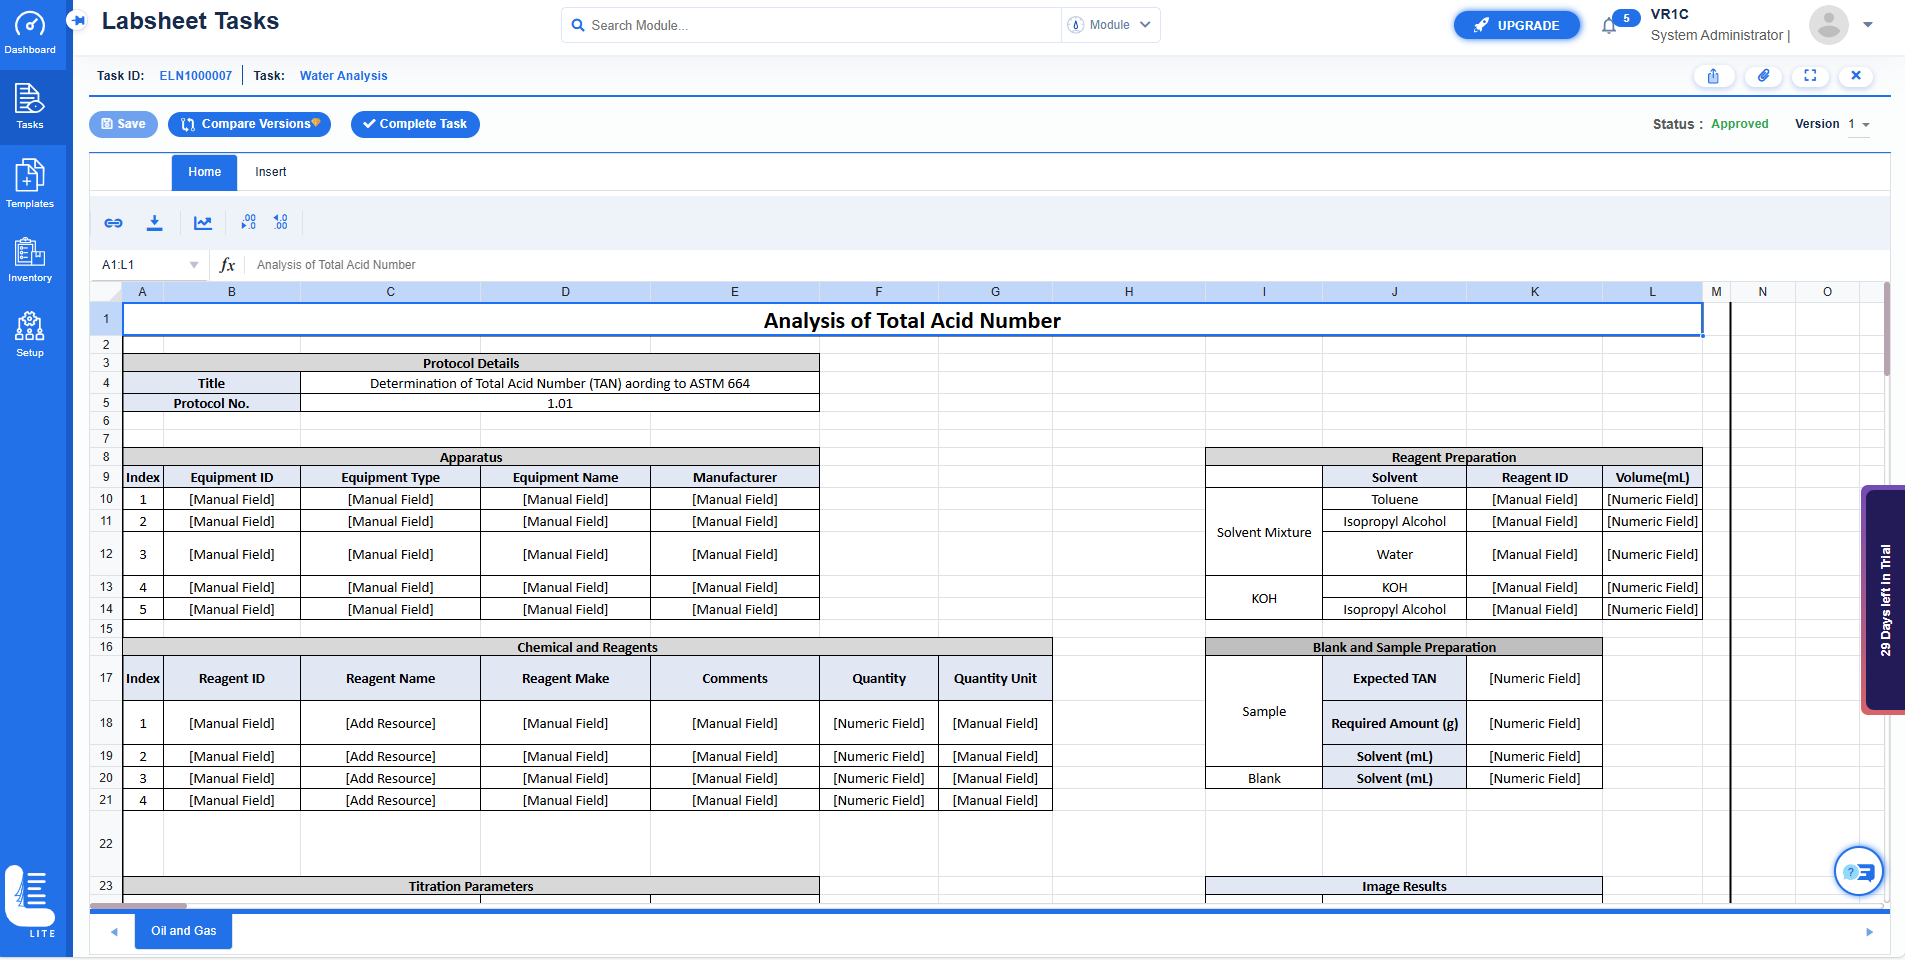
Click on Complete Task button.
E-Signature dialog window appears.
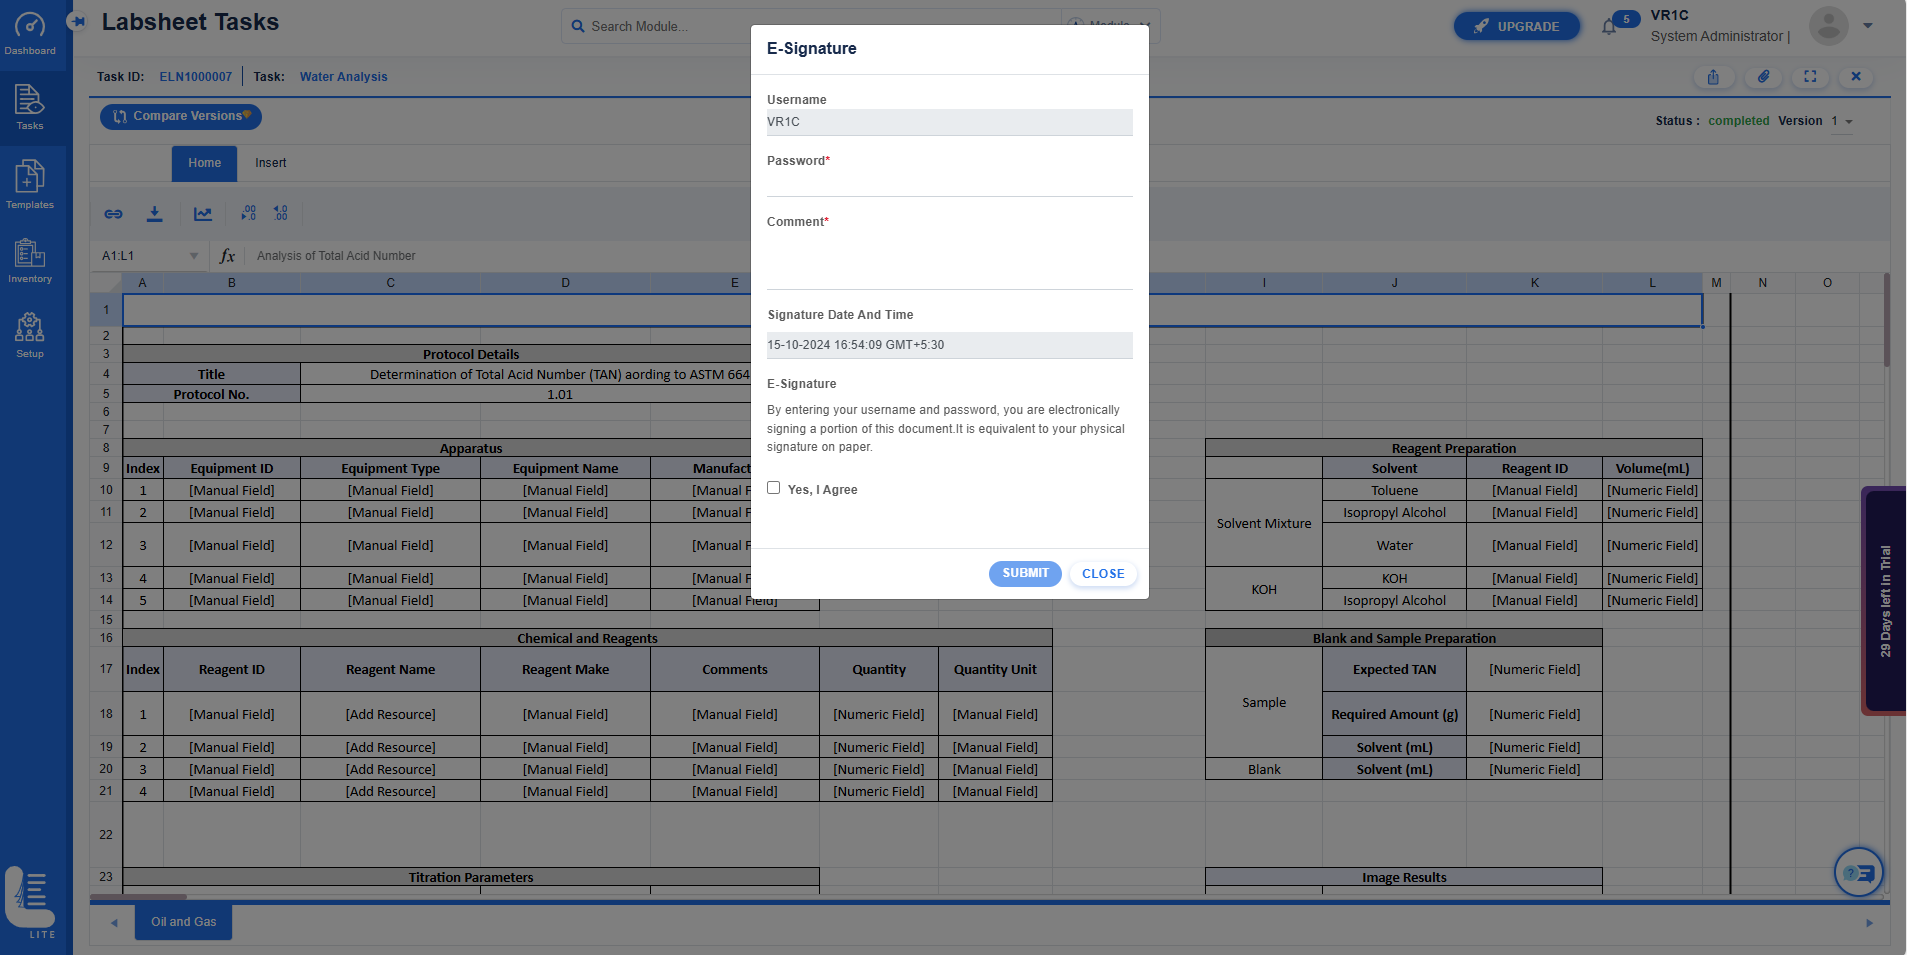
Enter Password, Comments and select to check the checkbox of Yes, I Agree.
Click SUBMIT button.
The status of the Task is changed from Approved to Completed.
The message TASK COMPLETED SUCCESSFULLY is also displayed.
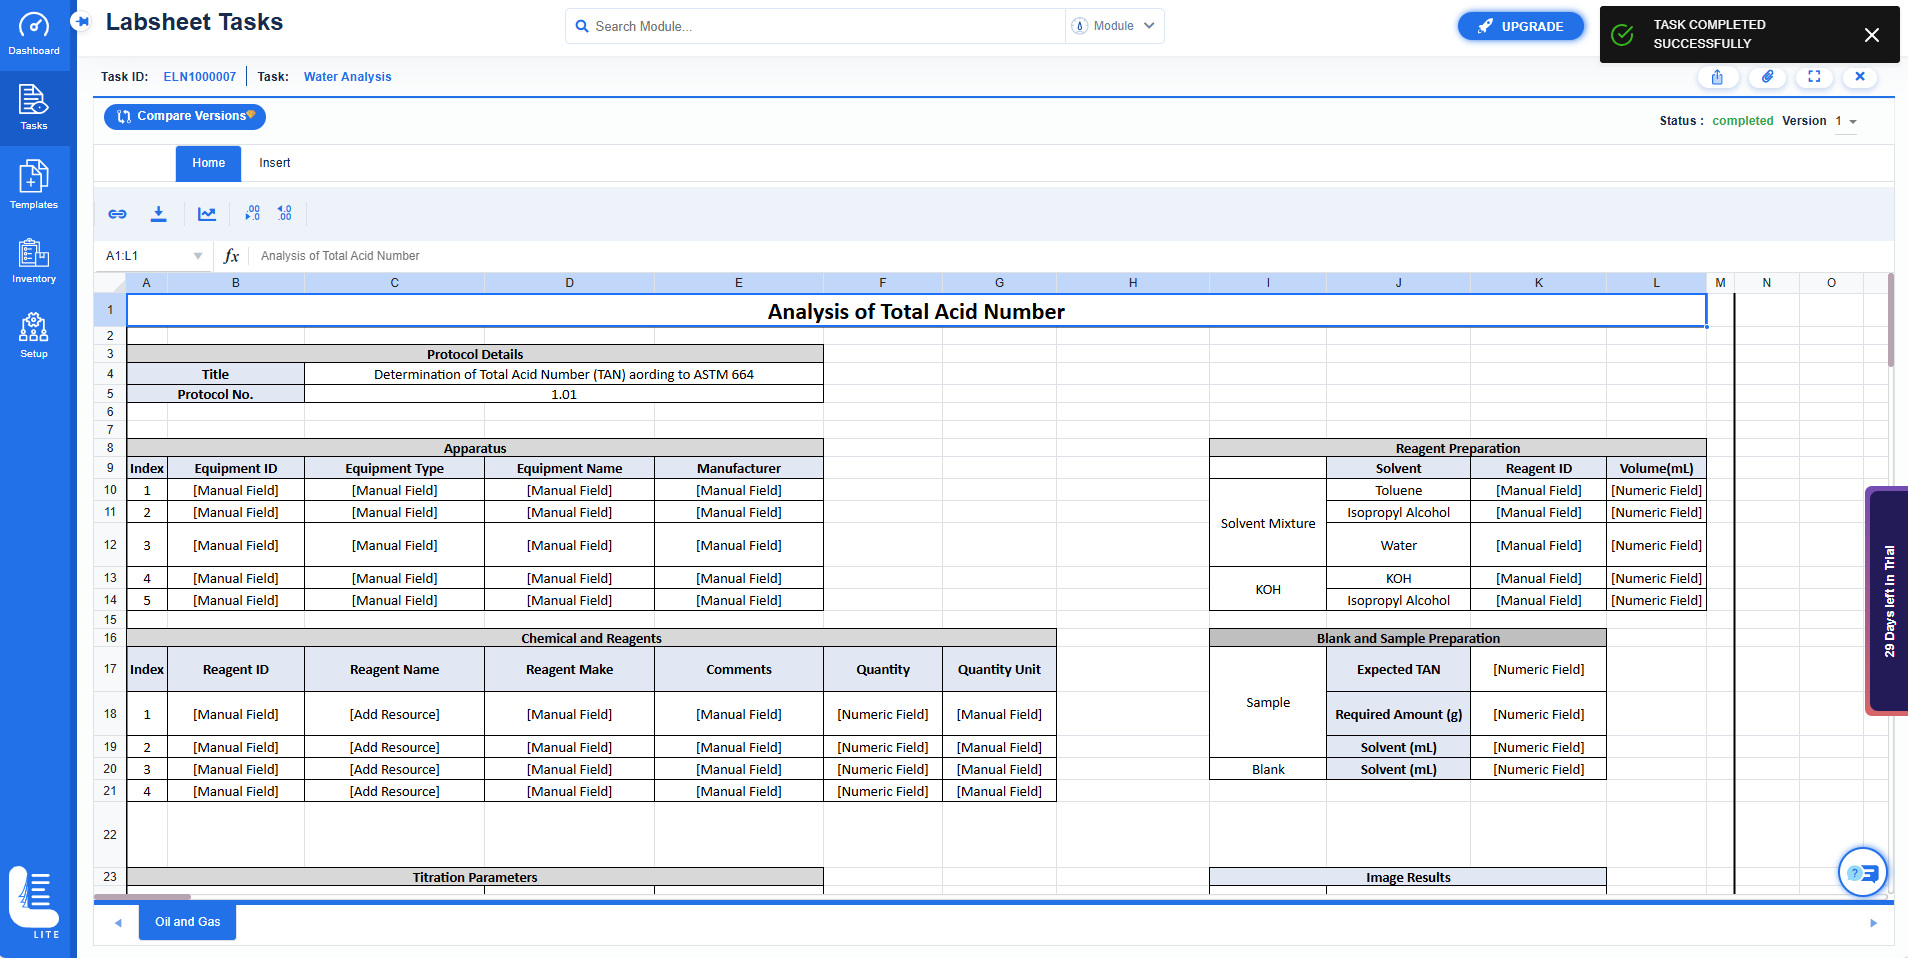
The completed tasks is moved from Pending Tasks folder to Completed Tasks folder.
