The Sheet Templates module enables you to create lab sheets in Logilab ELN Lite. You can create, design, capture data, calculate and view results using lab sheets.
On the main menu, click  and then click Sheet Templates.
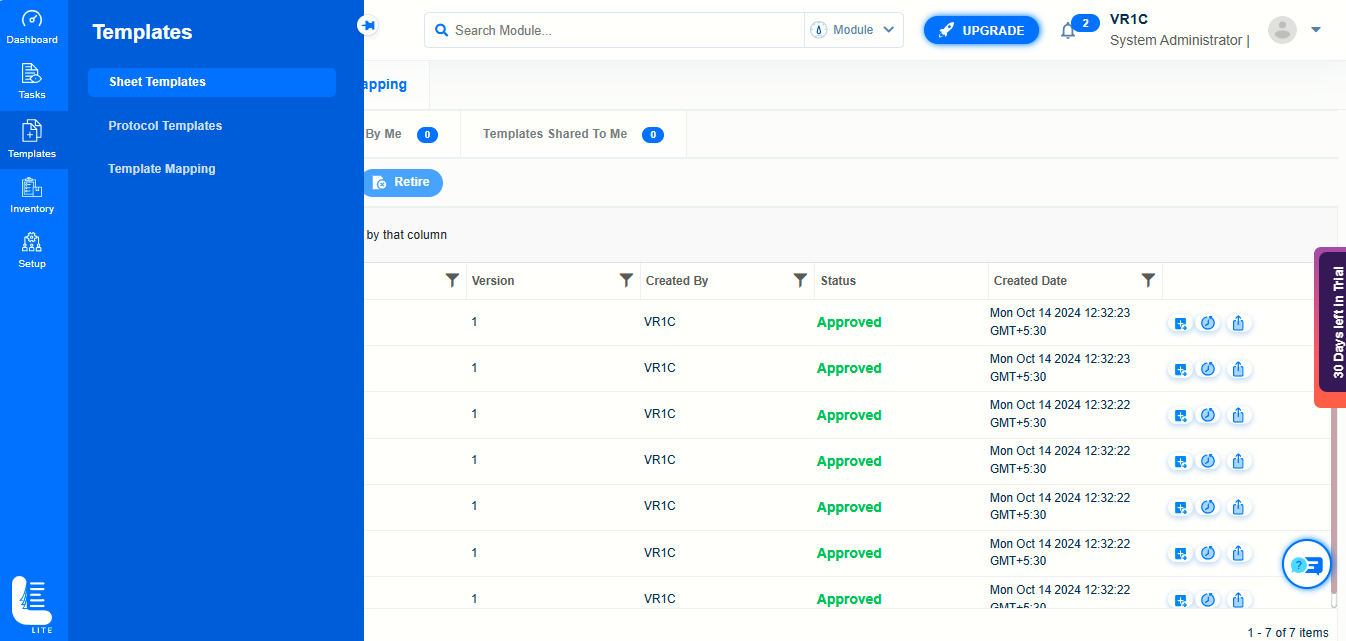
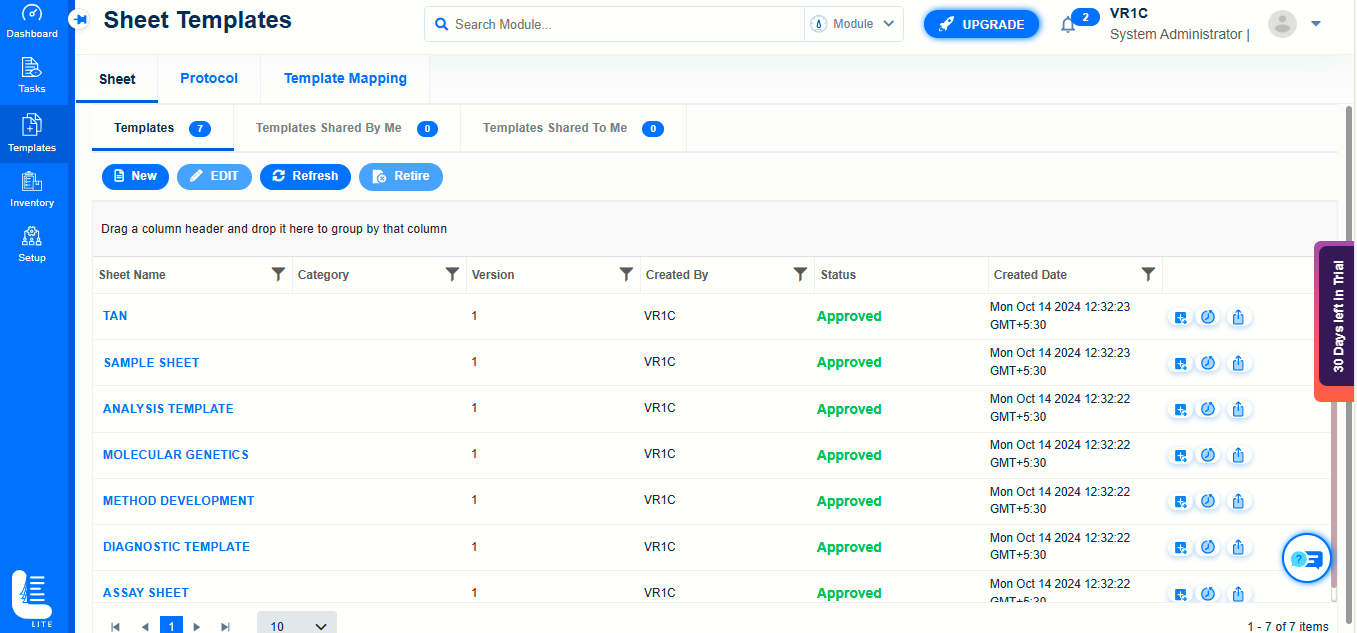
The Sheet tab appears as shown in the figure. The list of pre-configured sheet templates will get listed.
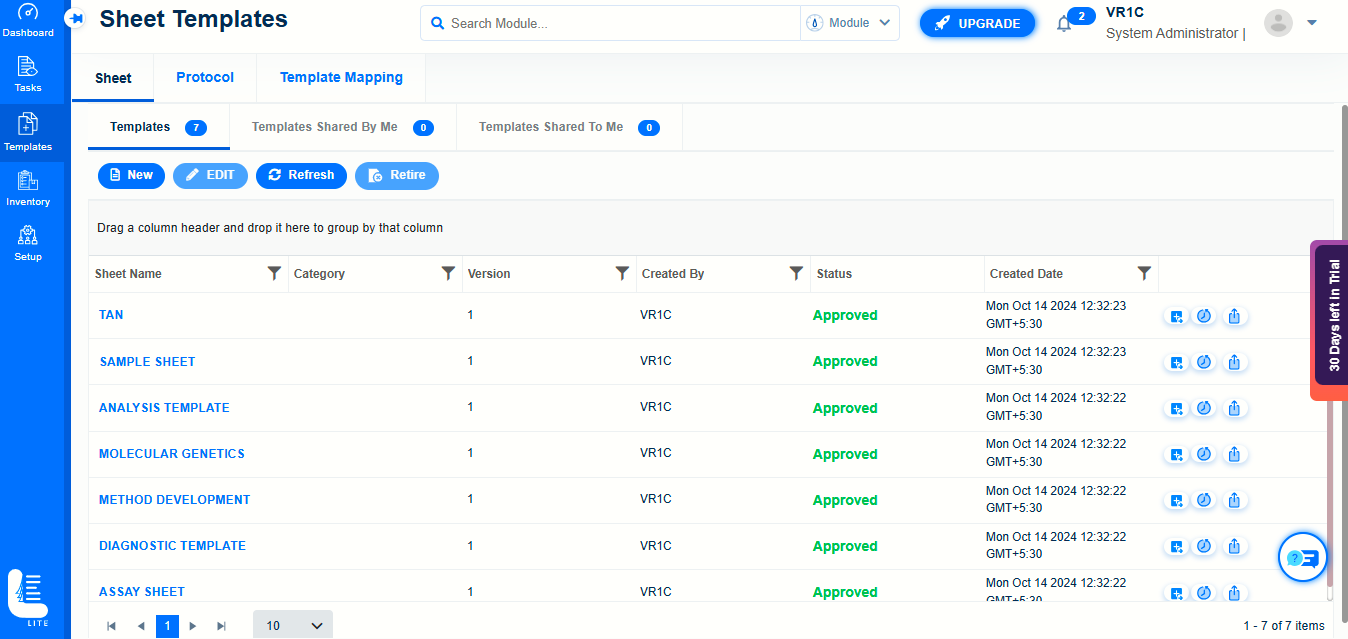
In order to create a new one, click on 'New' button.
By default, an MS excel-like interface with 'Sheet1' as default will be displayed.
Let us now see how to import a sheet template from an already-created excel file.
Click on 'Import' icon.
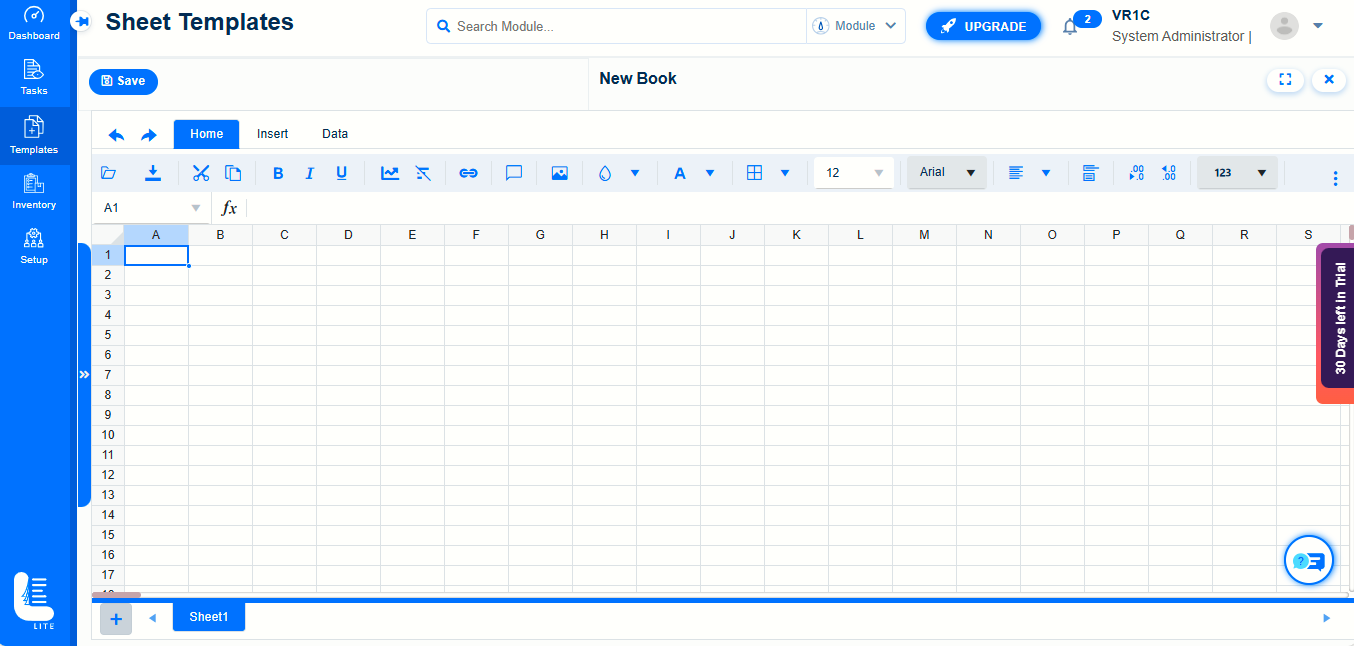
It will navigate to folder in the local system.
Locate the excel file, select it and click on 'Open' button.
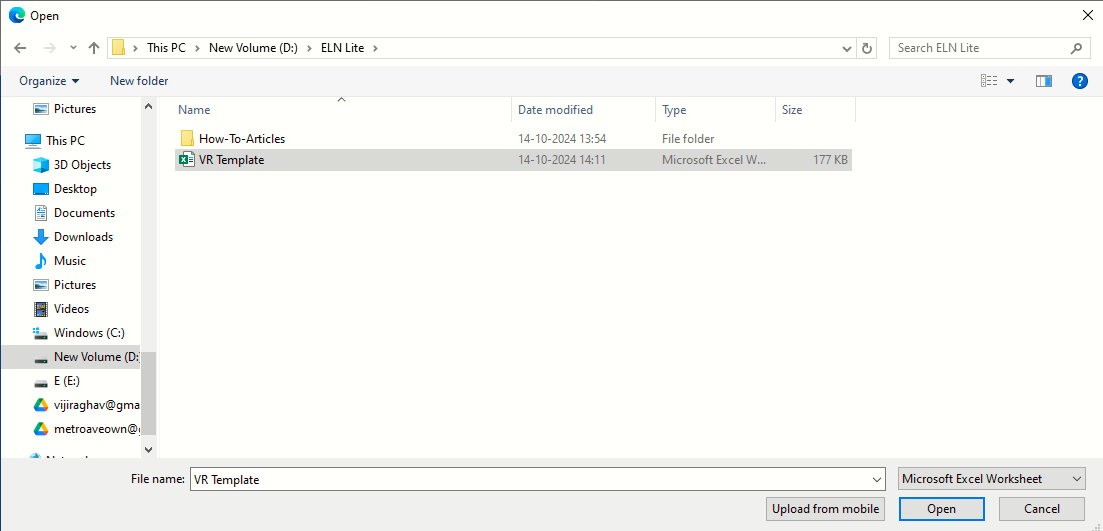
It will open the excel file in the Sheet Template.
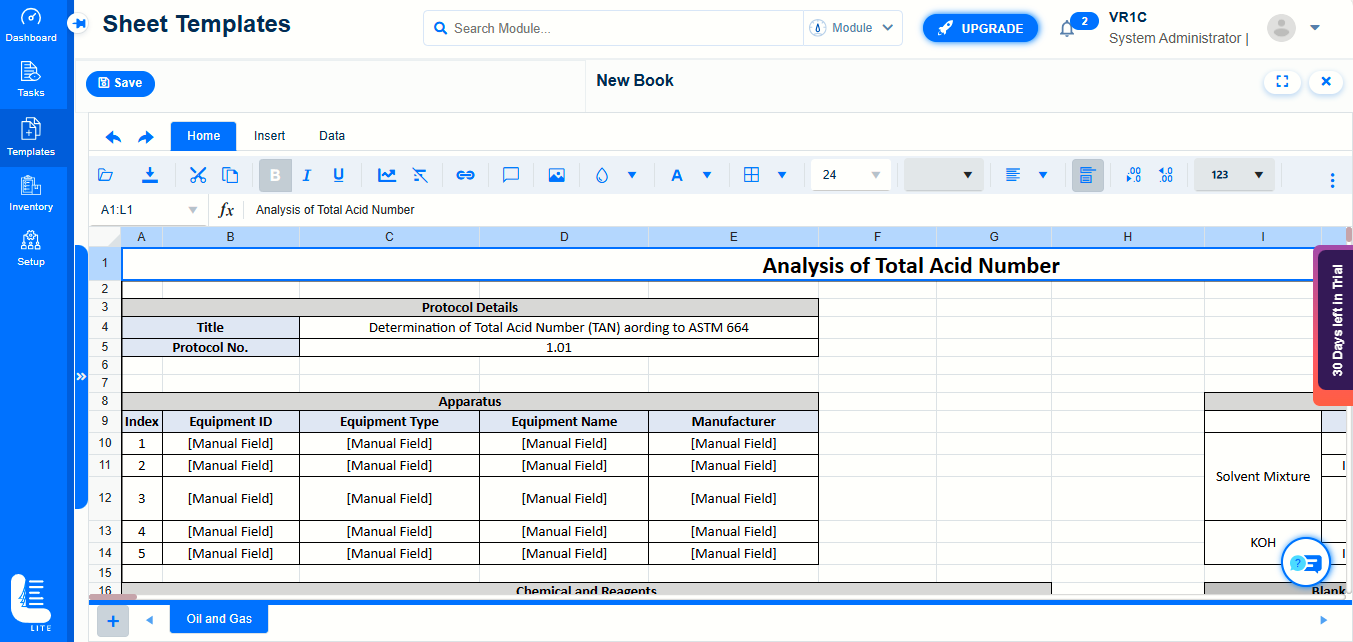
When you click on the arrow, it will expand the field list on the left-hand side panel.
You can further expand the general fields to view the list of all available field types.
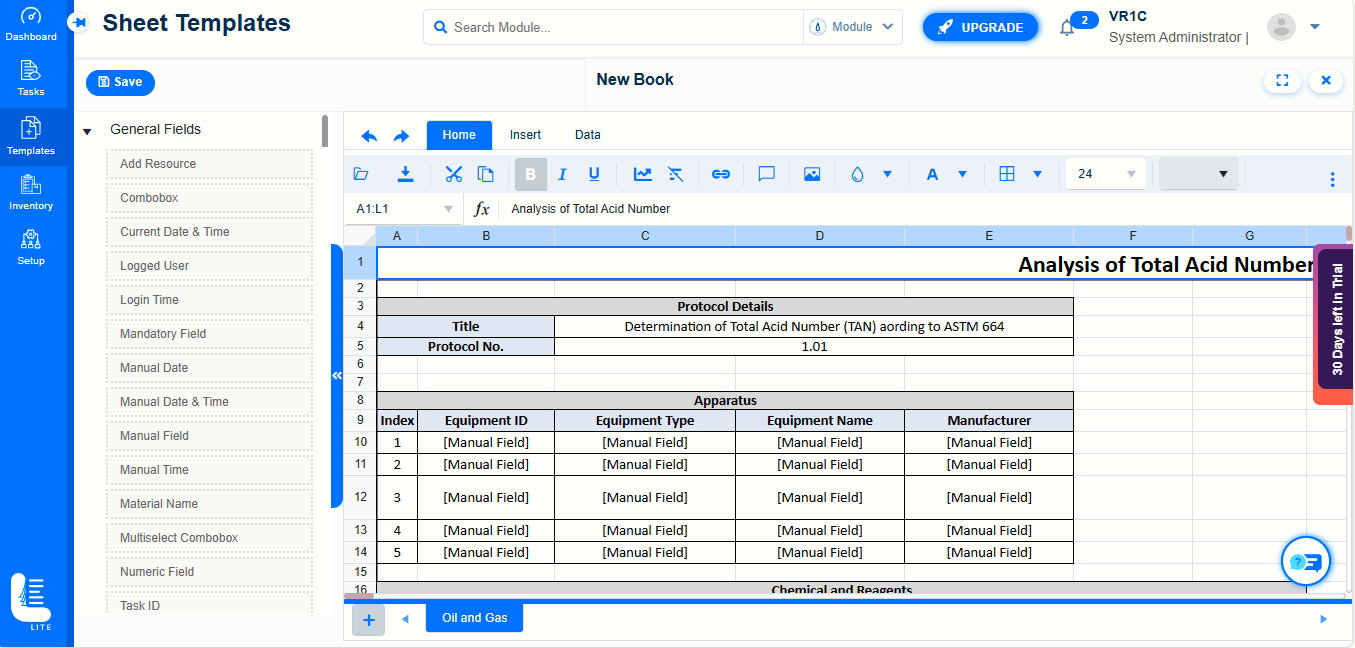
Select the field, drag and drop onto the specific cell.
For example, the field 'Add Resource' is selected, dragged and dropped on to one of the cells of spreadsheet.
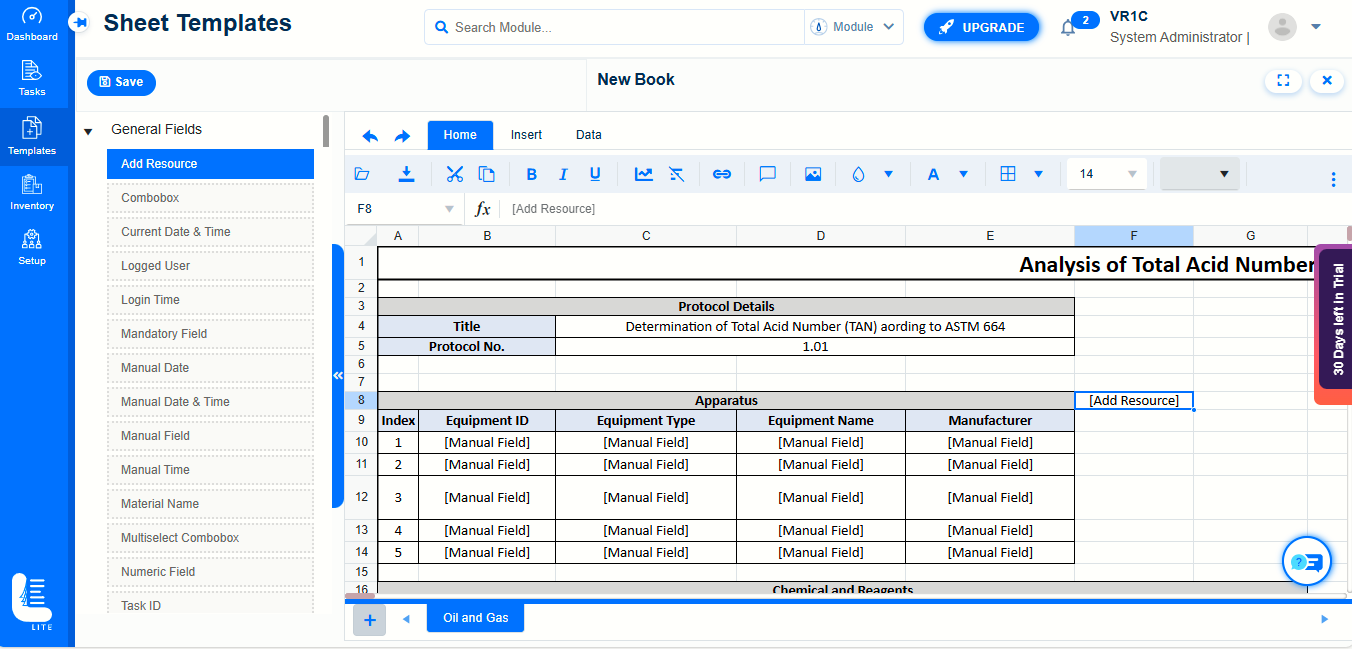
Select the fields one-after-the-another and complete the mapping of all the corresponding ones in the sheet template.
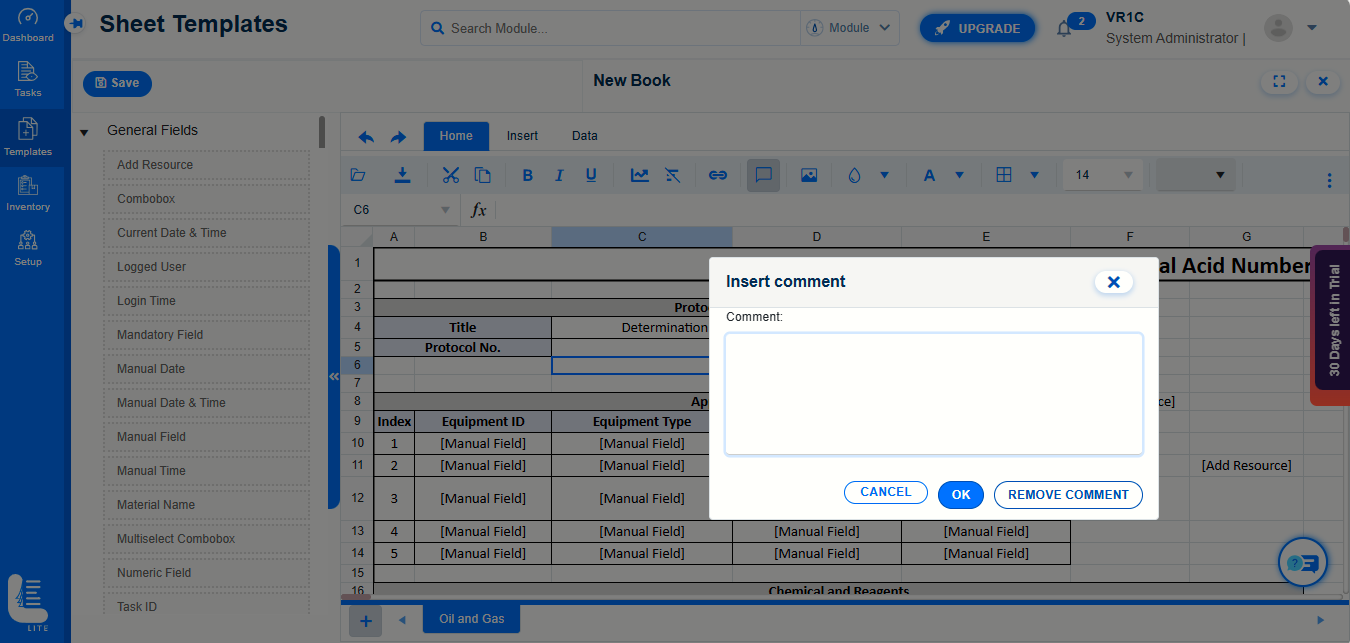
Inserting comments for any field is also possible as shown.
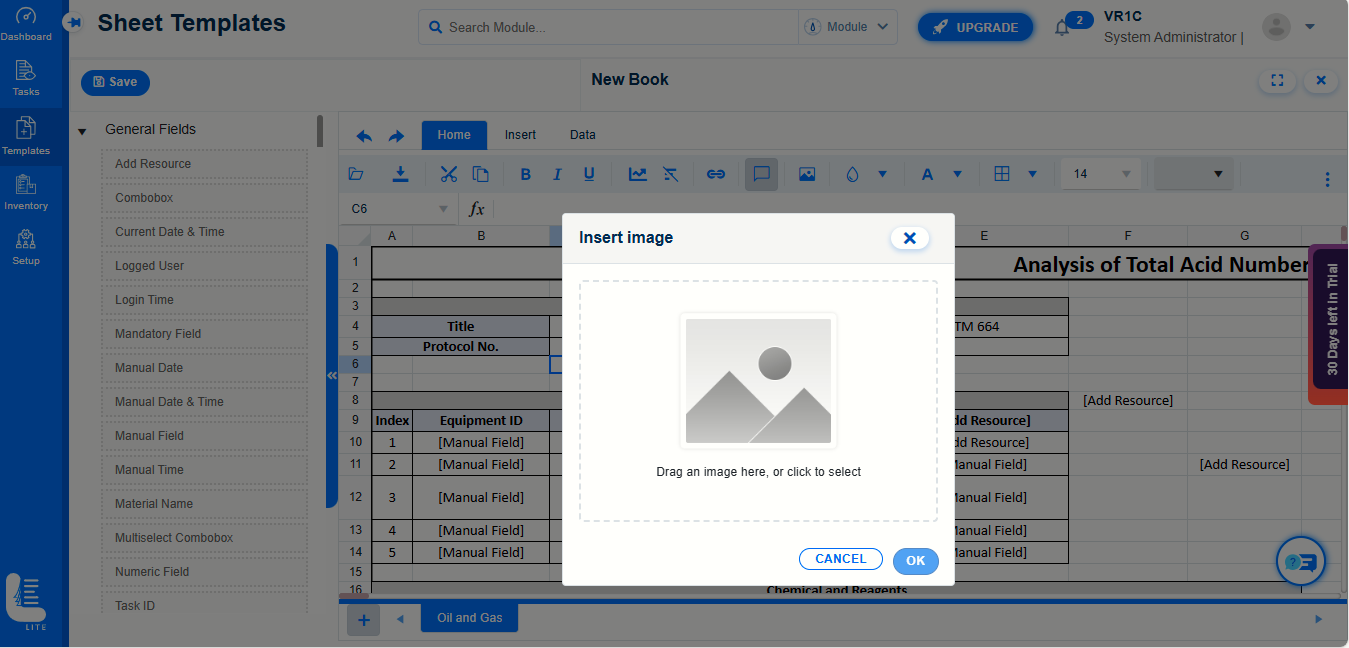
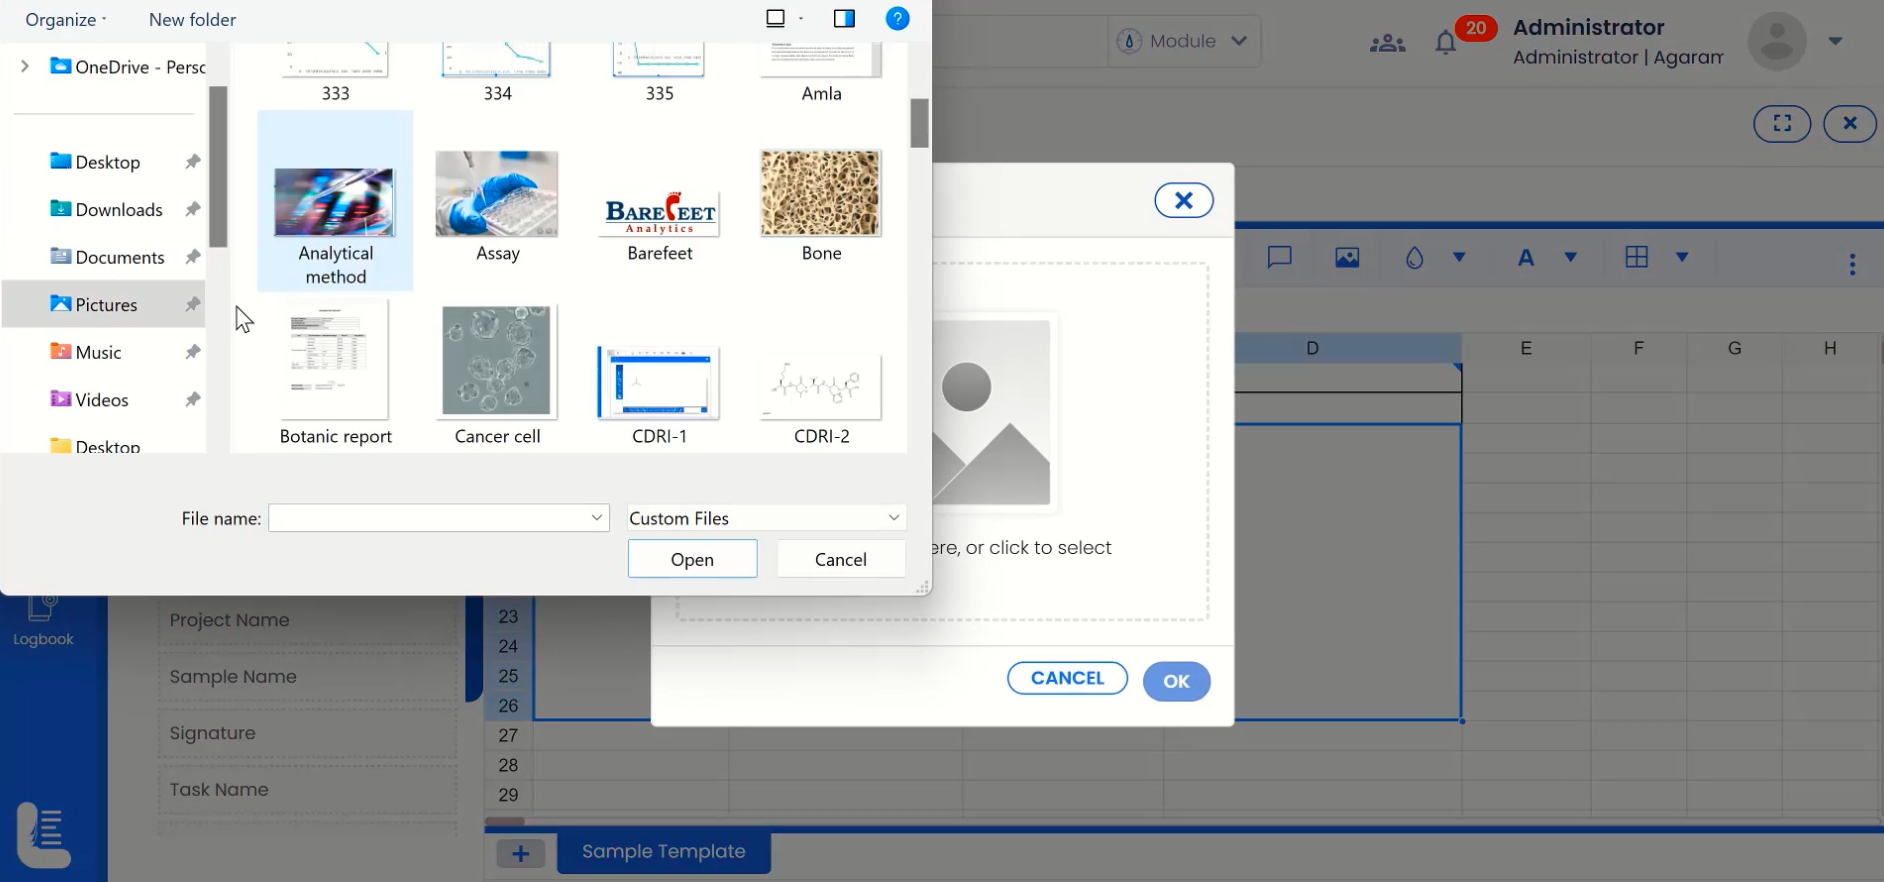
In case of inserting an image, please click on Image icon, navigate the system folder and select the picture file.
Click ‘Open’ button.
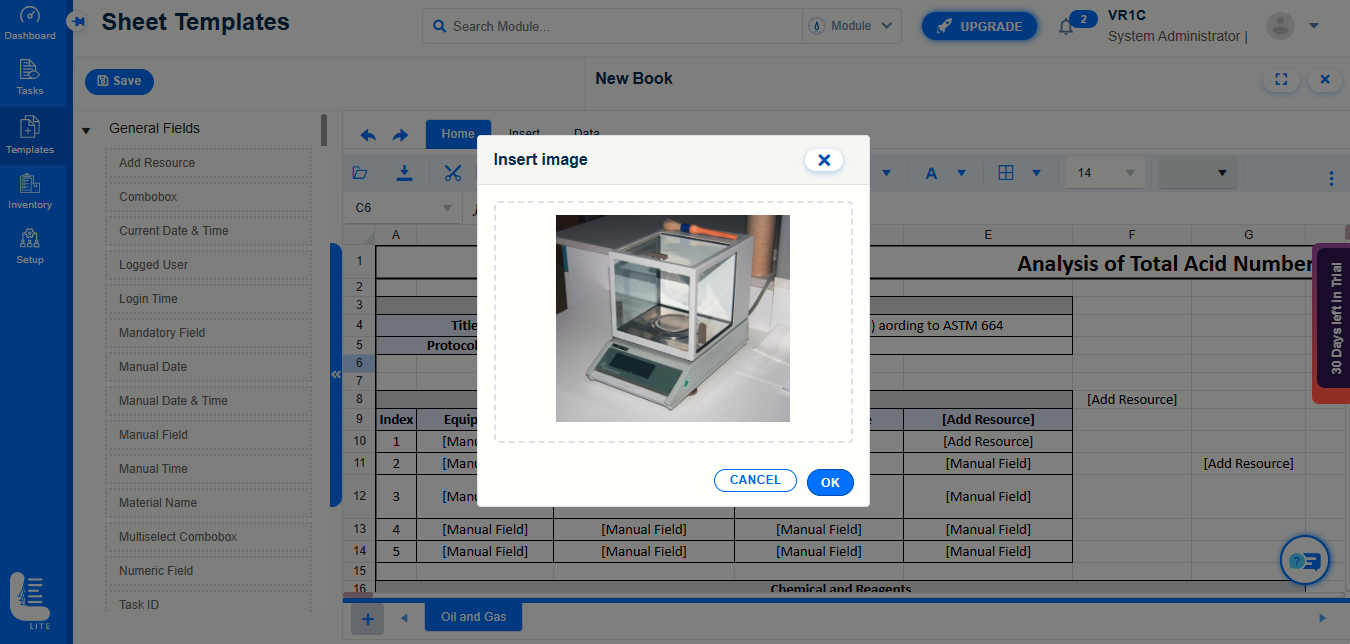
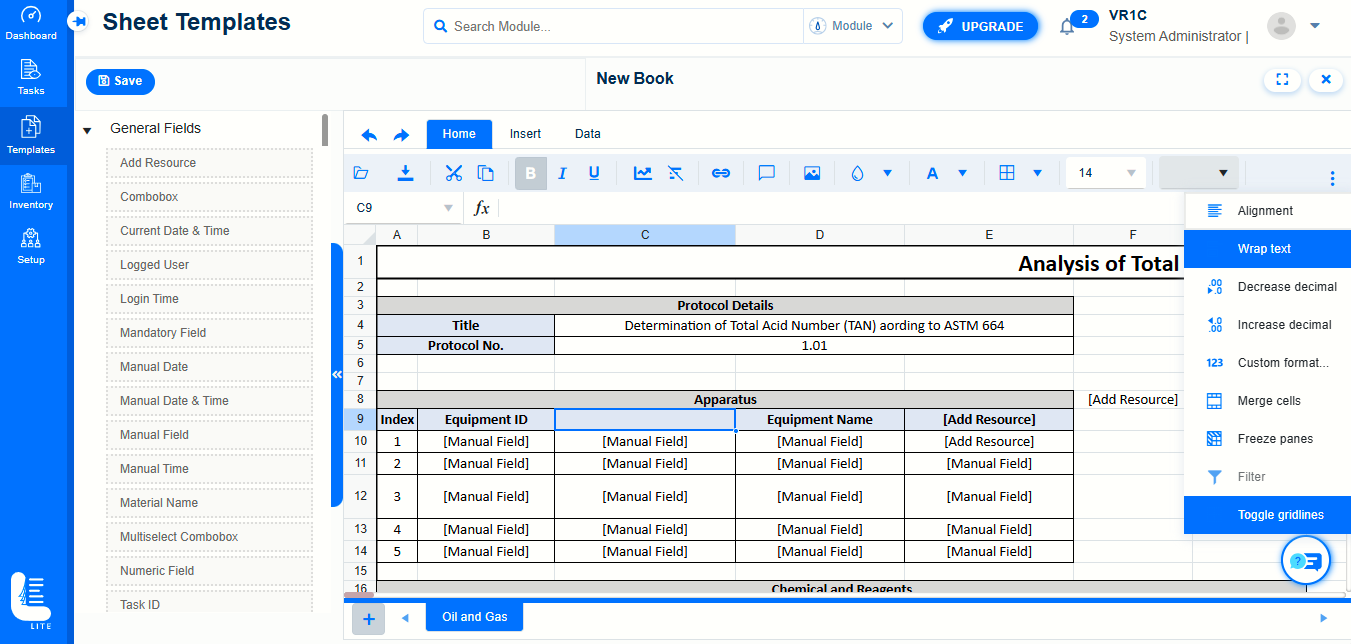
On the sheet, in addition to import, there are various options such as export, text formatting fields, hyperlink, insert comment and insert images, etc. have been provided.
Other cell formatting options such as alignment, wrap text, etc. are also available.
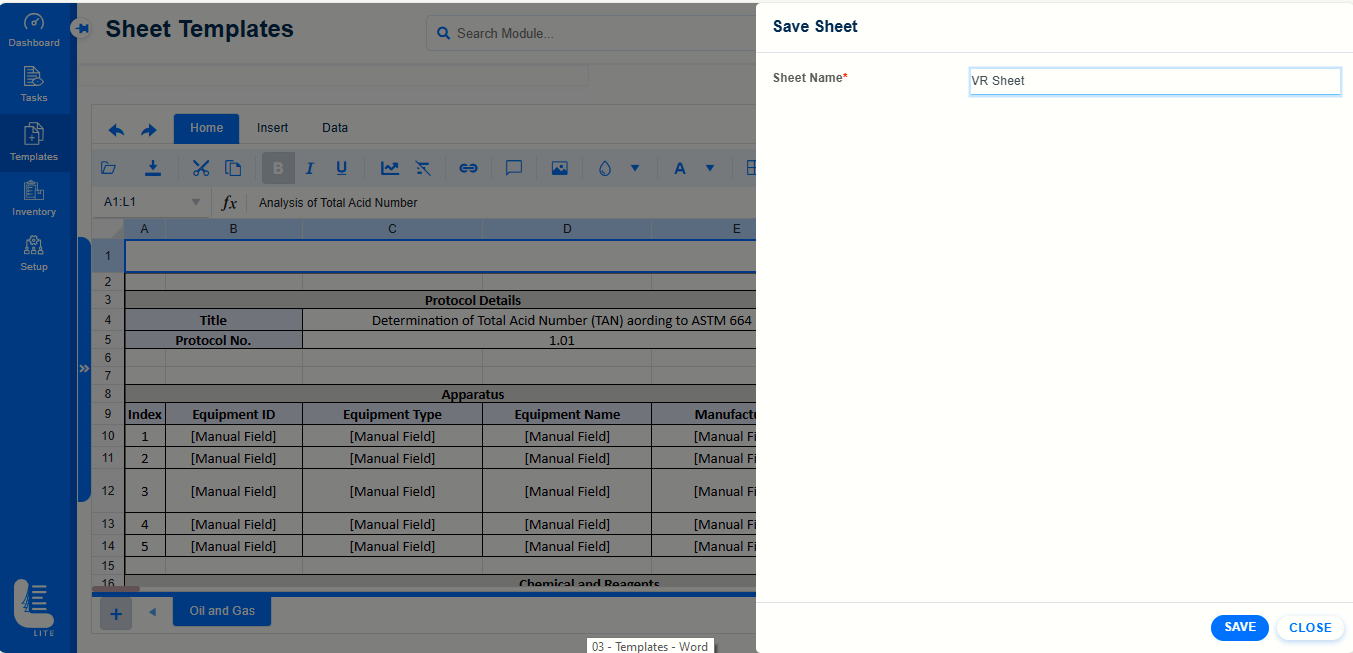
Once the sheet is fully configured, click on 'Save' button.
It will open up a dialog box named 'Save Sheet'.
Enter the Sheet name as the name in which the sheet will be saved.
After entering or selecting the other fields as required, click on 'SAVE' button.
The message SHEET SAVED SUCCESSFULLY is displayed.
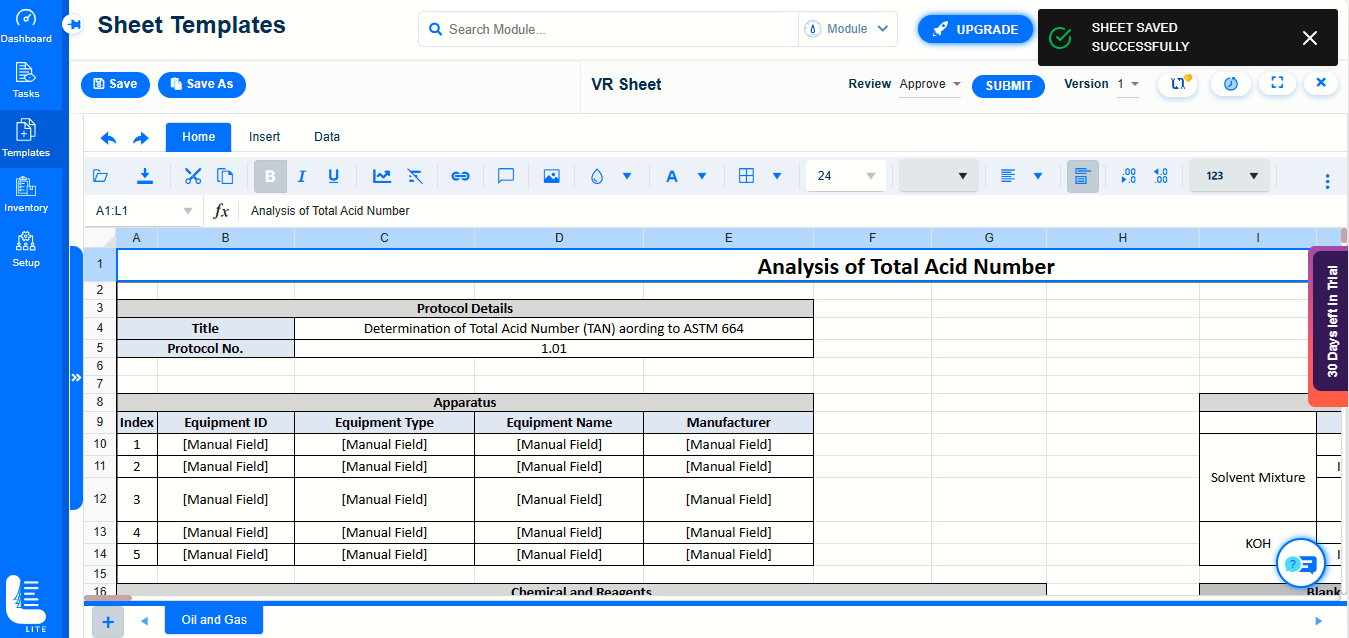
The created sheet is in the created status which needs to be transmitted to the next level of approver as setup in workflow.
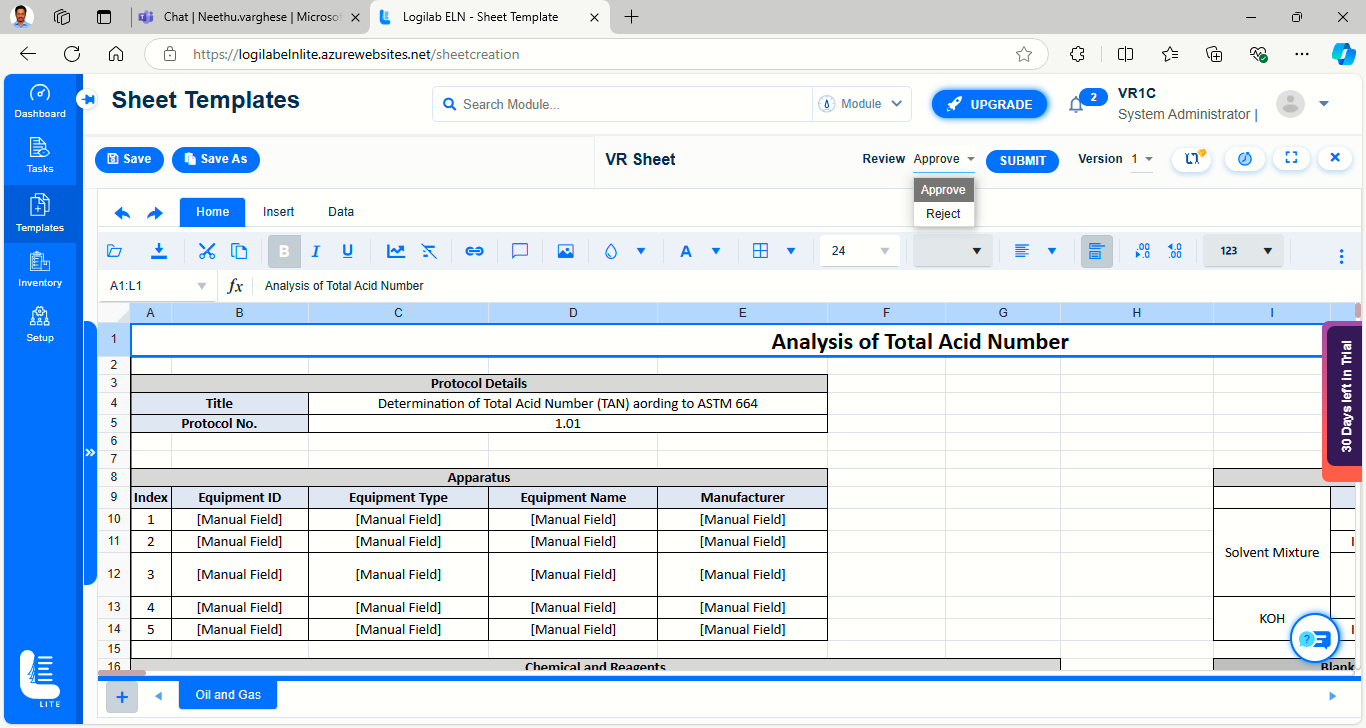
Select the required option such as 'Approve' to transmit to the next level or 'Reject' if the sheet is not ok to be approved.
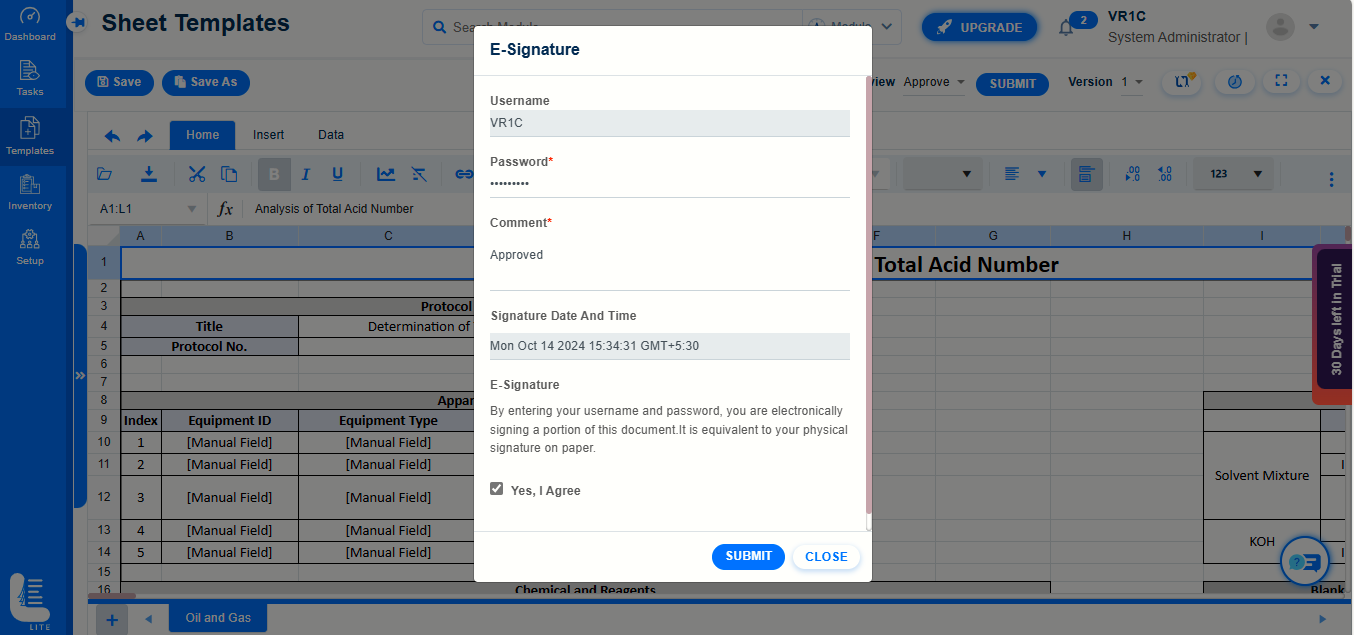
Once the 'SUBMIT' button is clicked, a new dialog box E-Signature will be opened, in which the user has to enter the password.
Enter password first and then comment to authorise this entire process of template creation and approval at the user level.
Select the check-box "Yes, I agree" to complete the electronic signature process and click on 'SUBMIT' button.
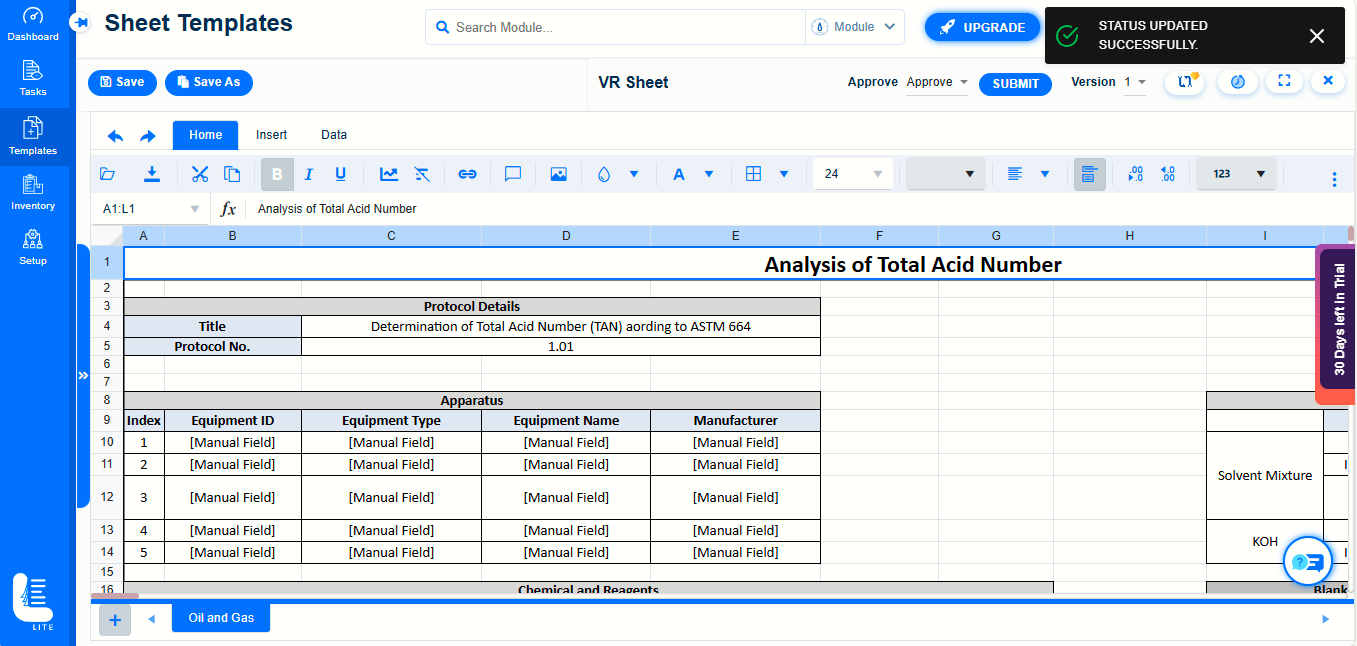
The message 'STATUS UPDATED SUCCESSFULLY' is displayed.
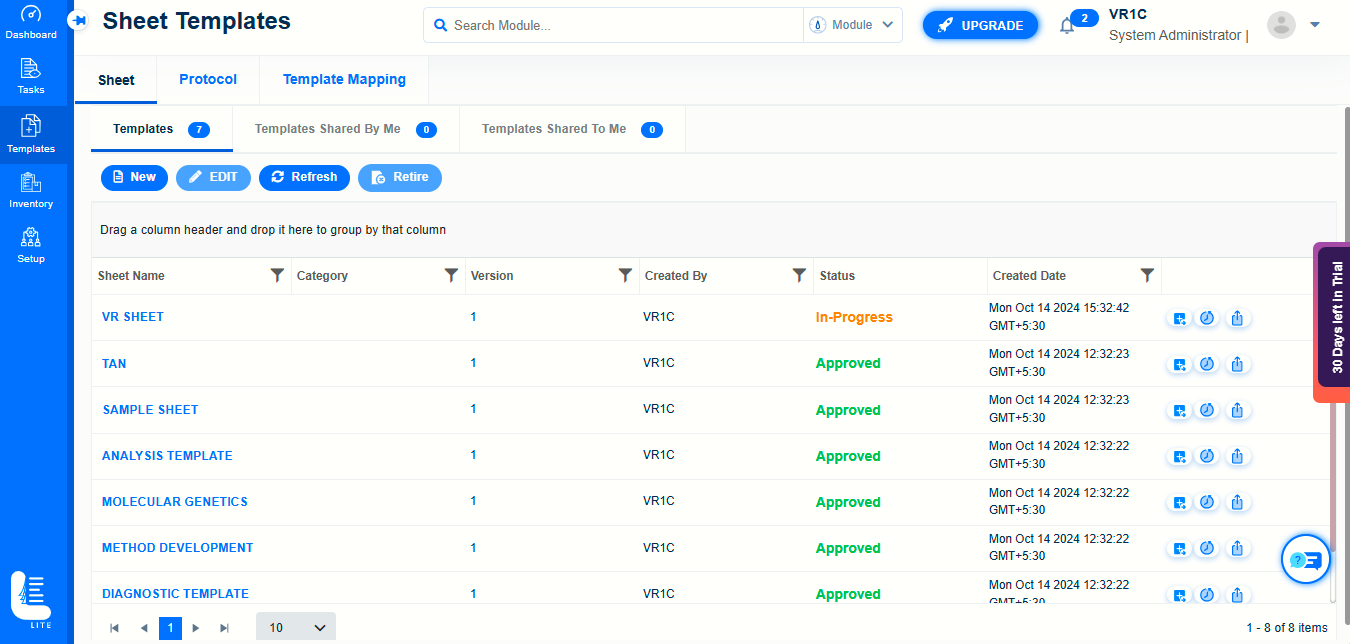
Click on 'Close' icon to navigate to the previous page in which newly created sheet gets listed.
To create a protocol template, follow these steps:
On the main menu, click  and then click Protocol Templates. The Protocol Templates screen appears
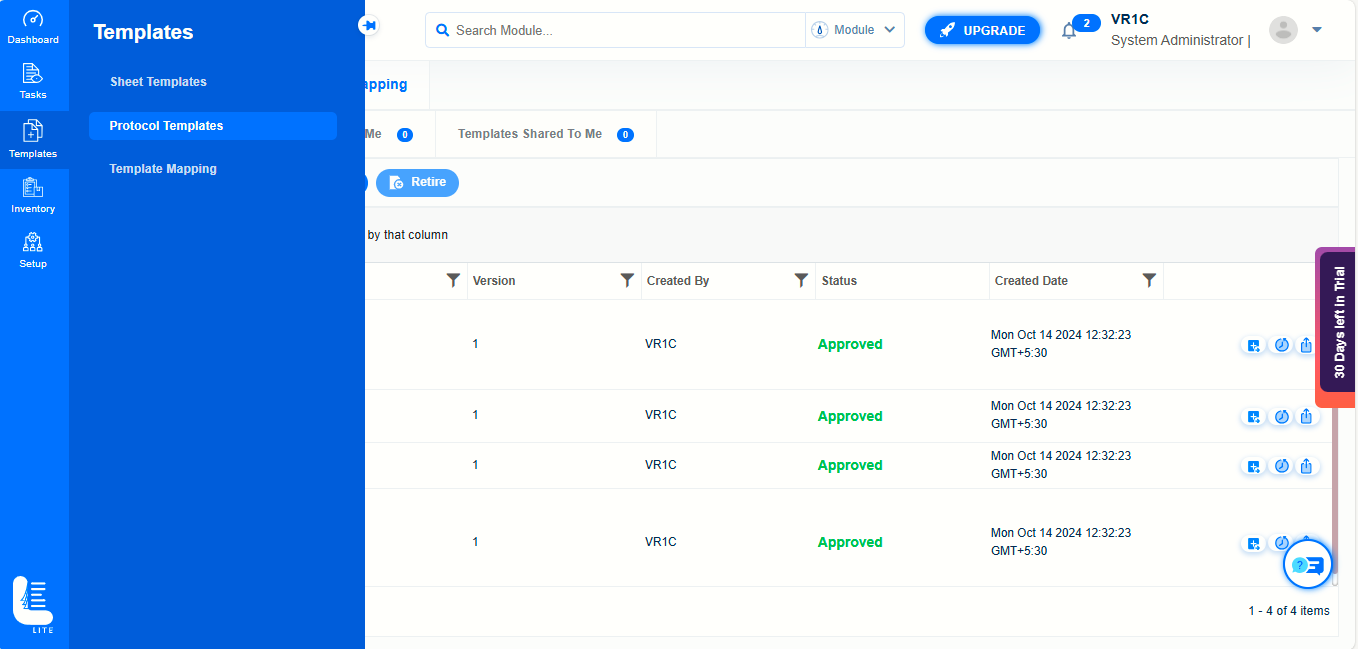
The list of pre-configured protocol templates will be displayed.
To create a new protocol template, click on NEW button.
It will open up ‘Create New Protocol’ dialog window.
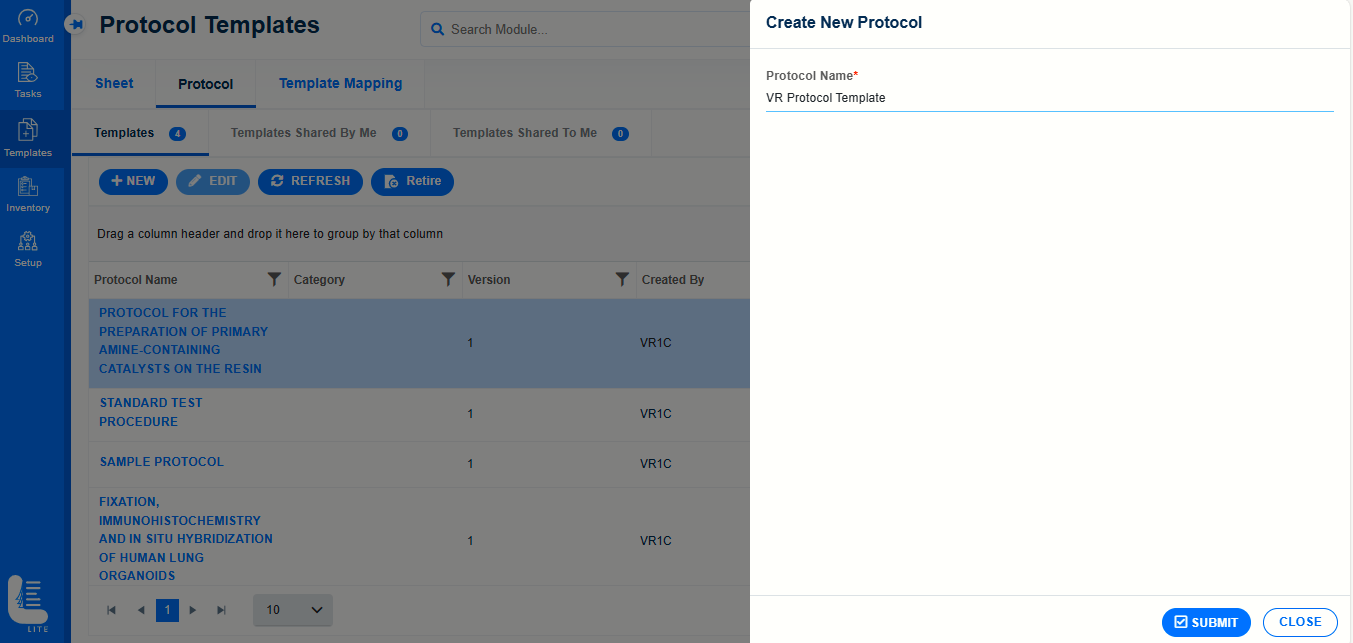
Enter a valid unique value in Protocol Name field.
Click SUBMIT button.
The newly-created protocol template will appear on Protocol Templates page.
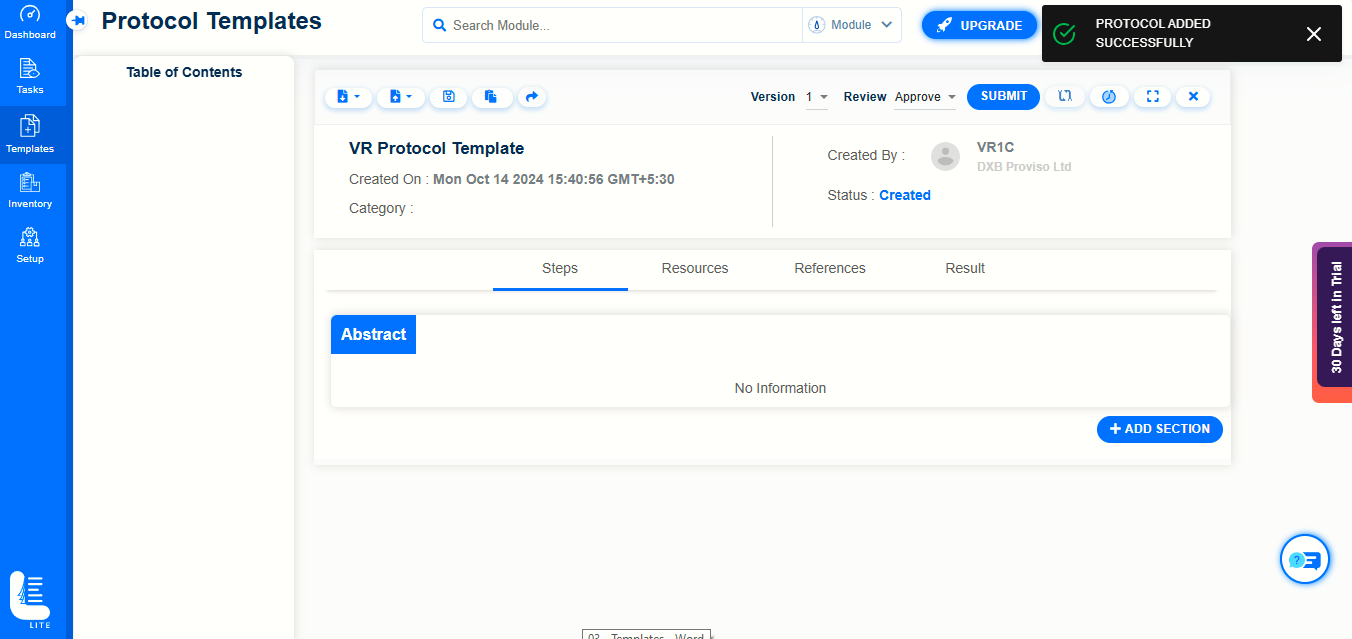
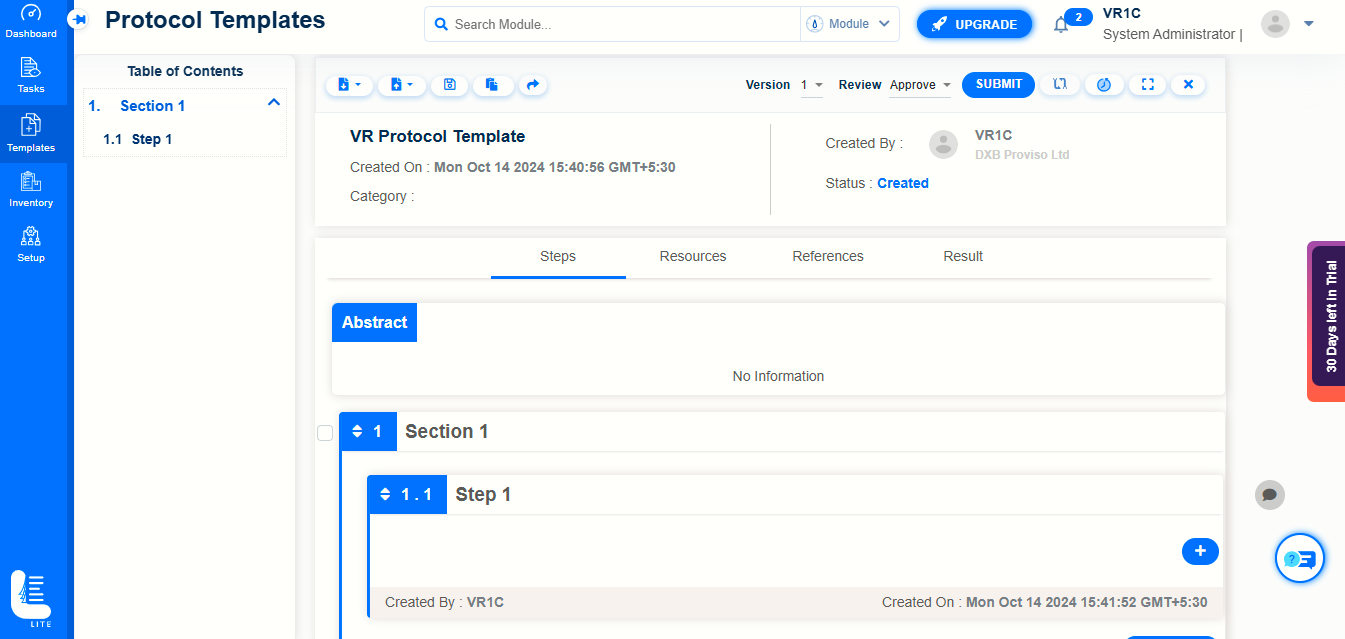
Complete the configuration of protocol template by adding Steps i.e. Sections followed steps for each section
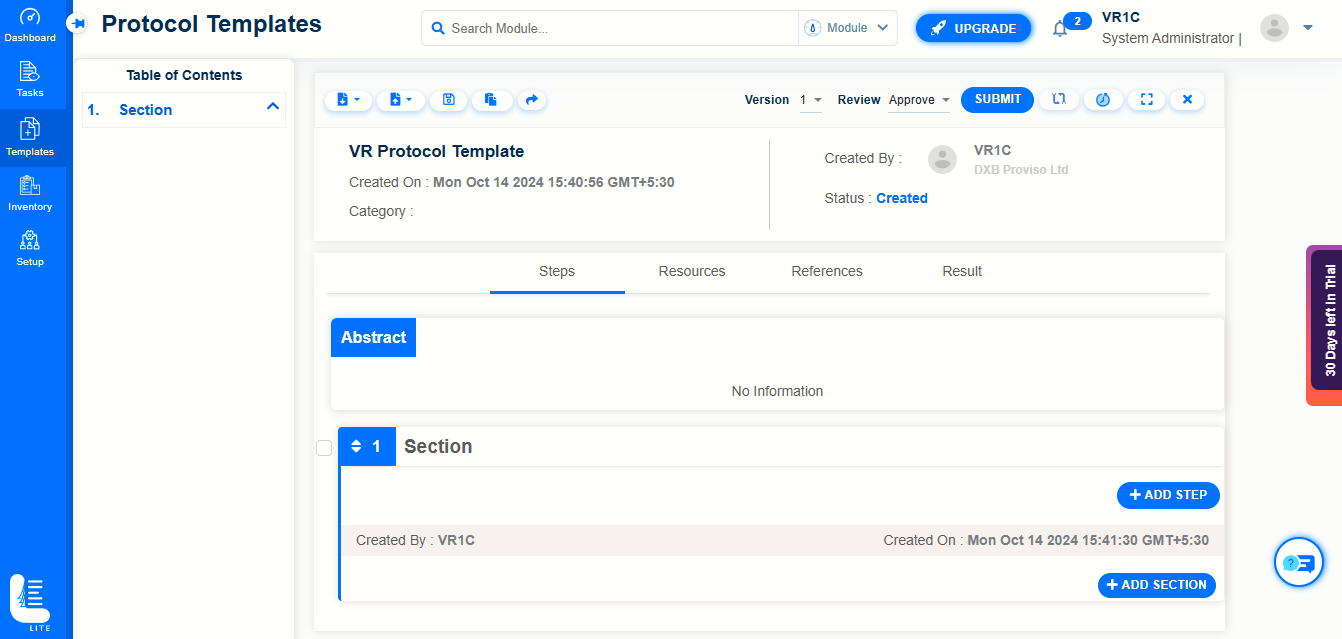
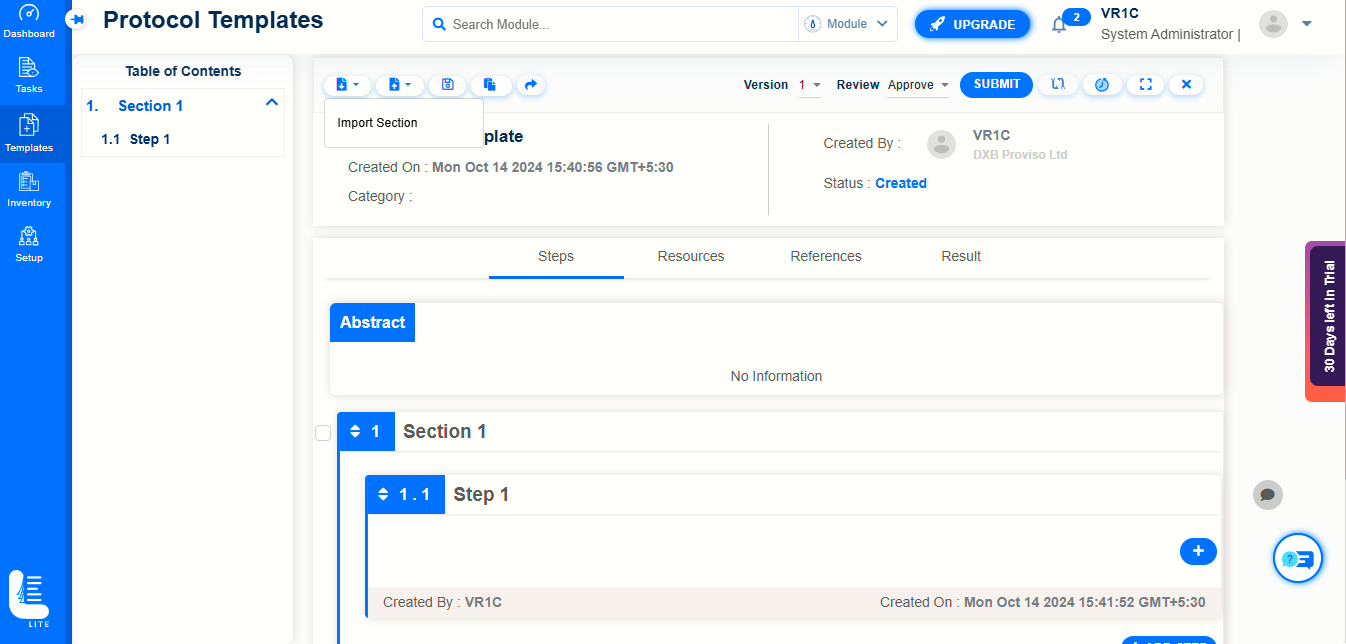
You can optionally import protocol section by clicking on Import Section
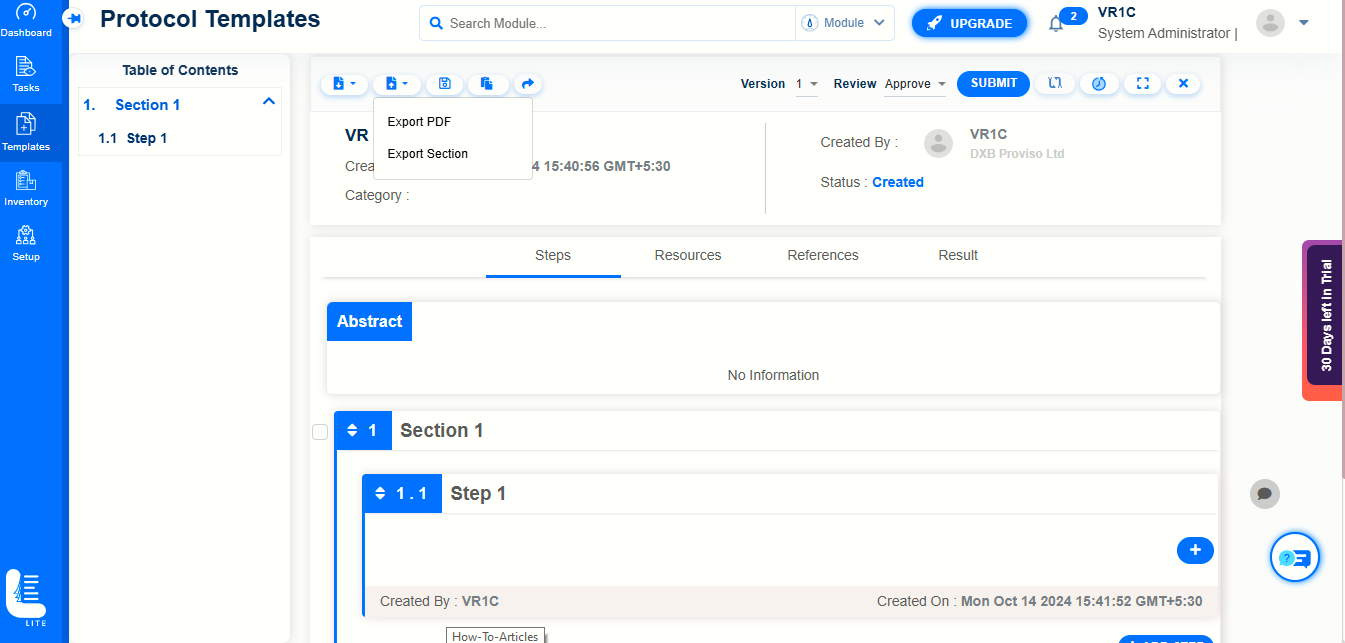
Once the protocol template is created, the sections can be exported by choosing Export PDF or Export Section options
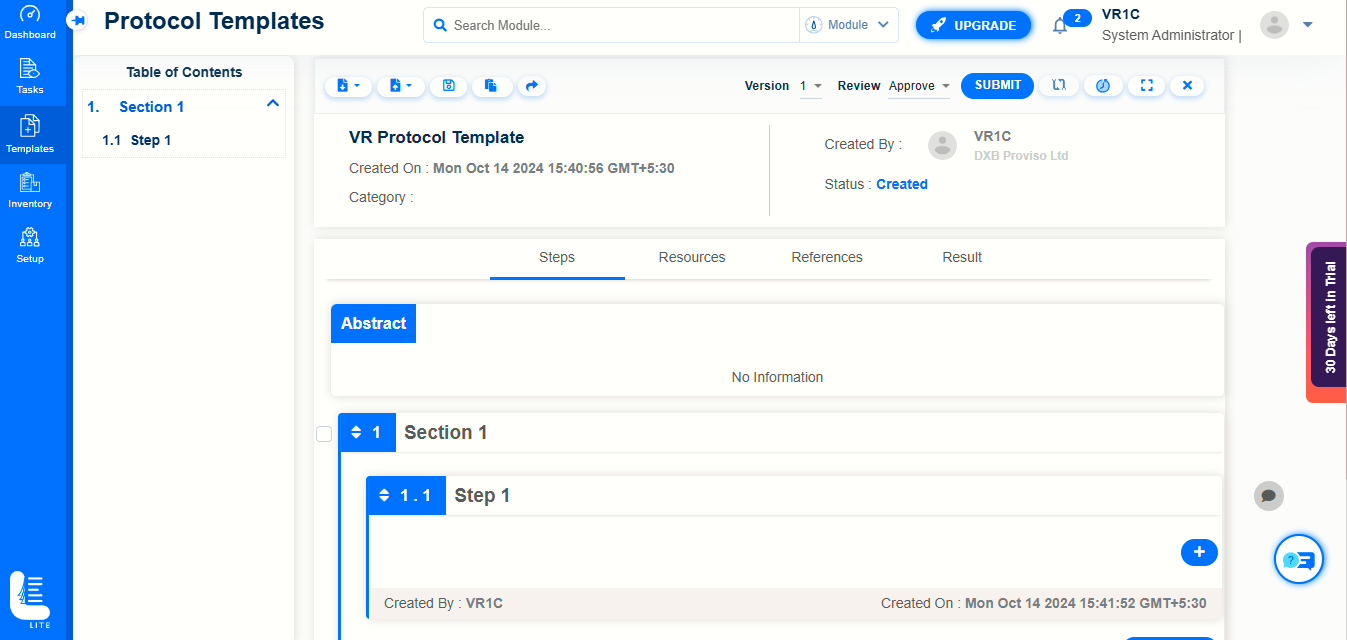
In Resources Tab, resources such as Material can be added by clicking ADD MATERIAL.
In ‘Add Material’ dialog window, select the Material by clicking in the respective check-boxes, followed by clicking on ‘ADD MATERIAL’ button.
In References tab, you can add reference text.
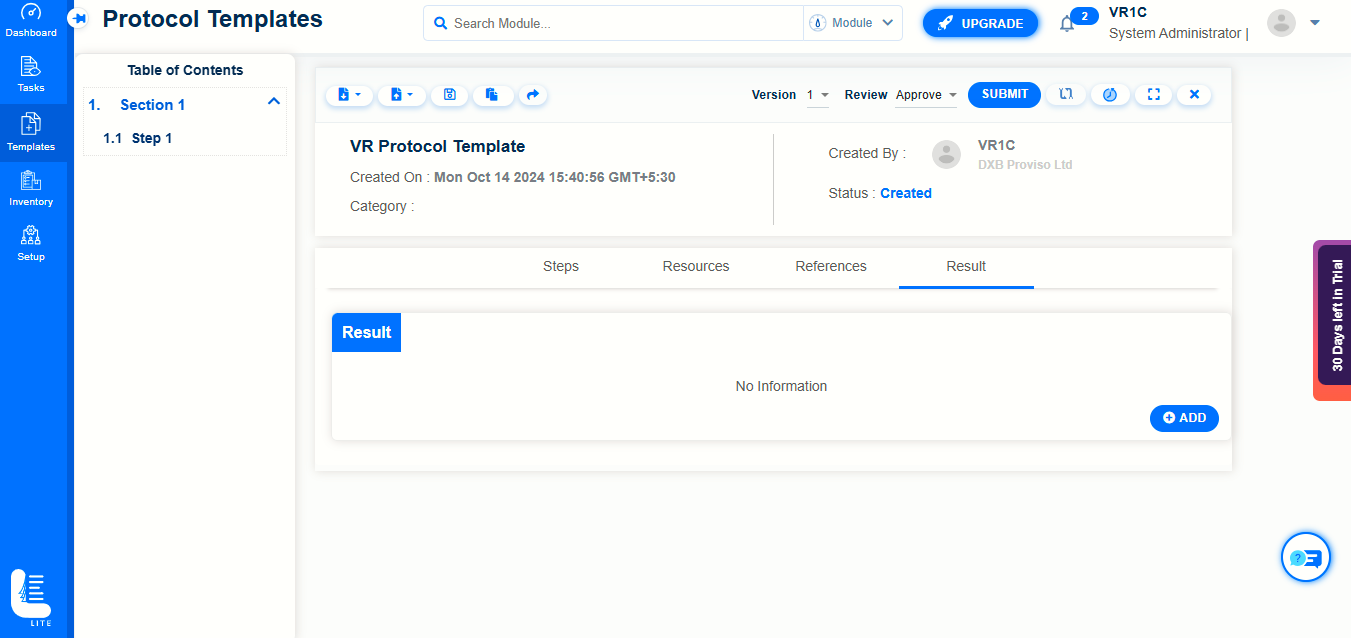
In Result tab, results of test or experiments or procedures can be added by clicking ADD button.
On clicking ‘ADD’ button, Add dialog window appears in which various types such as Text, Image, Attachment, Labsheet, Resource, Multi-step procedure, Grid, Signature and Checklist can be added.
Certain options such as Well-plate and Chemical diagram are not enabled for Logilab ELN lite but are available for full-version. In order to use them, Lite version needs to be upgraded to full version.
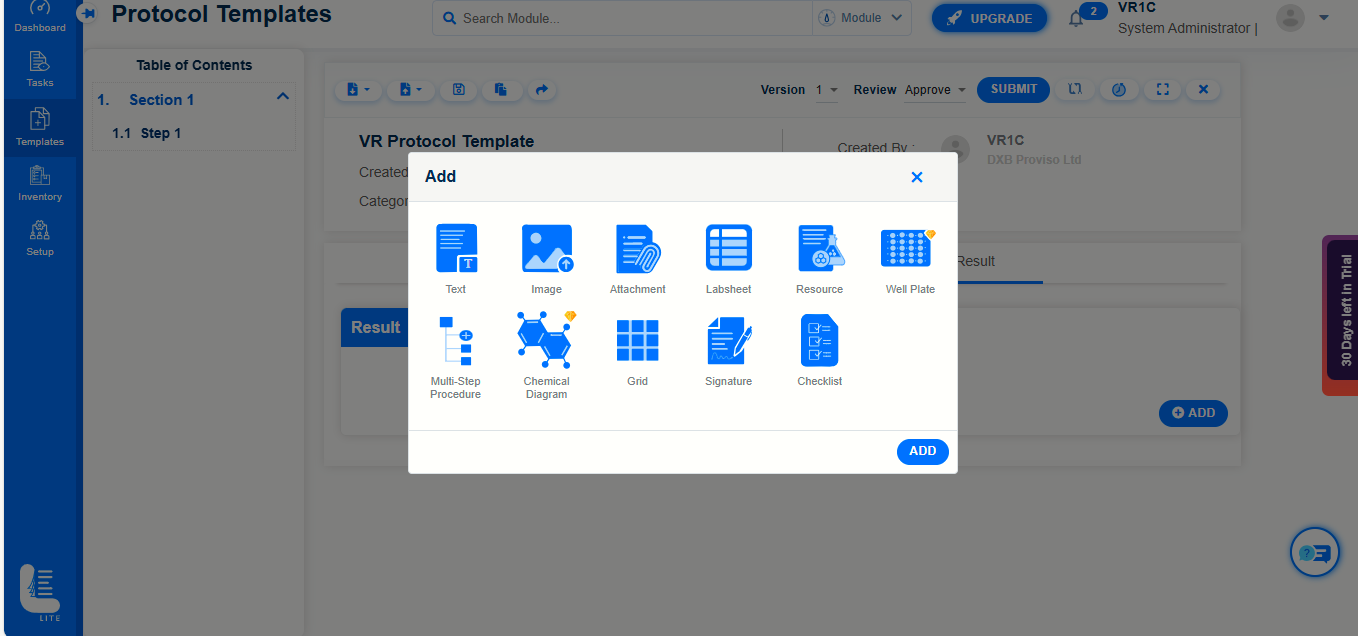
In order to click an image, choose Image icon and click ADD button.
Navigate to the system/local folder, select the file and click on Open button.
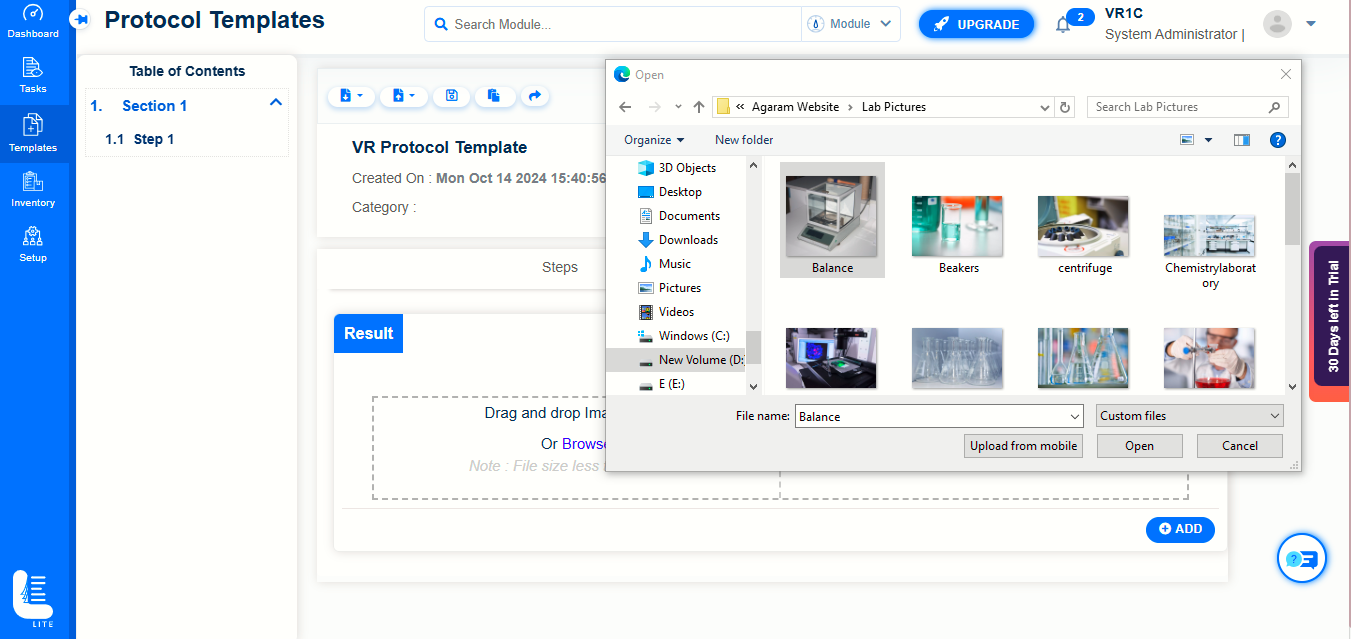
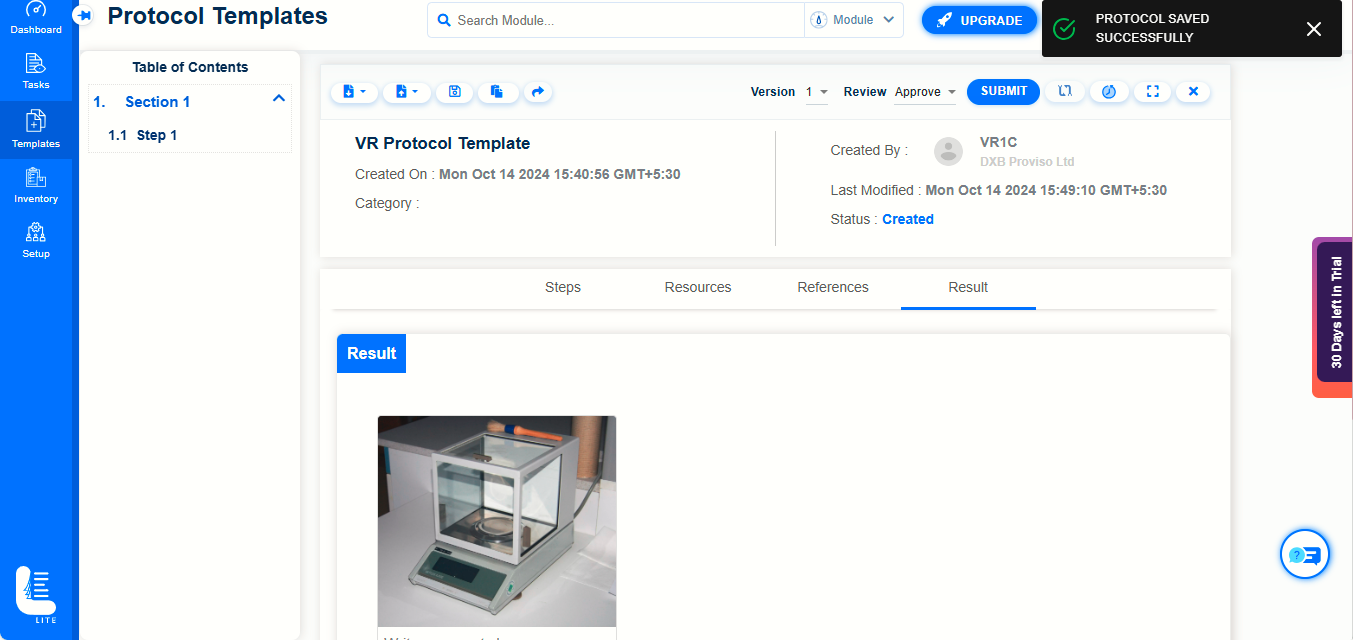
The selected image will be displayed.
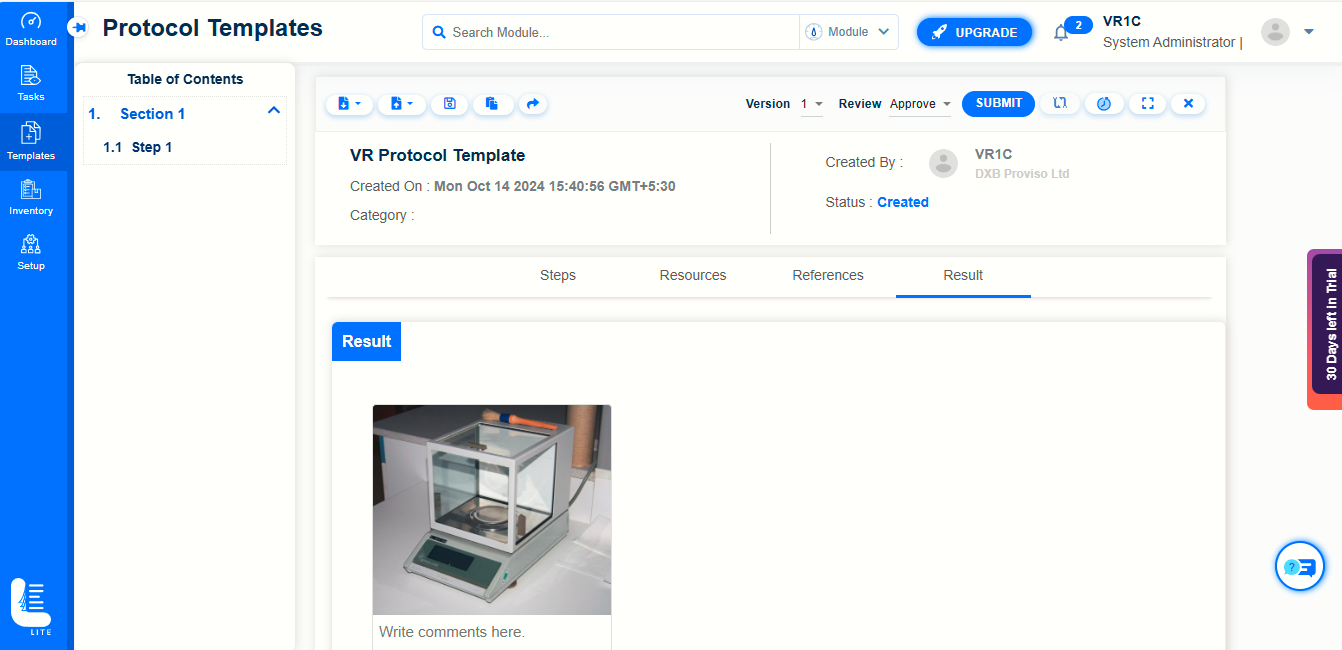
Once the image is added, the confirmation message will be displayed.
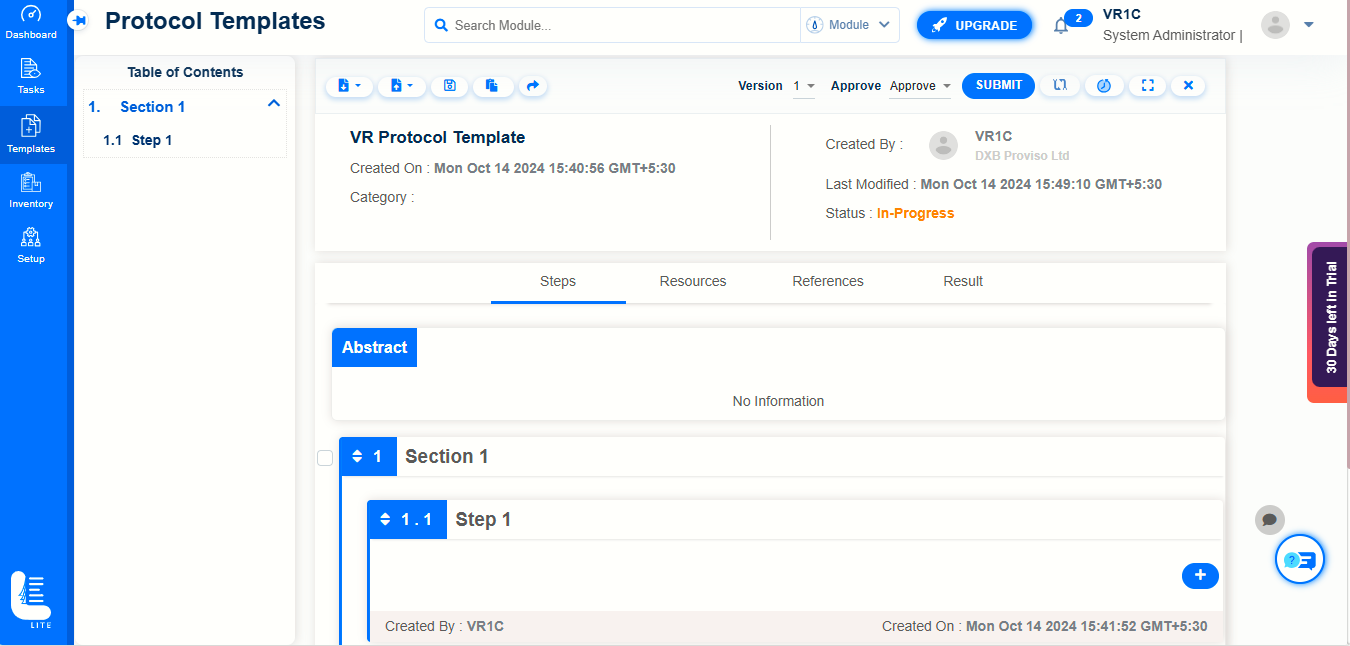
Save the protocol template and submit for approval by selecting ‘Approve’ option and clicking SUBMIT button.
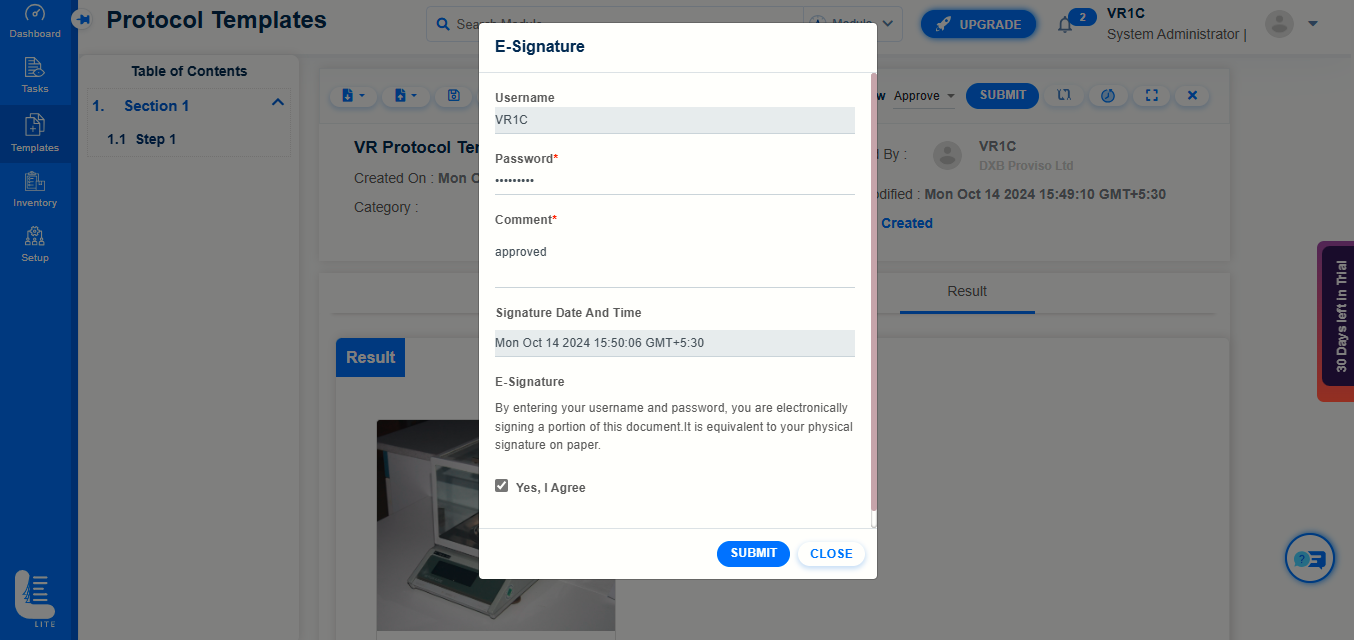
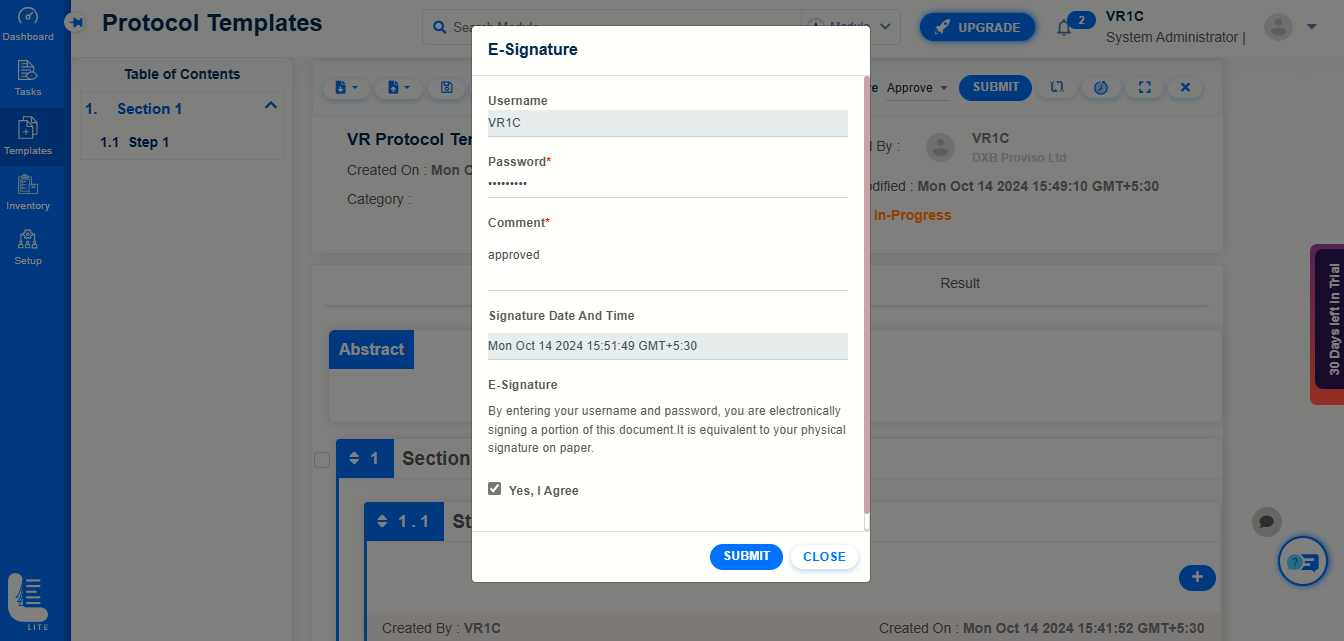
Now E-Signature dialog window will be displayed in which the user has to enter Password, Comment and select ‘Yes, I agree’ checkbox, followed by clicking SUBMIT button.
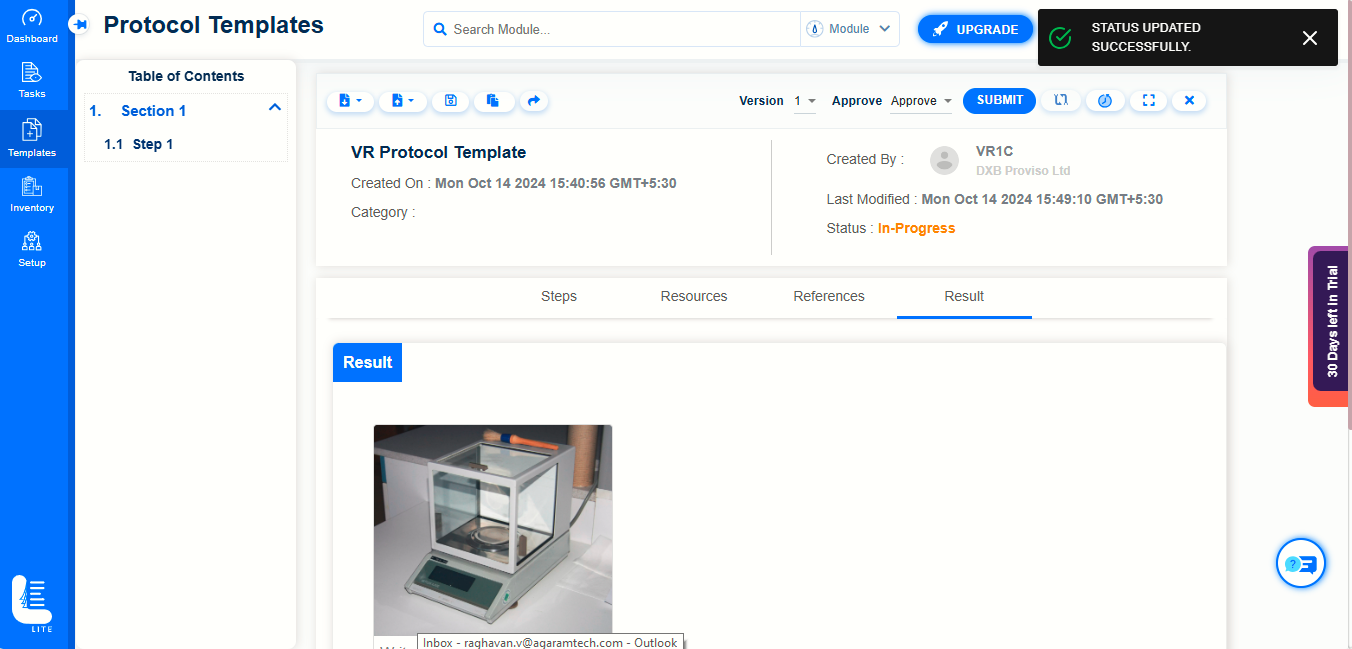
The status has been changed to ‘In Progress’ which means it has been transmitted to next level of approval hierarchy.
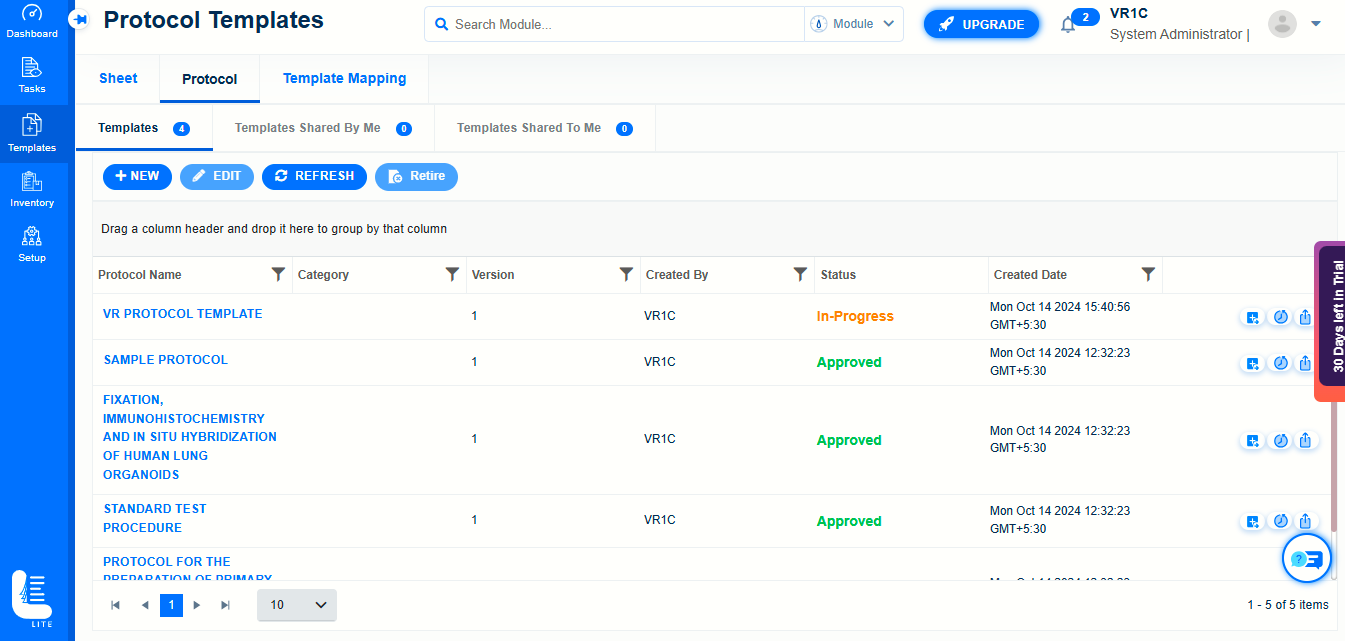
The next higher level user will have open the protocol and choose to approve the same by choosing ‘Approve’ option and click on SUBMIT button.
Now E-Signature dialog window will be displayed in which the user has to enter Password, Comment and select ‘Yes, I agree’ checkbox, followed by clicking SUBMIT button.
Since it is the highest level of approval, the status has been changed to
‘Approved’ from ‘In-Progress’.
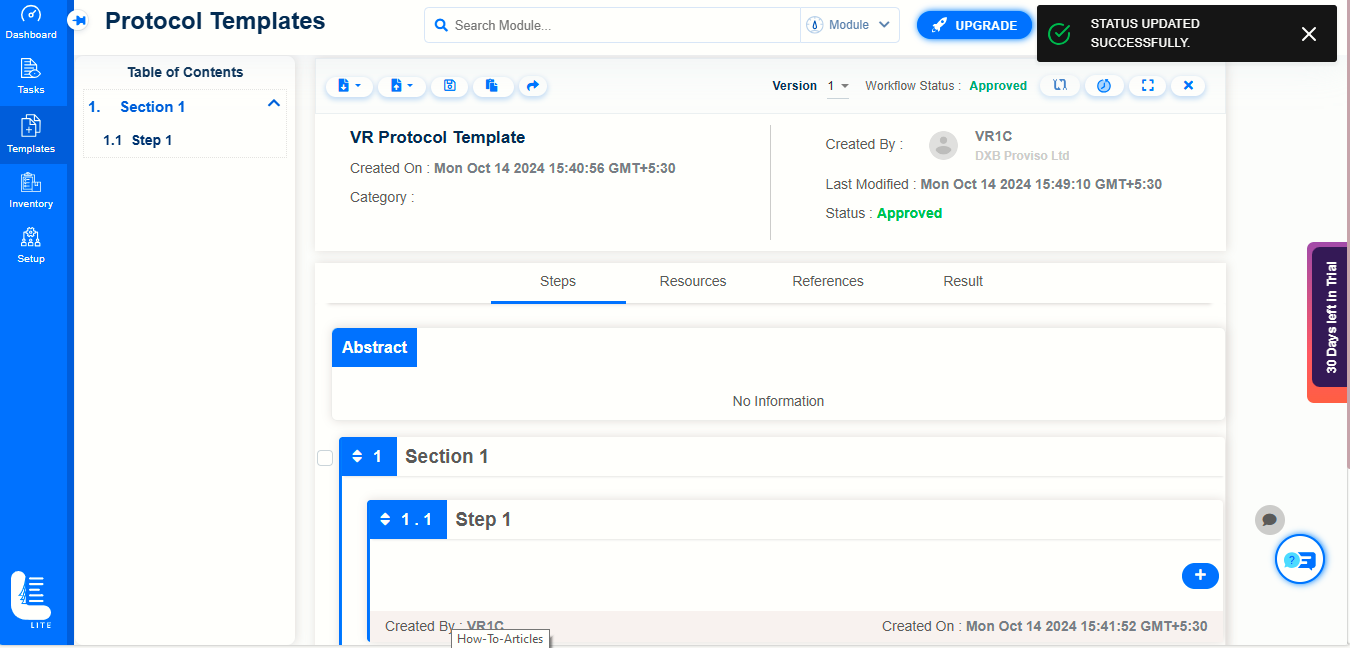
Now the template is in the status ‘Approved’ and can be used for creating protocol tasks after template mapping.
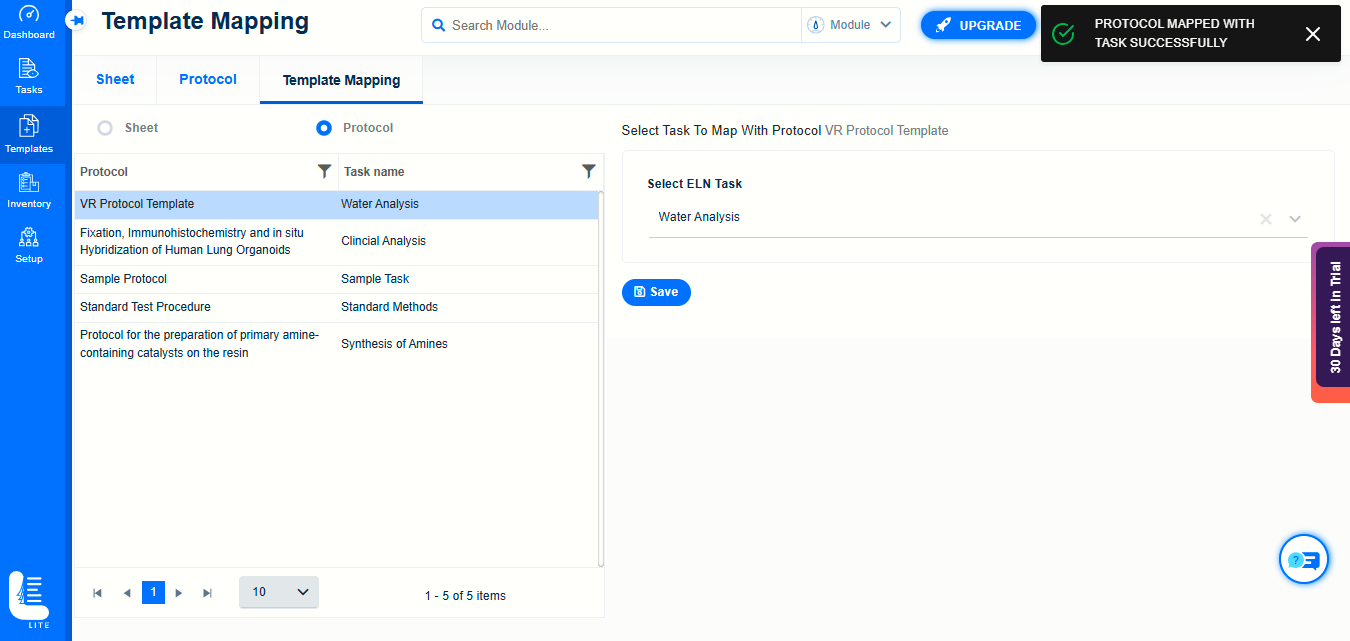
Template mapping screen helps you to map sheet templates and protocol templates to tasks. Here you specify the Task for the selected sheet. Tasks from Logilab ELN are listed. You can select the appropriate Tasks for the sheet.
In the Sheet tasks or Protocol Tasks page, when you select a Task to register it, the sheet mapped to the Task appears. Sheets or Protocol tasks that are processed based on sheet workflow will appear here.
On the main menu, click  and then click Template Mapping. The page displays the pre-configured mapping of templates with tasks.
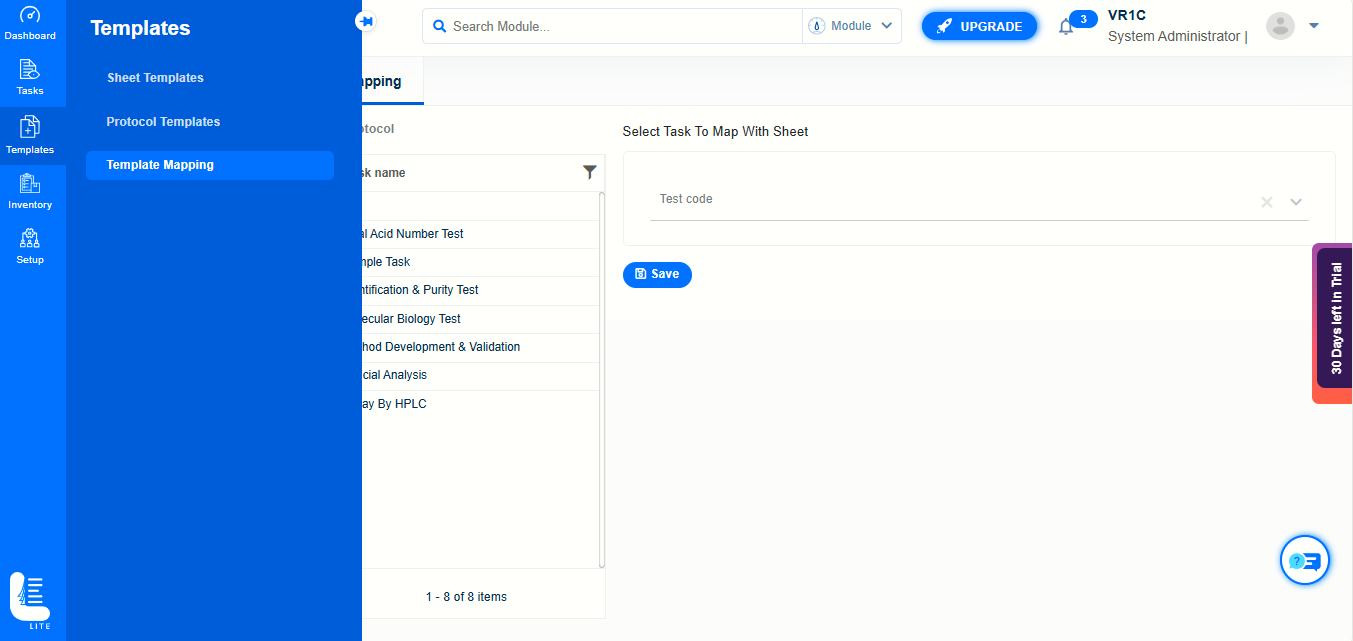
Sheet Template Mapping
Select the Sheet radio button on Template Mapping page.
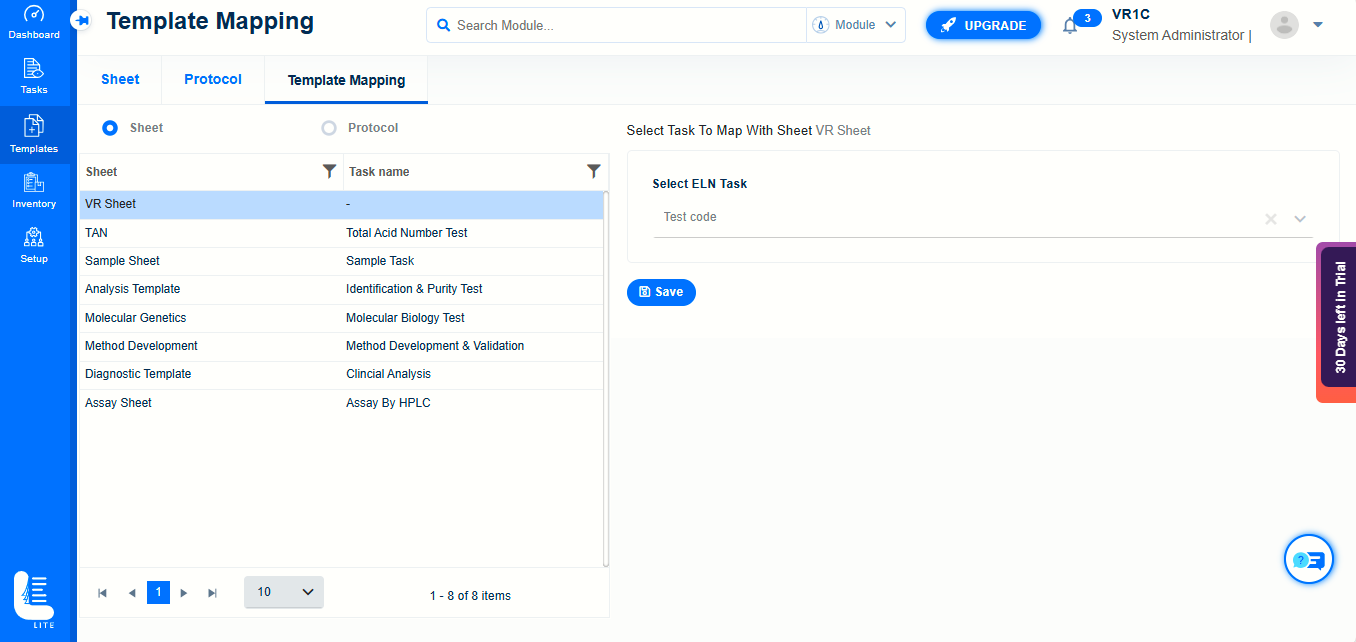
To map an unmapped Sheet, choose the same on the left-hand panel.
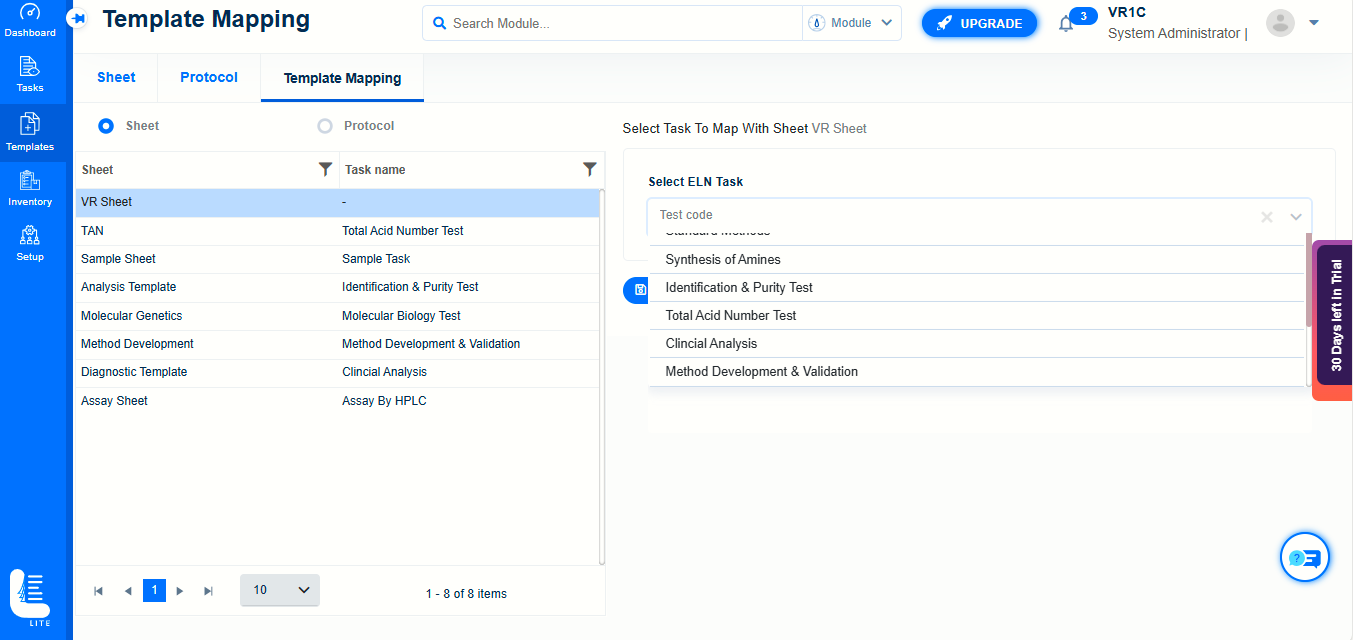
On the right-hand panel, select the ELN task from the list of values.
Choose the appropriate task from the list of values and click on ‘Save’ button
Protocol Template Mapping
Select the Protocol radio button on Template Mapping page.
To map an unmapped Sheet, choose the same on the left-hand panel.
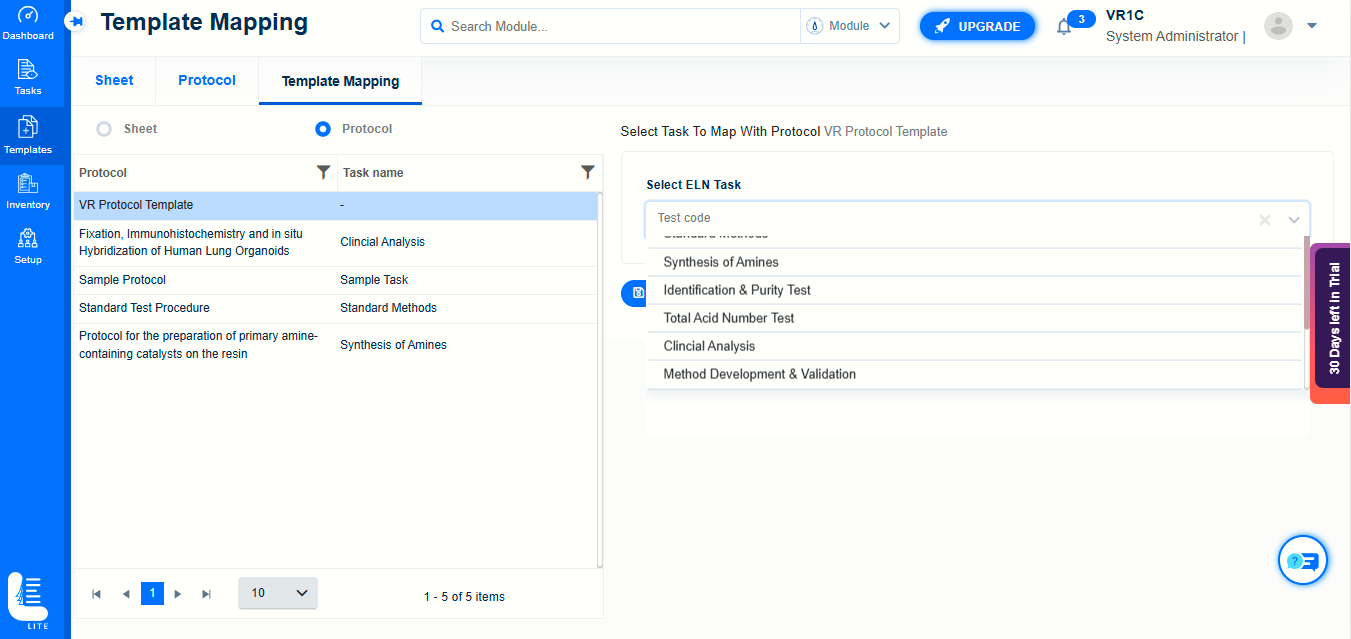
On the right-hand panel, select the ELN task from the list of values.
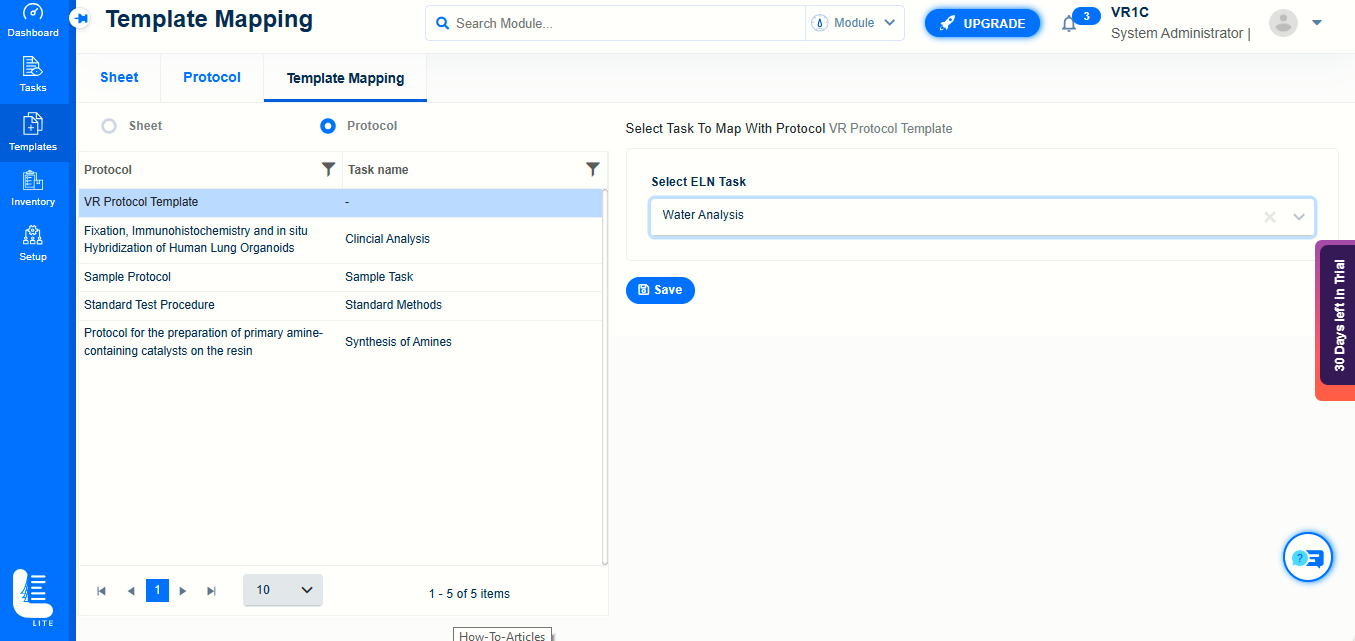
Choose the appropriate task from the list of values and click on ‘Save’ button
