Material Inventory tab enables you to do the following:
Note: For administrators the ActiveSite field will appear. Hence, administrator user can create site specific transactions.
Once the material is added to the Material master, you must add the material to the inventory. And then issue the material to use the material in transactions.
To add a material to the inventory, follow these steps:
1.On the main menu, clickand then click Material Inventory. The Material Inventory screen appears. Click . The filter appears as shown in the figure:
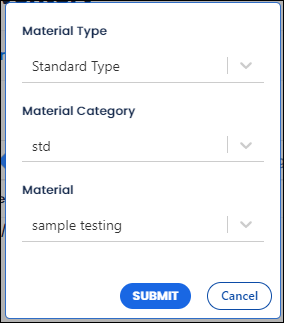
FIGURE: Selecting Material Type, Category and Material to add Inventory
2.elect Material Type, Material Categoryand Material to add inventory and then click SUBMIT. The Inventory screen appears as shown in the figure for the selected Material Type, Category and Material:
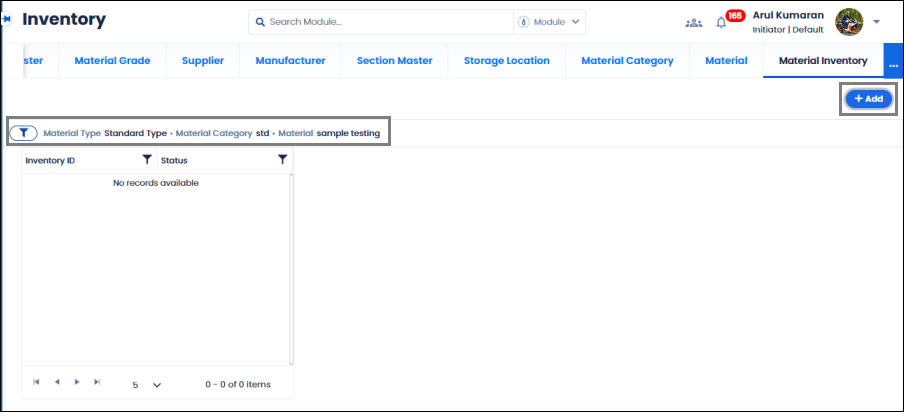
FIGURE: Material Inventory Screen
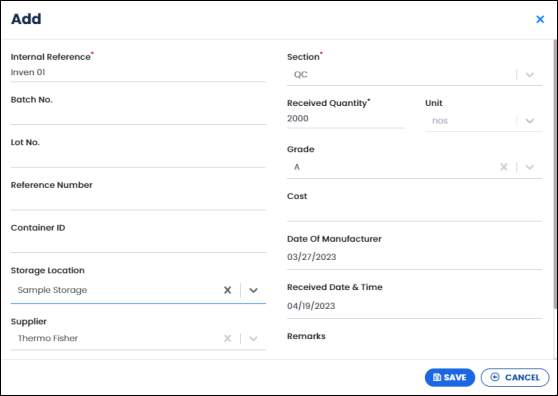
FIGURE: Add Material Inventory Screen
3.Click Add. The Add Material Inventoryscreen appears as shown in the figure:
4.In the Internal Reference field, type reference for the inventory you add.
5.In the Batch No field, type the batch number of the material.
6.In the Lot No field, type the lot number of the material.
7.In the Storage Locationfield, select the storage location for the inventory.
8.In the Supplierfield, select the upplier of the material.
9.In the Manufacturer field, select the manufacturer of the material.
10.In the Sectionfield, select section to add material.
11.In the Received Quantityfield, type the quantity of material received.
12.In the Gradefield, the material grade appears.
13.In the Date of Manufacturerfield, select date of manufacturing of the material.
14.In the Received Date & Time field, select date and time of inventory received.
15.In the Remarksfield, type remarks if any.
16.lick SAVE.
The material is added to the inventory and the same is listed in the Material Inventory tab as shown in the figure:
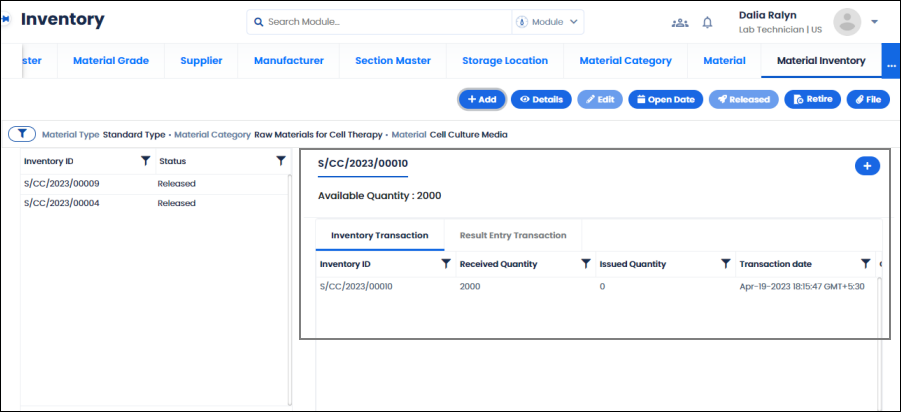
FIGURE: Material Added to the Inventory
Select the inventory and then click Details to view details of the inventory added as shown in the figure:
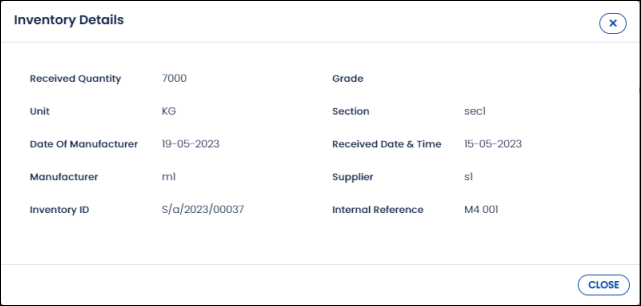
FIGURE: Viewing Material Details
1.elect the inventory and then click Edit. The Edit inventory dialog appears as shown in the figure:
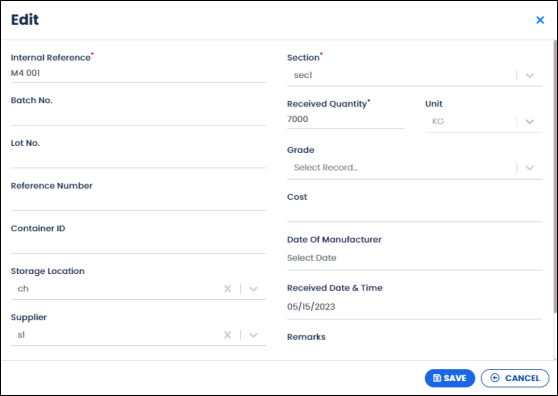
FIGURE: Edit Inventory Dialog
2.Do required changes and then click SAVE.
Youmust set open date for the inventory if Expiry Policy is set for the material.
1.slect inventory and then click Open Date. The Open Datedialog appears as shown in the figure:
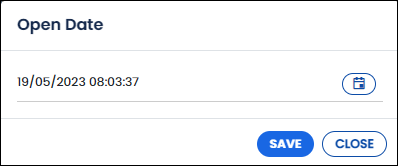
FIGURE: Open Date Dialog
2.select the date and then click SAVE. The inventory expires as mentioned in the Expiry Validationsin material master.
If the inventory status is Quarantine, then you must release the inventory for use.
1.Select the inventory and then click Released. The status changes to "Released".
You can retire the inventory for some reason.
1.elect the inventory and then click Retire. The status changes to "Retired". The retired inventory cannot be used in transactions.
You can attach file to the inventory. To do so, follow these steps:
1.elect the inventory and then click The Material Inventory Attachmentdialog appears as shown in the figure:
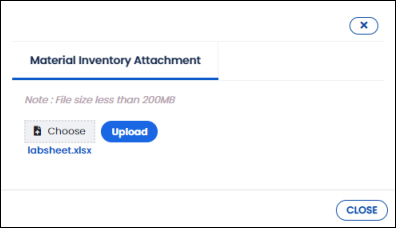
FIGURE: Material Inventory Attachment Dialog
2.lick Choose, select a file to attach and then click Upload. The file is attached to the inventory.
Now, you can issue the material to use in transactions.
Inventory transaction is done only for released material. If the material is quarantined for some reason, then the material has to be released for inventory transaction. Inventory transaction can be done for any of the following reasons:
To issue material for transactions, follow these steps:
1.On the main menu, clickand then click Material Inventory. The Material Inventory screen appears as shown in the figure:
2.n the Material Inventoryscreen, go to the Inventory Transaction In the Inventory Transaction tab select the material inventory from the list, and then click as shown in the figure:

FIGURE: Quantity Transaction Dialog
The Quantity Transaction dialog appears as shown in the figure:

FIGURE: Quantity Transaction Dialog
3.In the Transaction Typefield, select the transaction type:
4.In the Transaction Typefield, select Issue to issue materials to the selected sections. Select Return to accept return from sections or to return material to the supplier.
5.Under Available Quantity, quantity of material available will appear. This field is updated once the material is issued / returned.
6.In the Issued Quantityfield, type quantity of material for the transactions. All transactions will use material from this issued quantity.
7.In the Set notification quantity field, type quantity of the material when reached will receive an alert.
8.Click SAVE. You can see the transaction details of the issued material as shown in the figure:

FIGURE: Inventory Transaction for the Issued Quantity
Only when the material is issued, it will be available for transactions. Now you can use this issued material in transactions.
Click File to attach files related to the transactions if any.
Click Open Date to set open date for the material. This option is applicable if Expiry Policy is set to the material. The material will expire based on the expiry duration mentioned and open date set here.
Go to the Result Entry Transaction tab. The tab appears as shown in the figure:

FIGURE: Result Entry Transaction Tab Showing Used Quantity
The Result Entry Transaction tab shows list of transactions the material used and the quantity of material used in each transaction as shown in the above figure.
