After logging into Logilab ELN as administrator user, navigate to ‘Project Team’ page by clicking on ‘Setup’ menu item and then ‘Project Team’ submenu item.
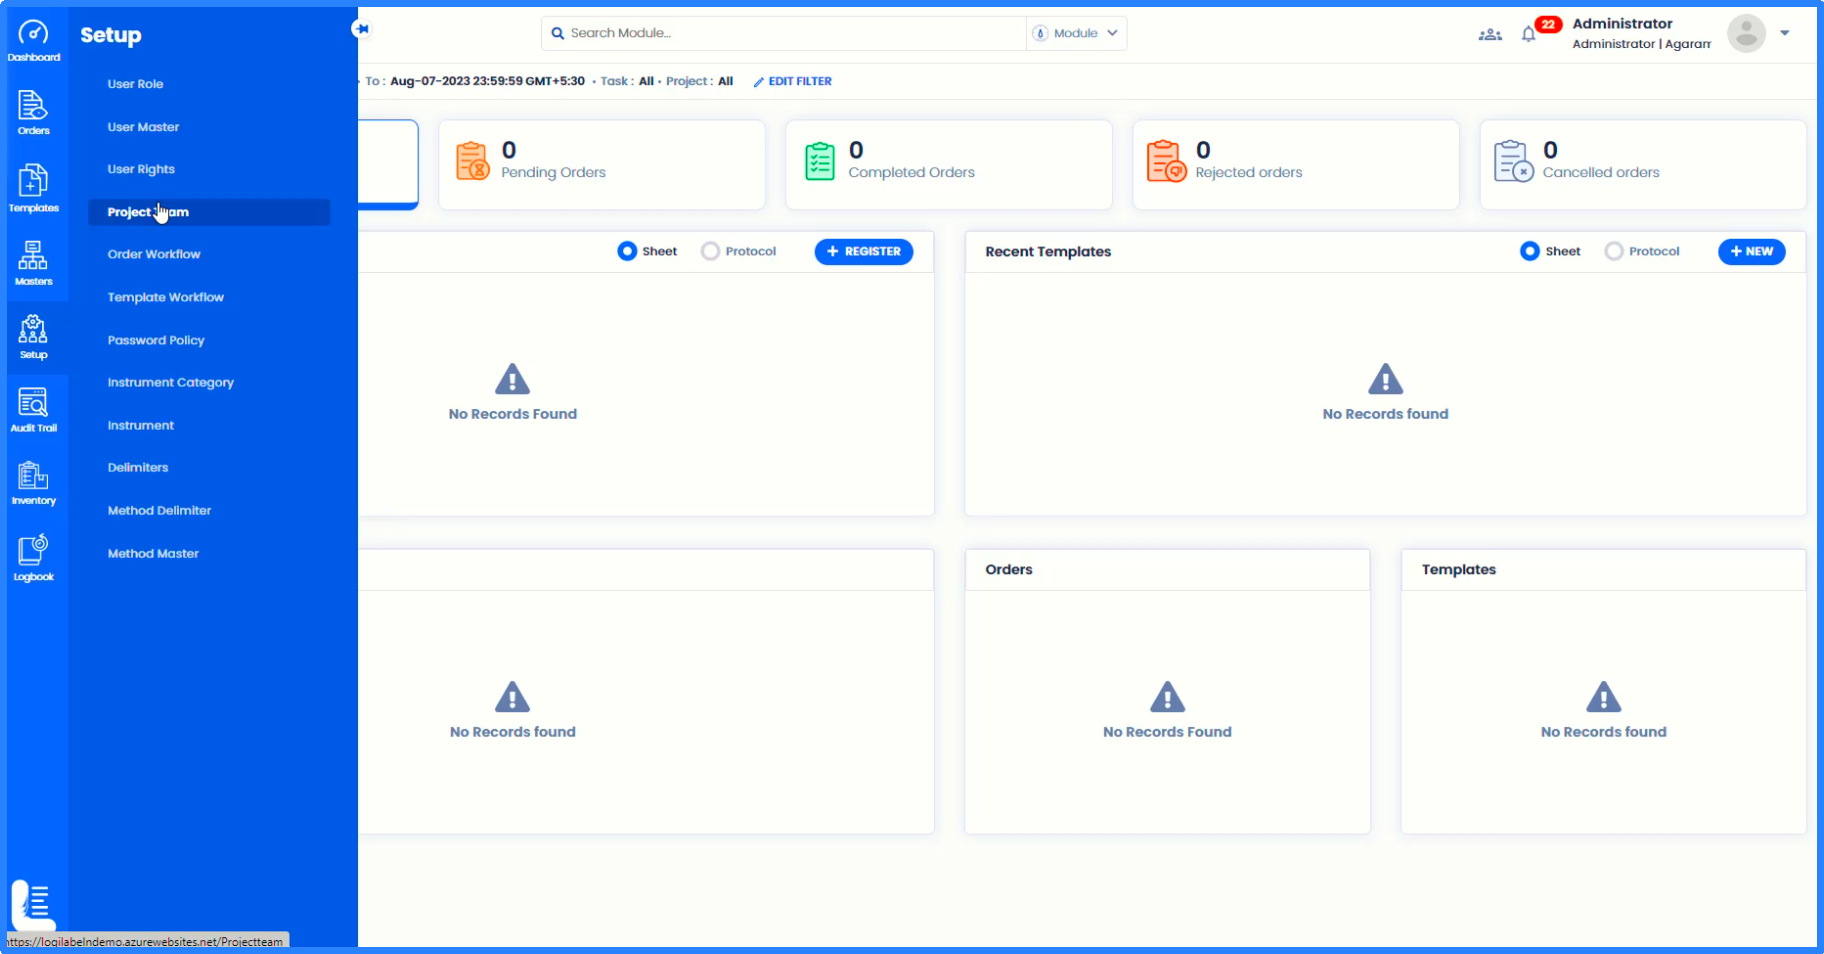
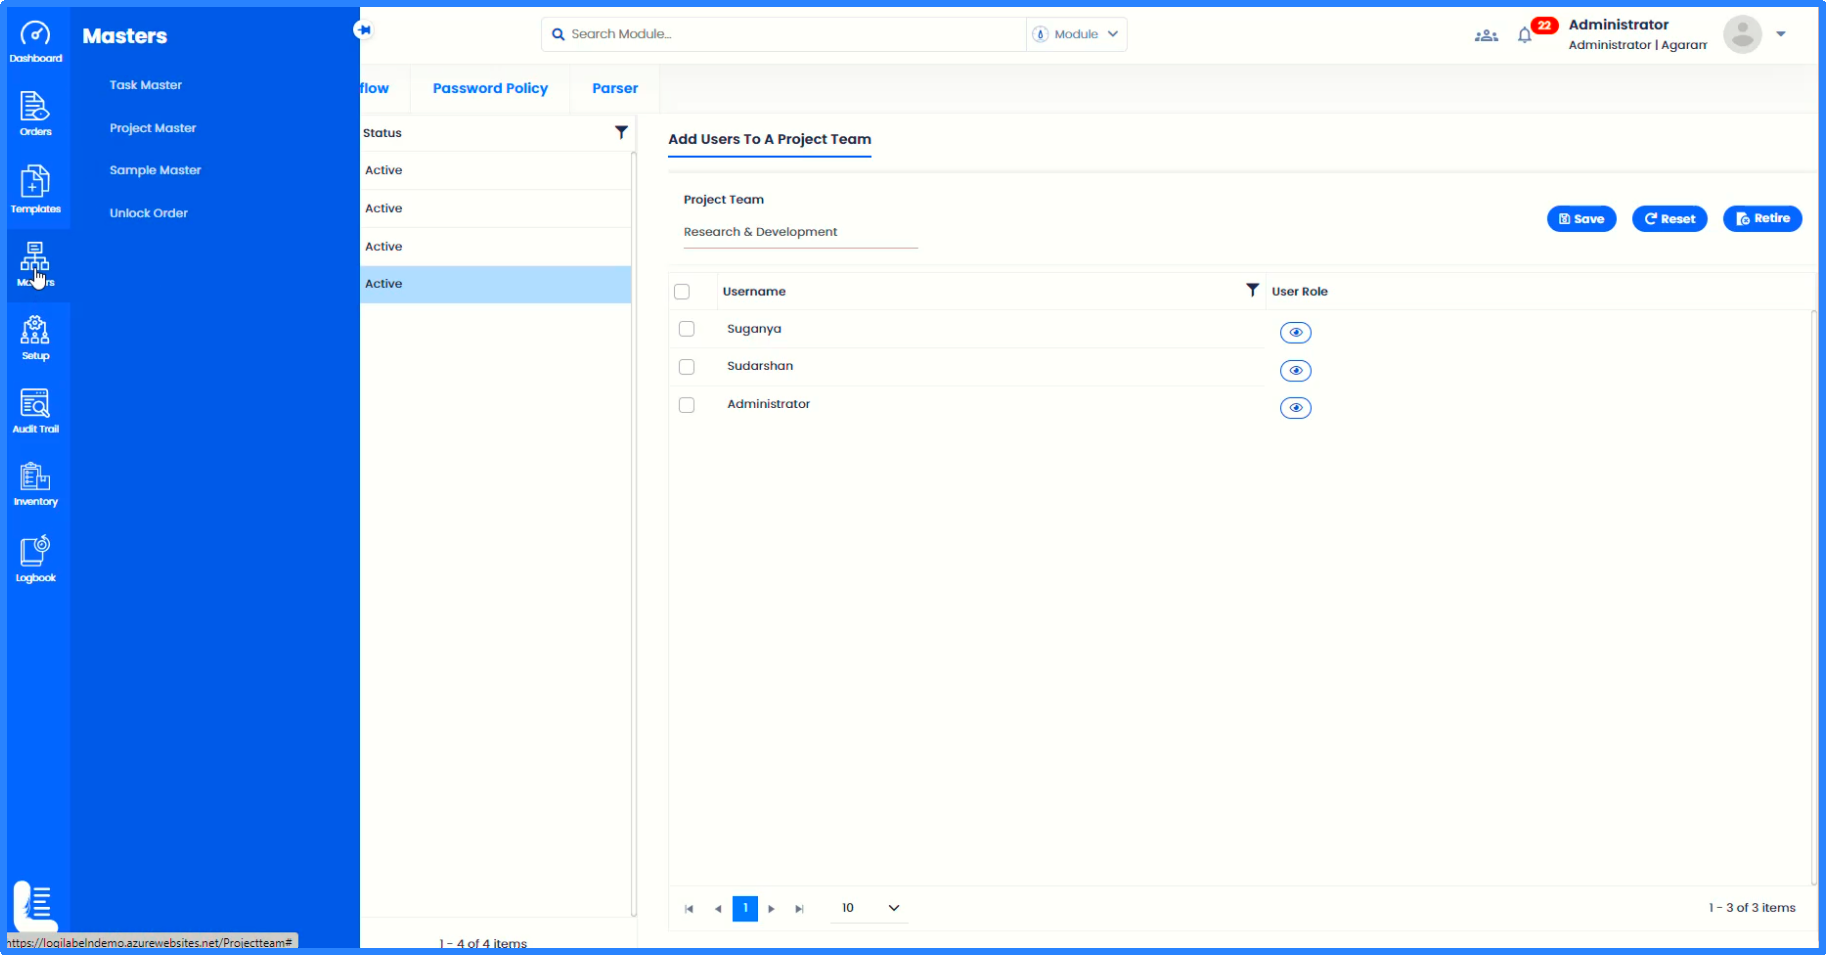
'Project Team' subpage will be displayed.
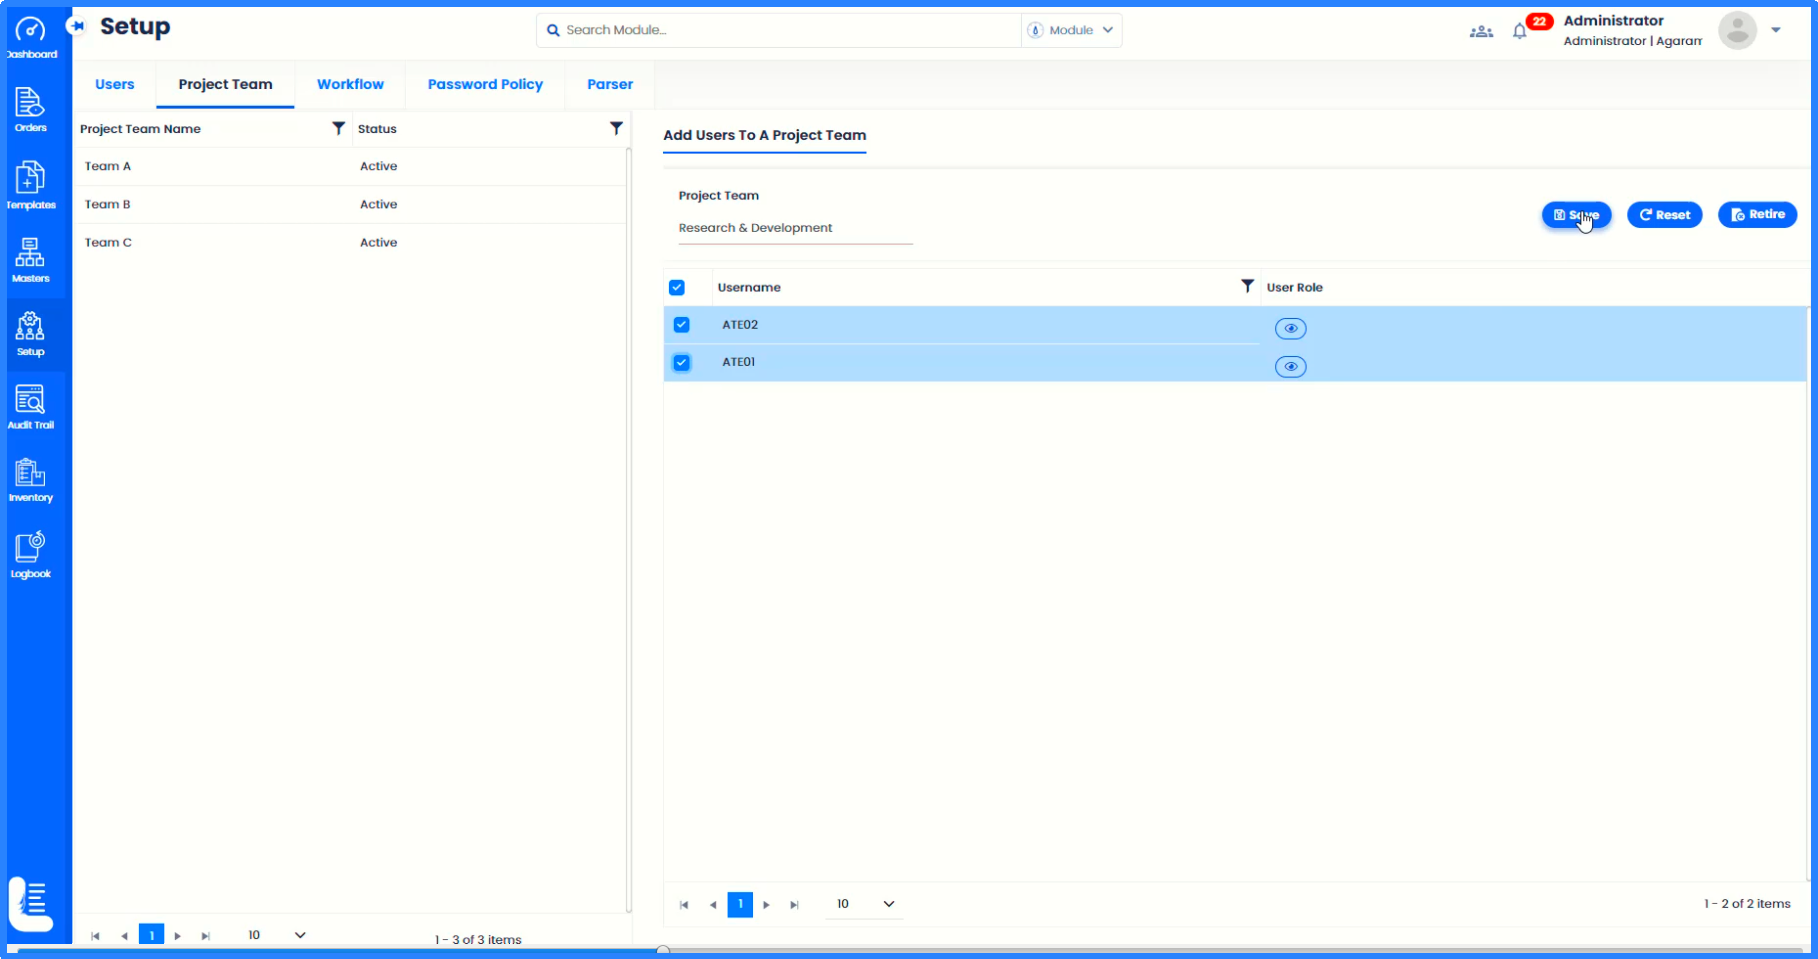
On the left hand side, the existing project teams will be displayed and on the right hand side, the corresponding team members' user names will be displayed.
In order to create a new project team, enter the name of the team in 'Project Team' field.
From the list of all users belonging to the site of the logged-in user, select only those users who are need to be part of this project team.
Click 'Save' button to complete the creation of project team.
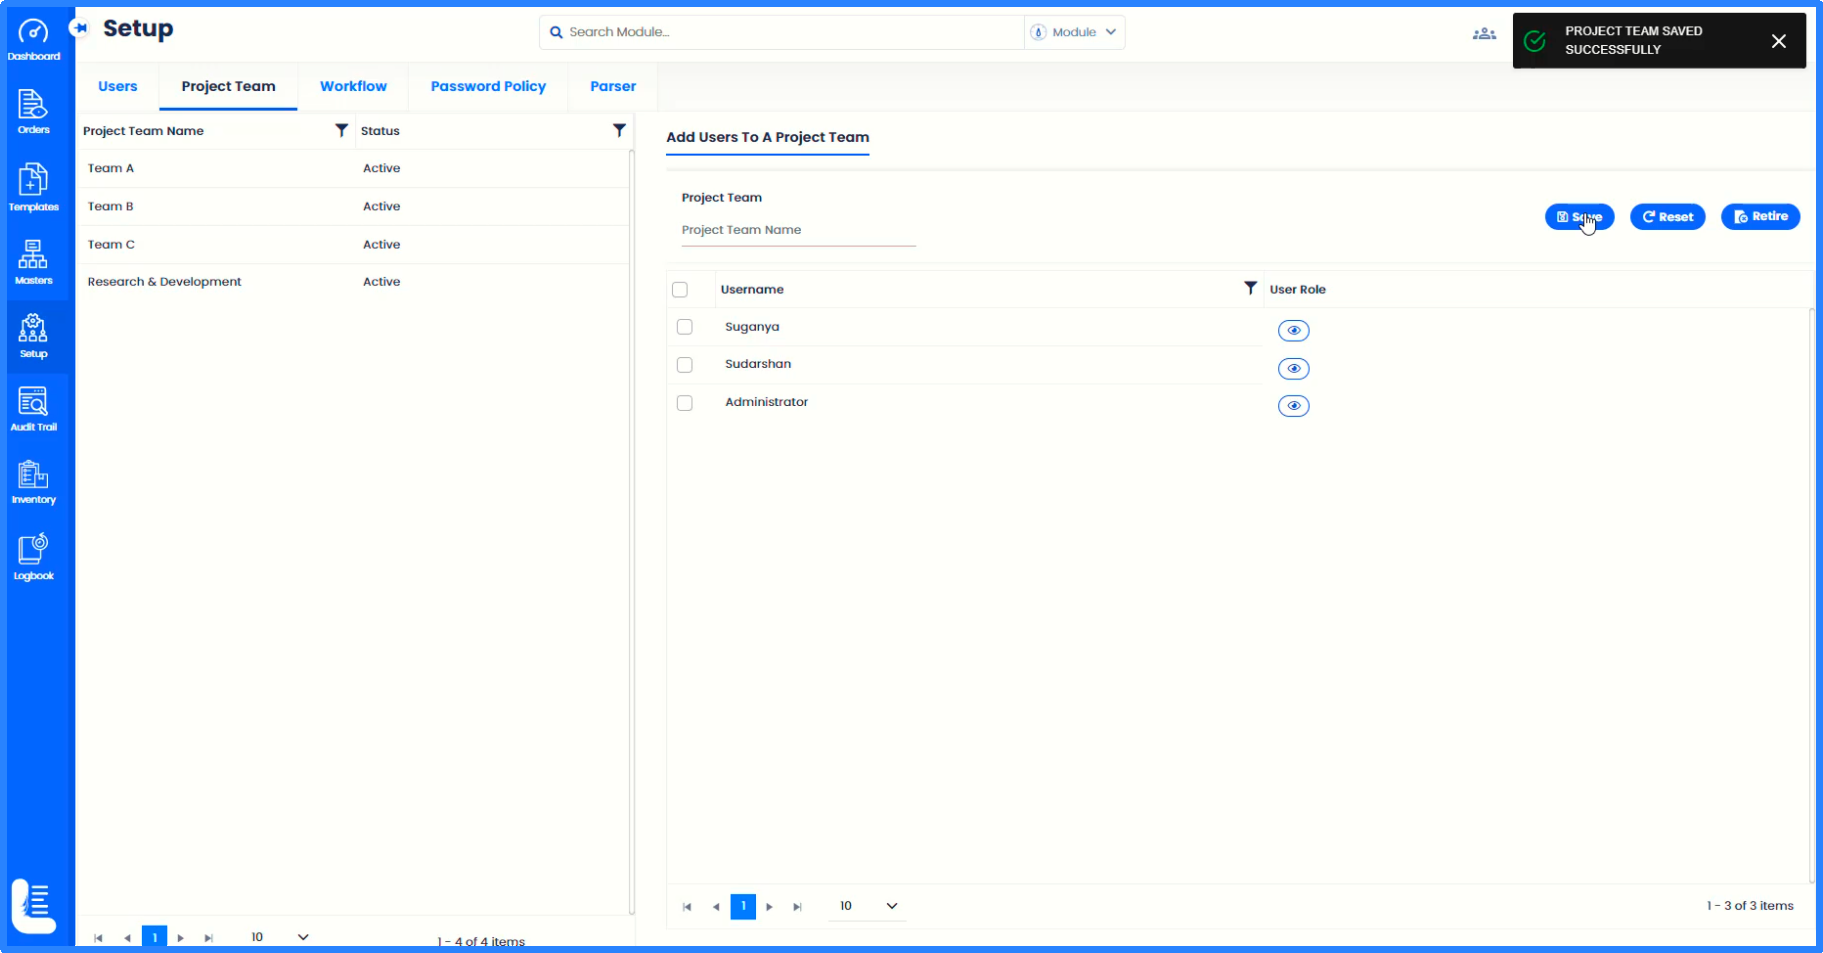
The meesage 'PROJECT TEAM SAVED SUCCESSFULLY' gets displayed.
The newly created project team will get listed on the left hand side.
This completes the creation of new project team.
Let us move on to how to create project in Logilab ELN.
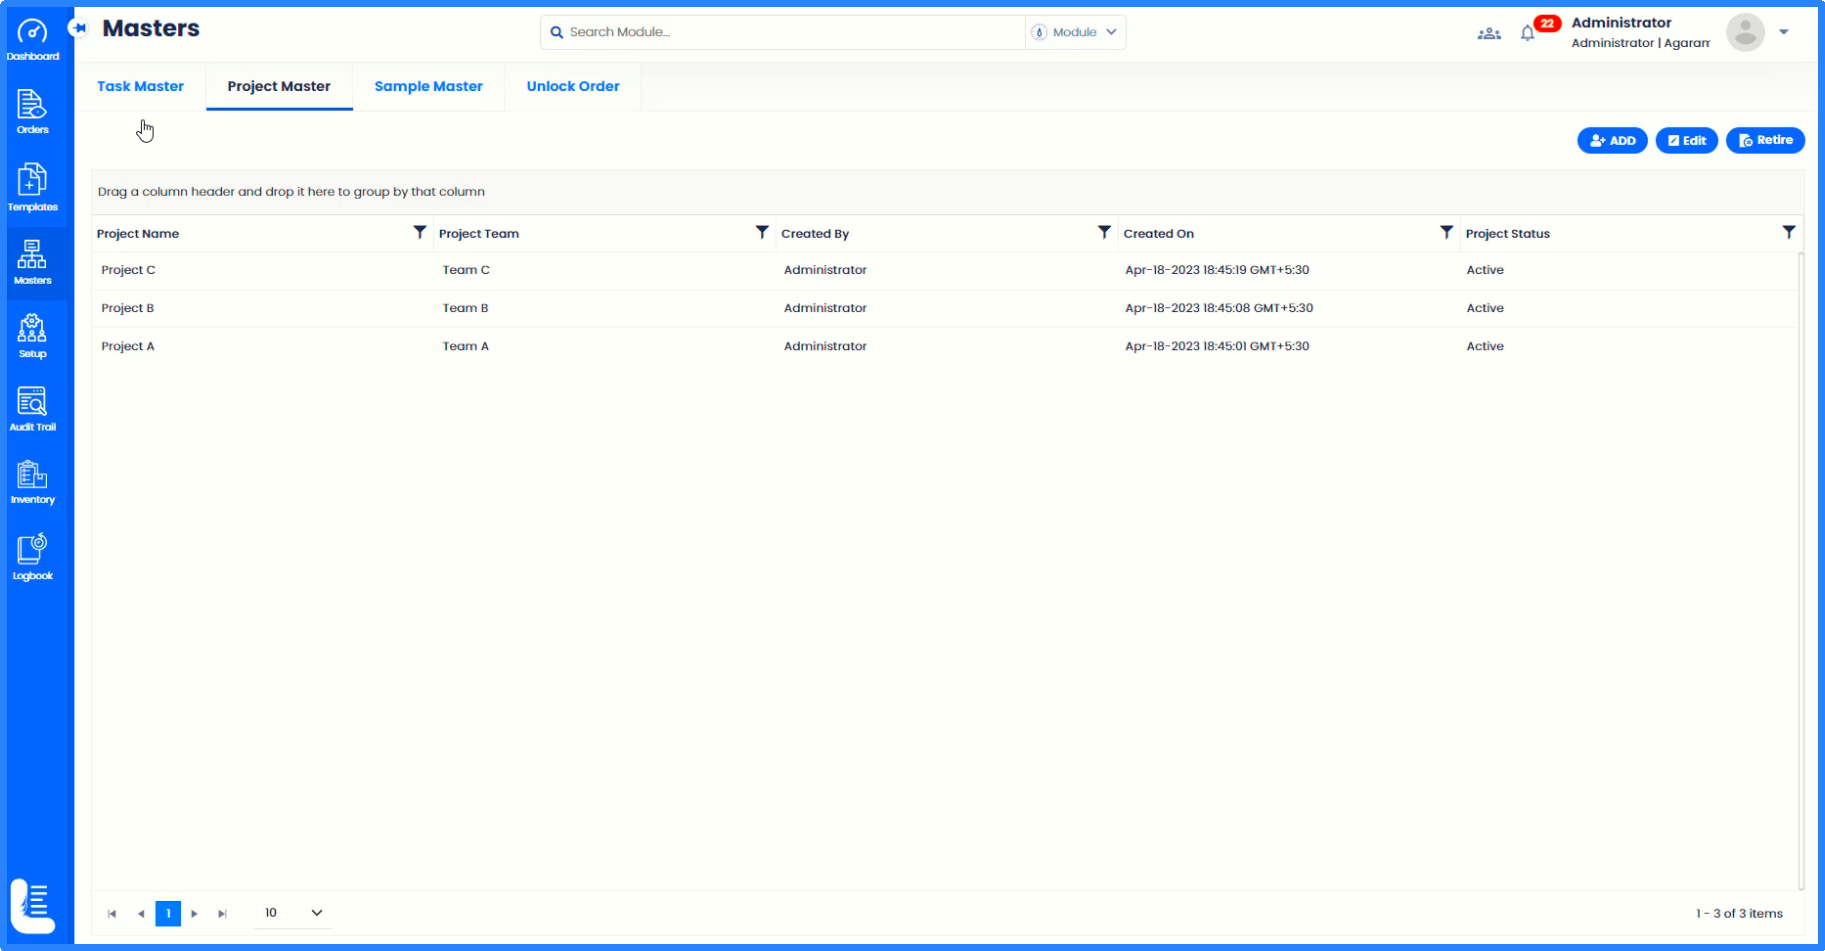
On the application home page, click on Menu item 'Masters'. This will expand to display various submenu items under Masters.
Click on 'Project Master'.
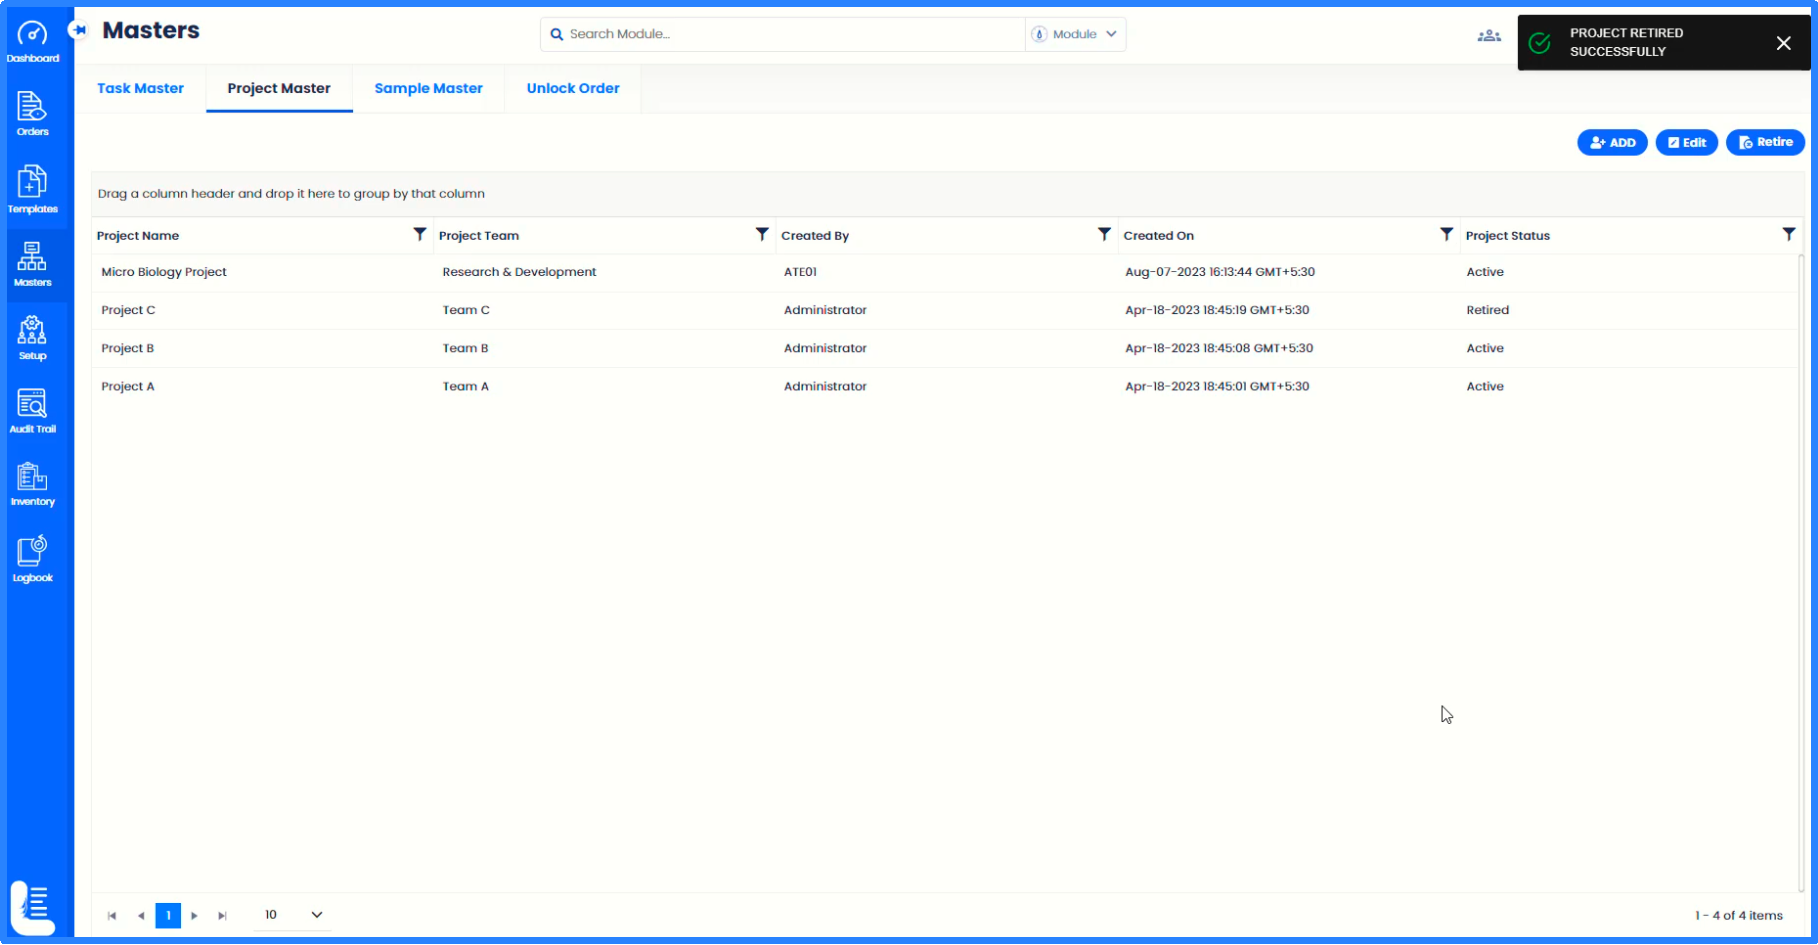
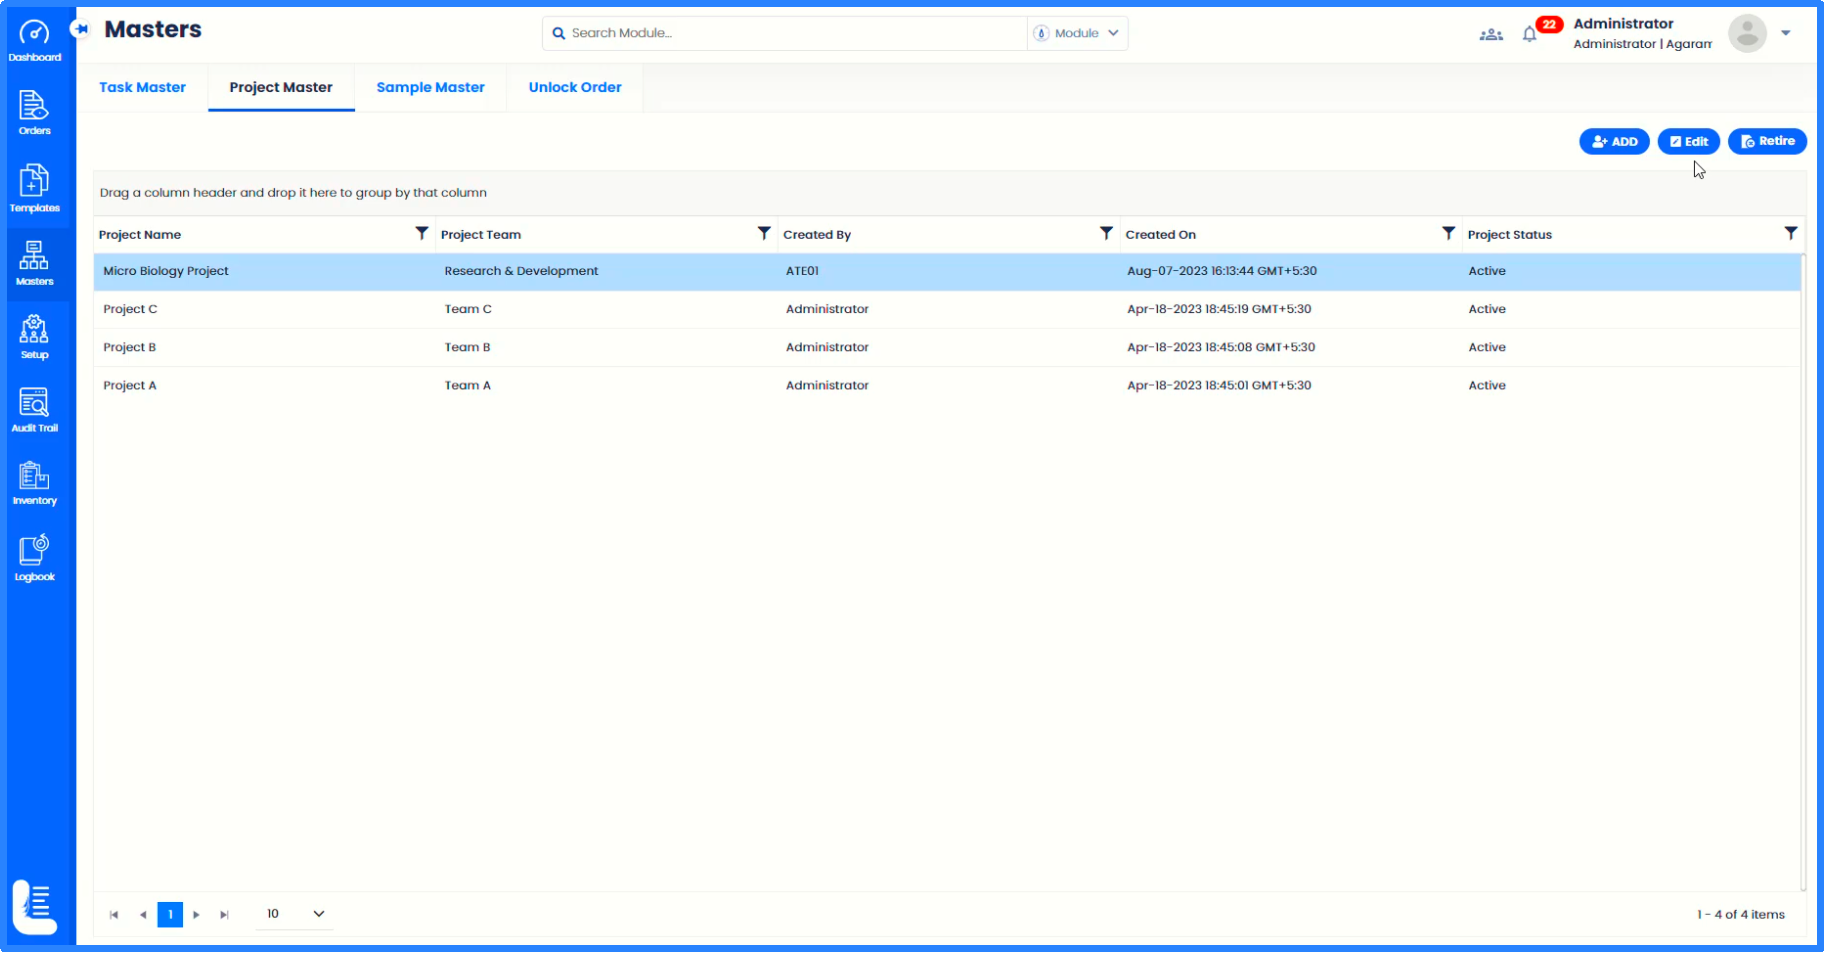
'Project Master' subpage will be displayed which will list out the projects created so far.
Click on 'ADD' button.
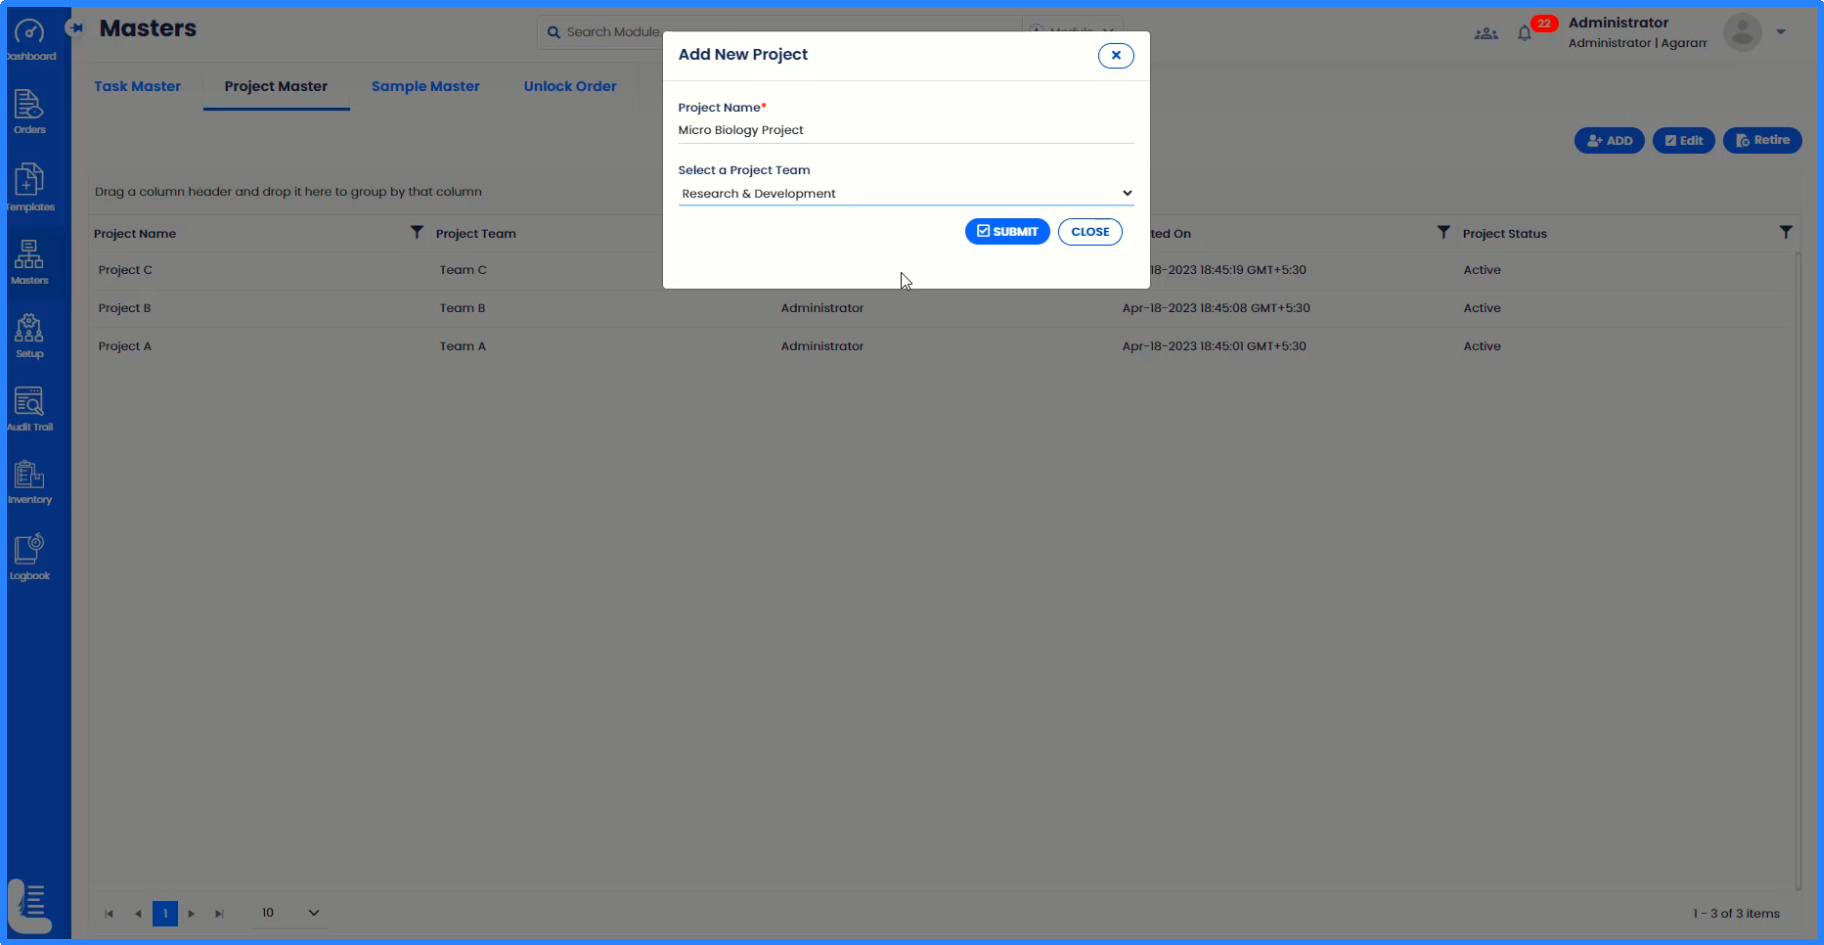
'Add New Project' pop-up window will be displayed in which the new project name can be entered.
This is followed by selecting project team to be attached to this project. It means that this new project can be accessed only by members belonging to that project team.
Click on 'SUBMIT' button.
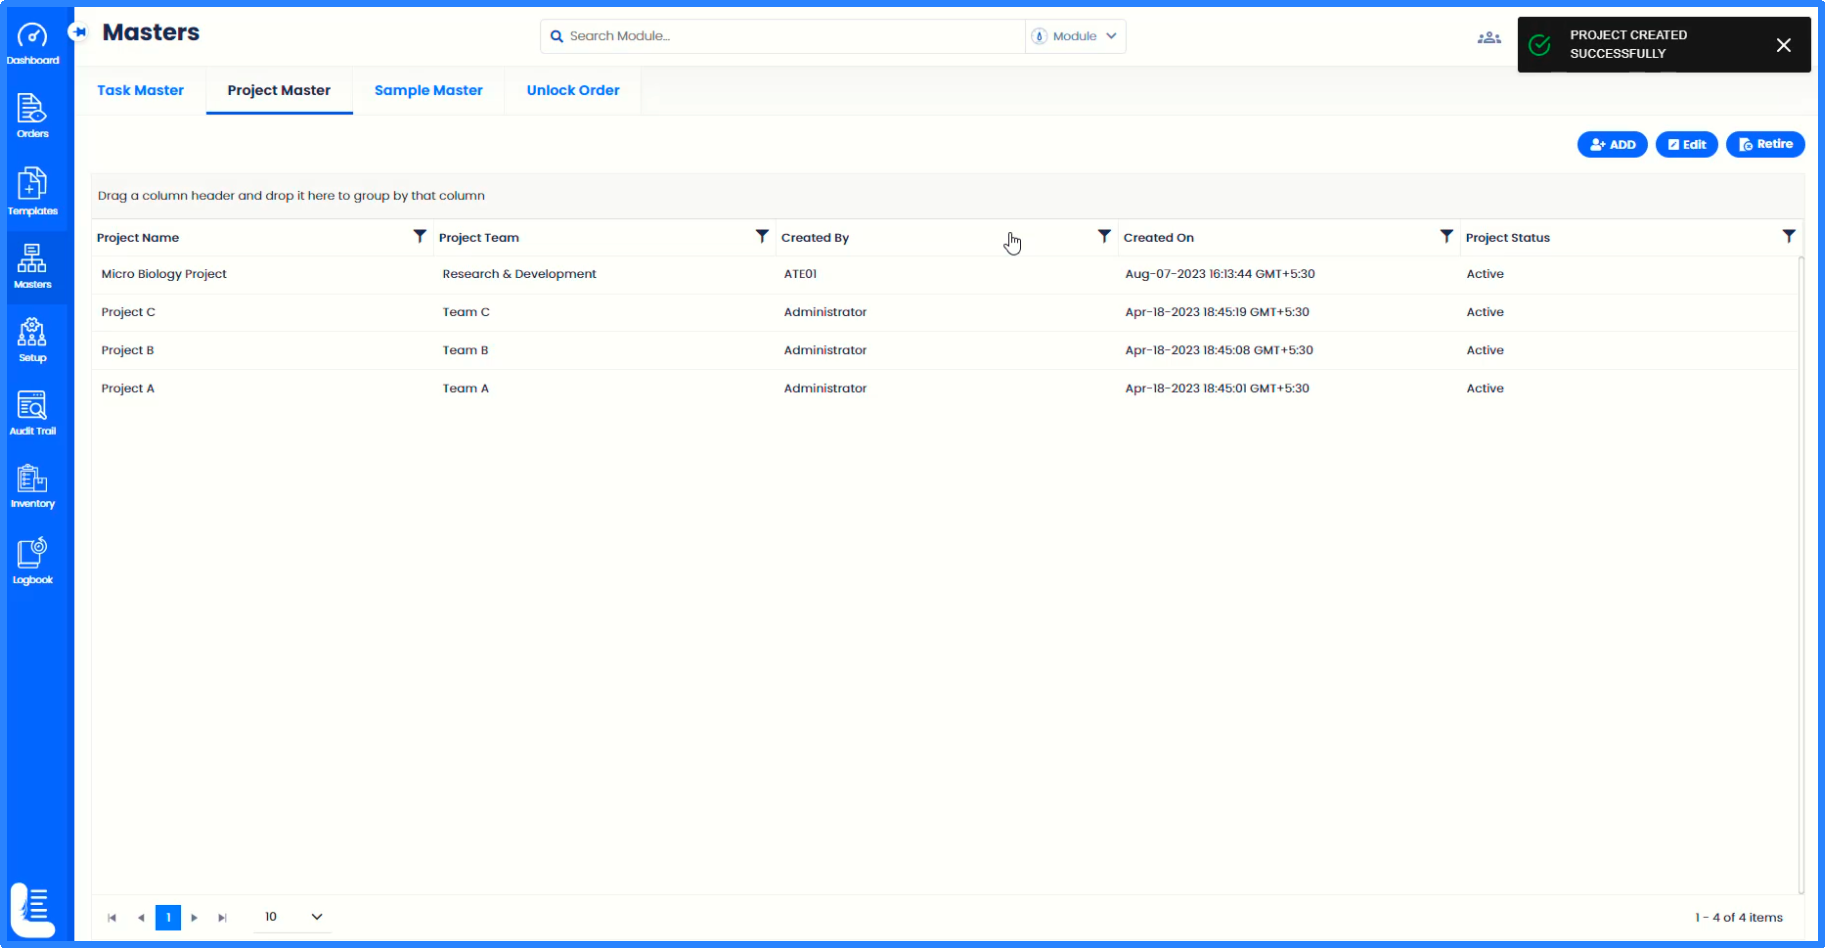
The message 'PROJECT CREATED SUCCESSFULLY' will get displayed.
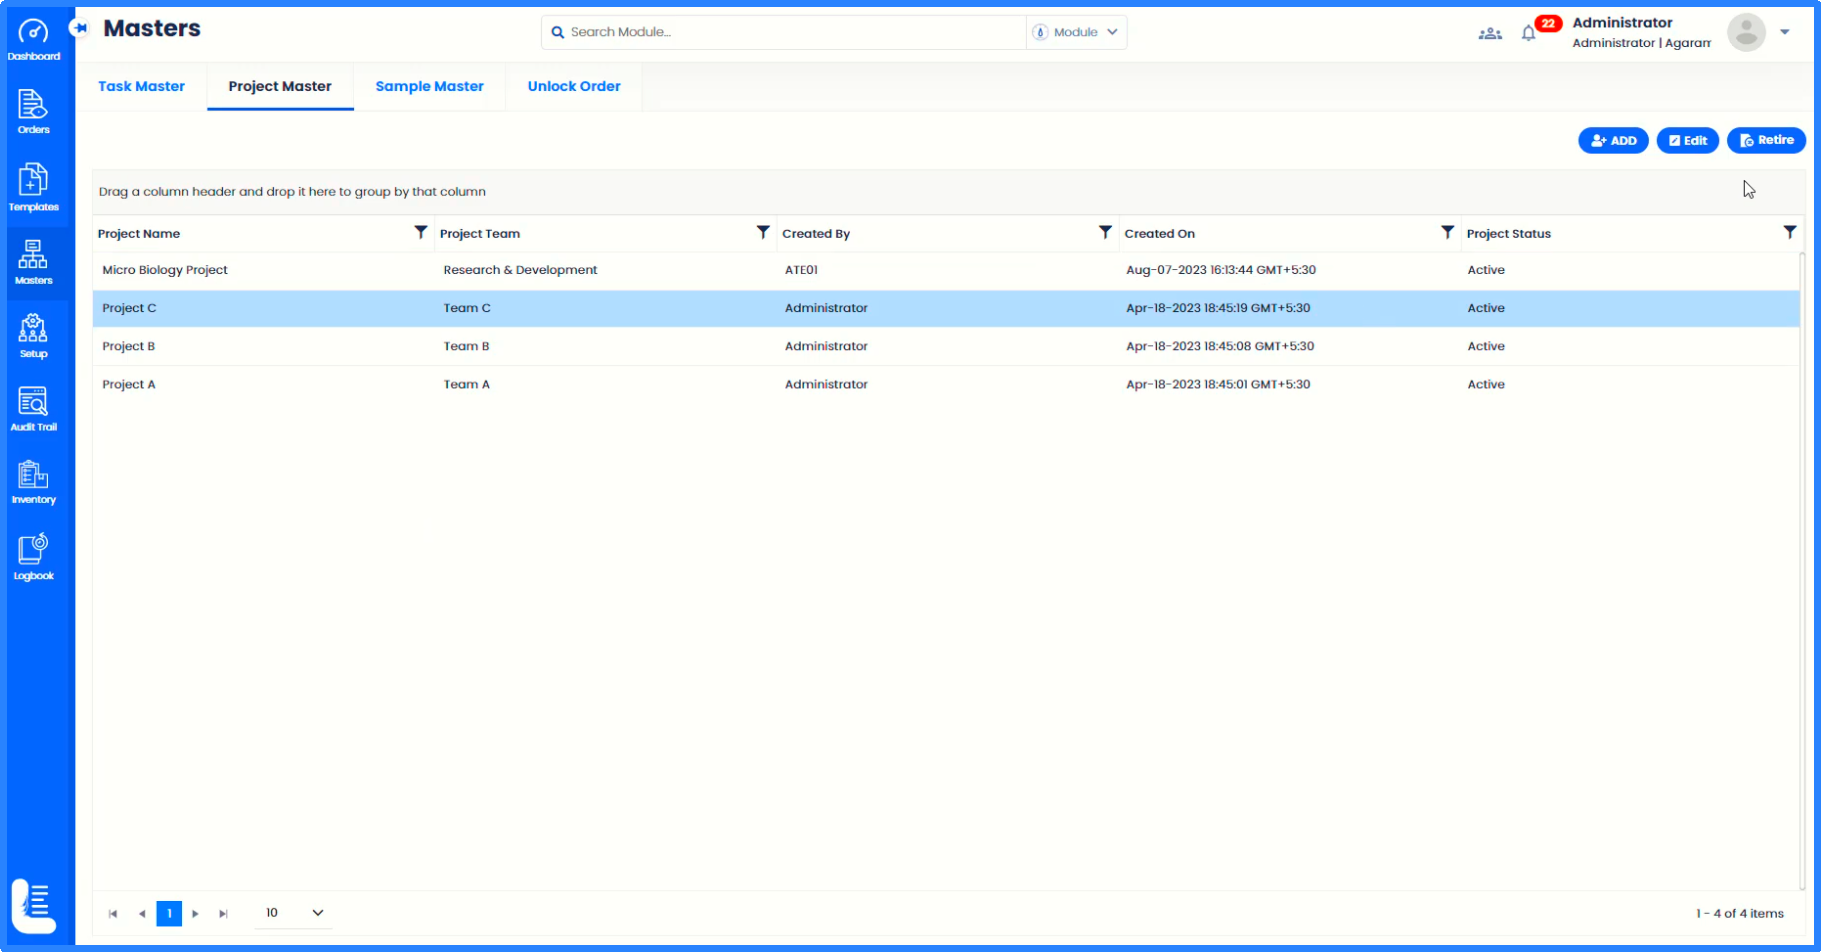
The newly created project gets listed.
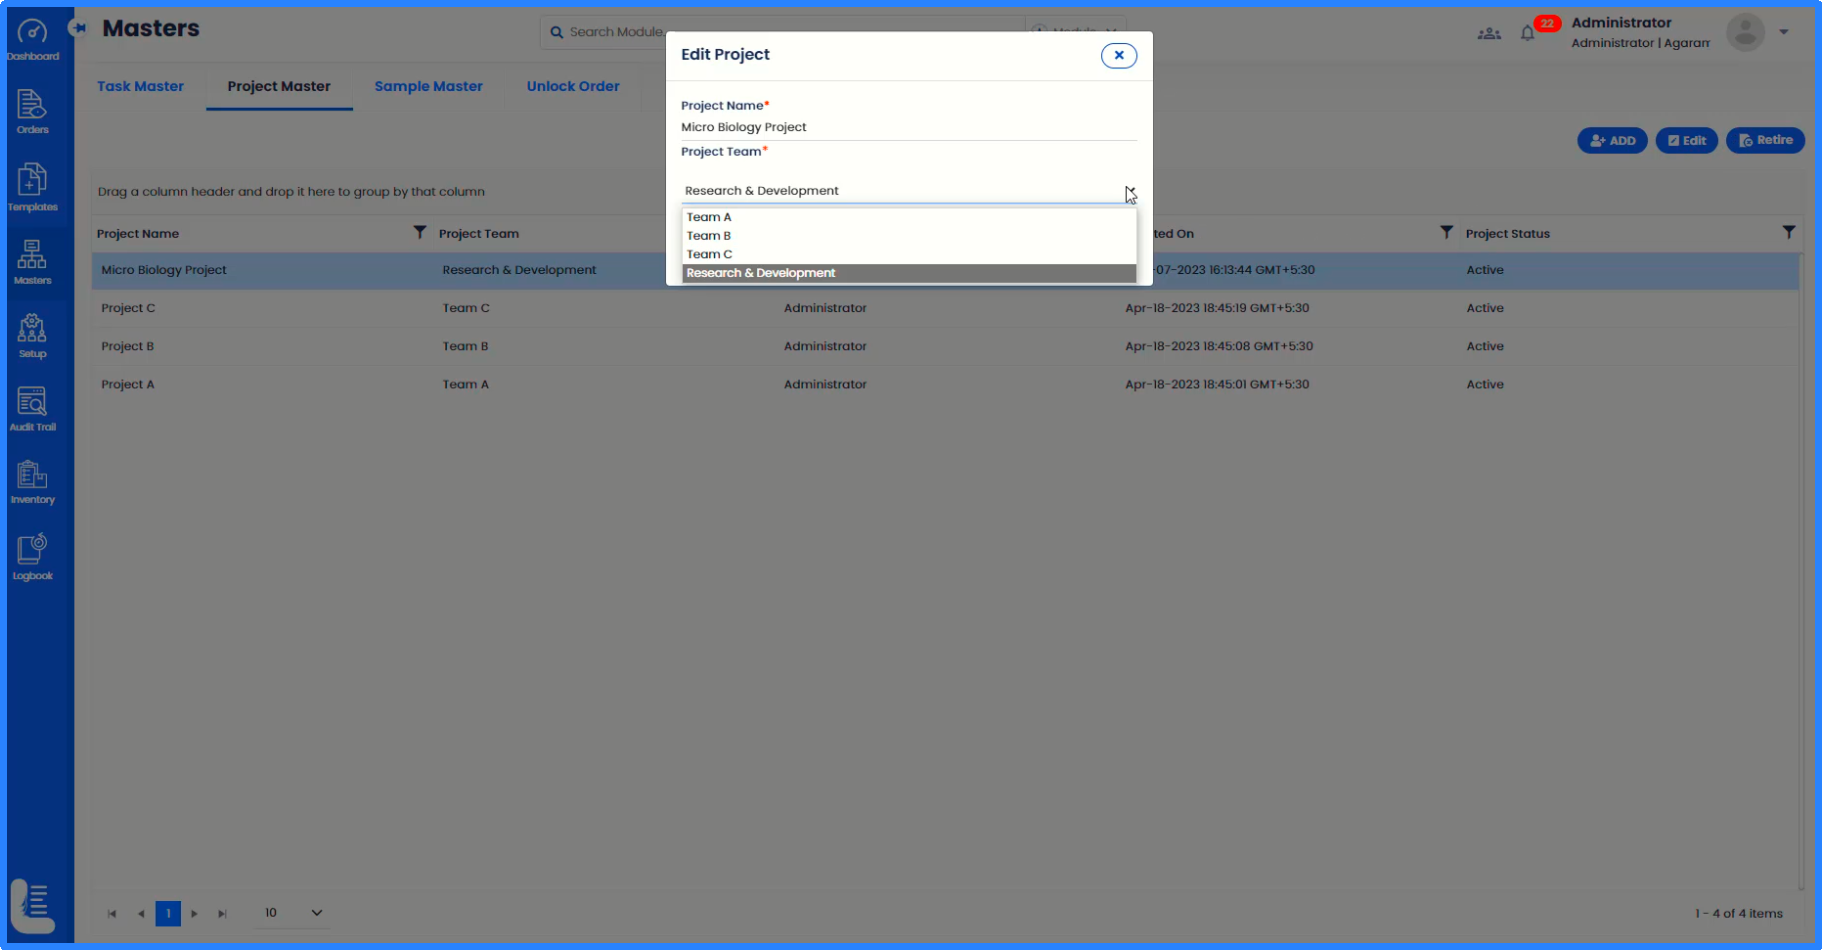
If you want to edit the details, click 'Edit' button after selecting the project.
On 'Edit Project' popup window, optionally change the details such Project Name and Project Team. In order to save, click 'SUBMIT' button; otherwise click on 'CLOSE' button not to save.
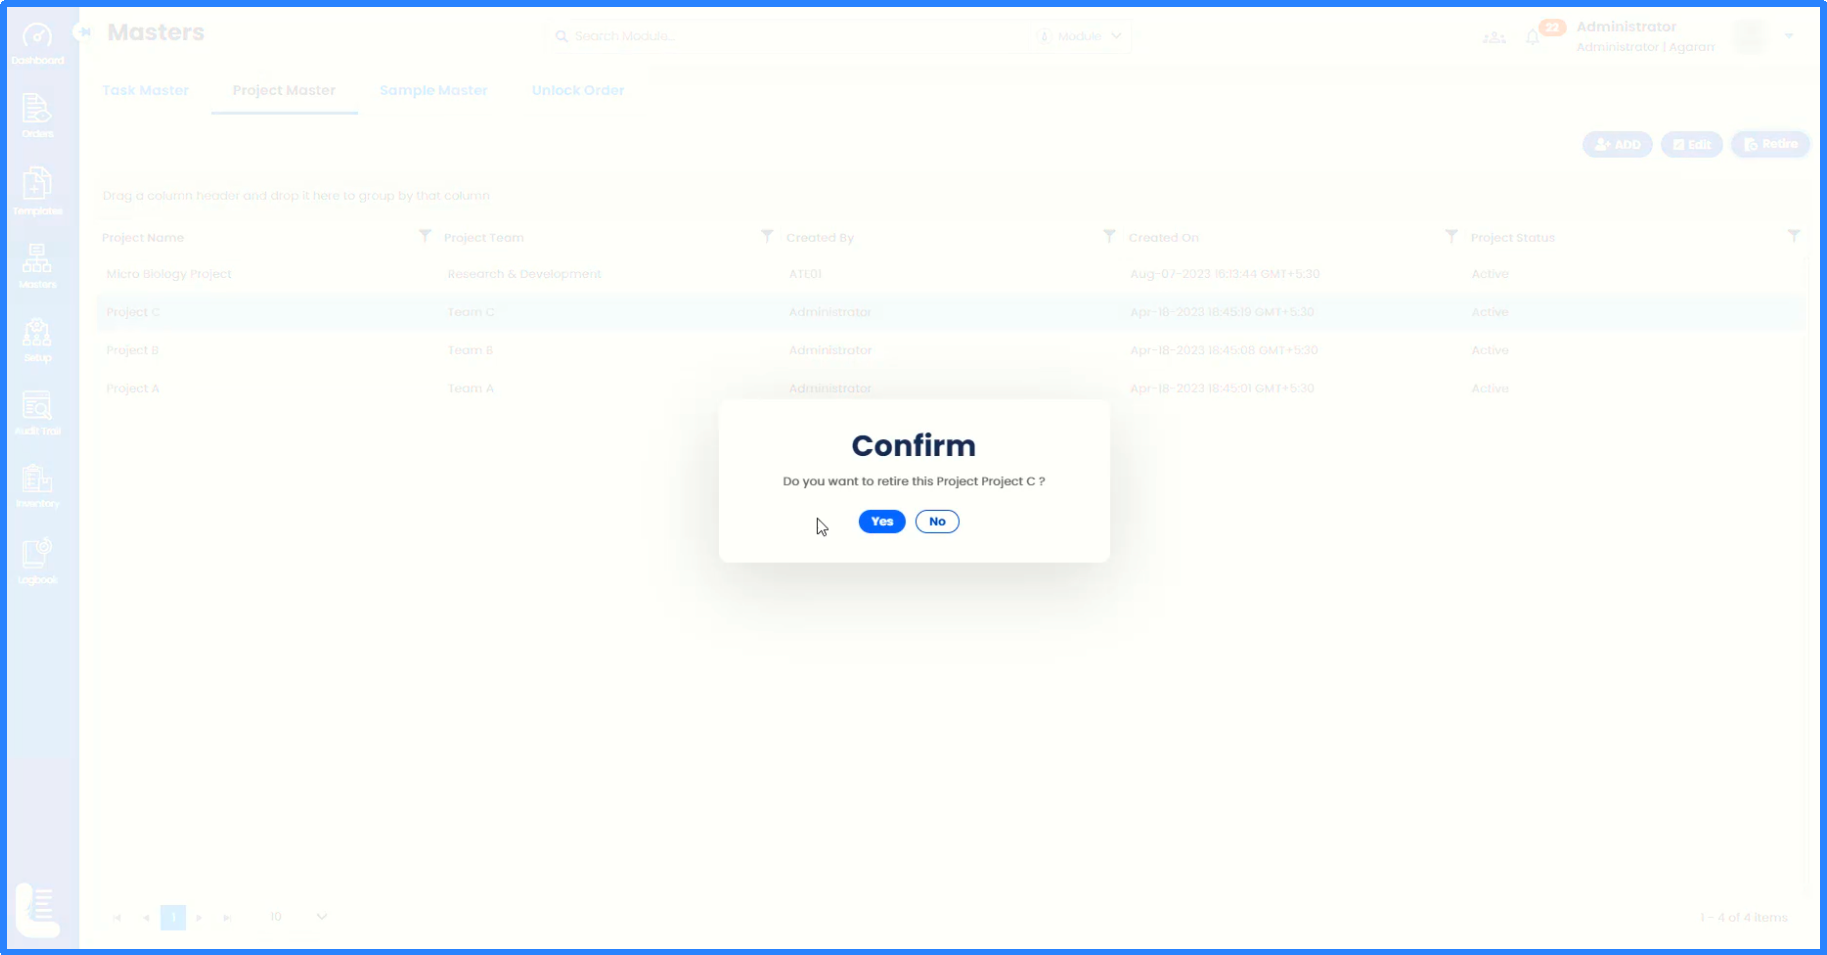
In order to retire any project, select the project and click on 'Retire' button. This will make the project permanently retire and cannot be used in future.
This requires user confirmation as shown.
The message 'PROJECT RETIRED SUCCESSFULLY' is displayed.
Logout of the application to navigate back to login page.