Sample master helps the user to add, edit and retire samples in Logilab ELN.
 and then click Sample Master. The Sample Mastertab appears as shown in the figure:
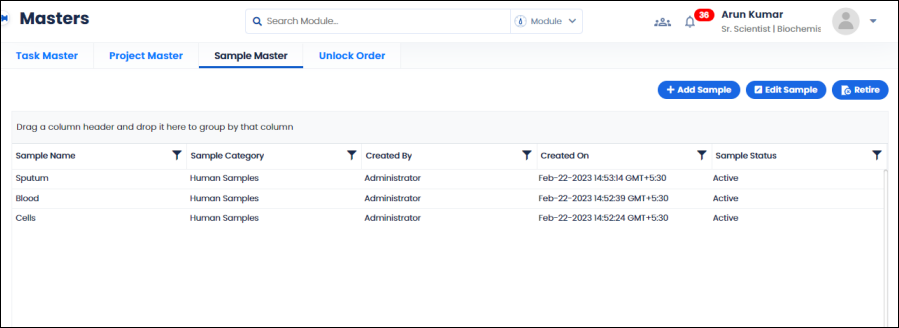
FIGURE: Sample Master Screen
List of samples added appears. Options to add, edit and retire samples appear as shown in the above figure.
 Use the arrows to navigate to the next, previous, first and last pages. Click the dropdown arrow and select the number of records to display on the screen.
Note: For administrators the ActiveSite field will appear. Hence, administrator user can create site specific samples.
To add a new sample to the sample master, follow these steps:
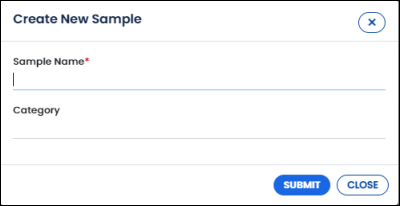
FIGURE: Create New Sample Dialog
The sample is added to the sample list. You can see a confirmation message.
The selected sample is retired, and you can see a confirmation message. The Sample Status appears as Retired, and you cannot activate the retired sample. You cannot use the retired sample in the transactions.
The Unlock Orders screen helps to unlock locked orders.
and then click Unlock Orders. The Unlock Orders screen appears as shown in the figure: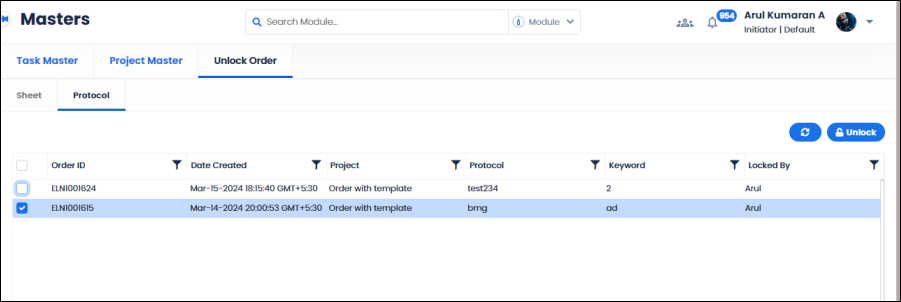
FIGURE: Unlock Order Screen
