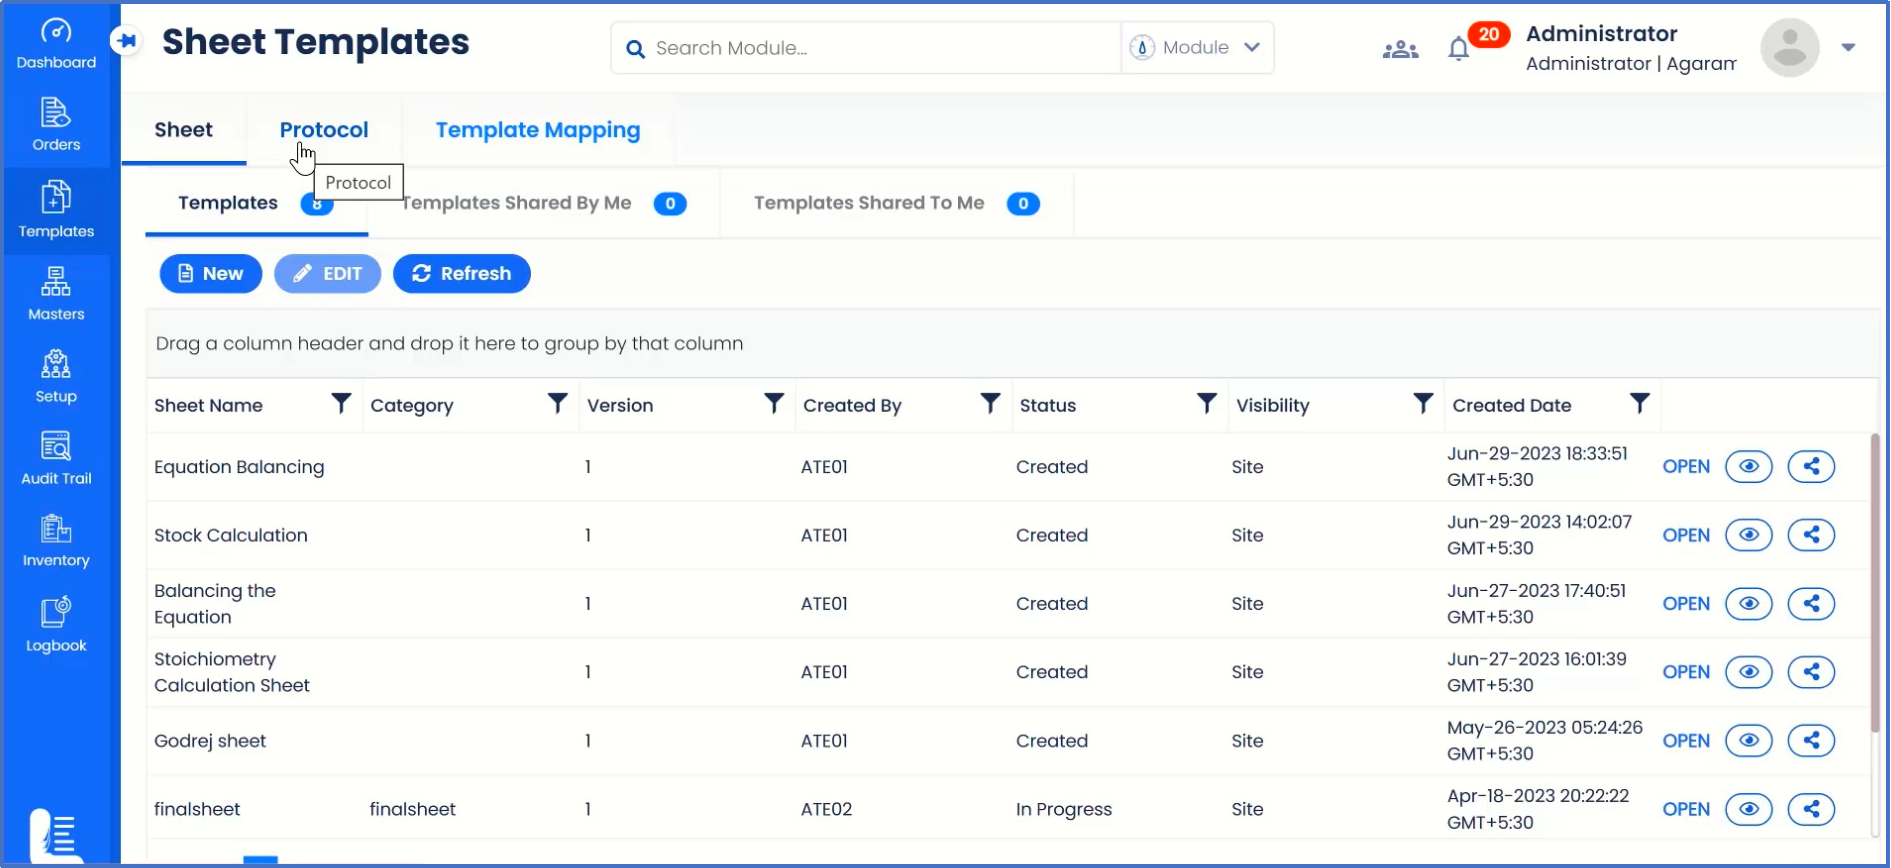
After logging into Logilab ELN as administrator user, navigate to 'Sheet Templates' page by clicking on Templates Menu and then by clicking on 'Sheet Templates'. On this page, the list of sheet templates already created will be listed out. In order to create a new one, click on 'New' button.
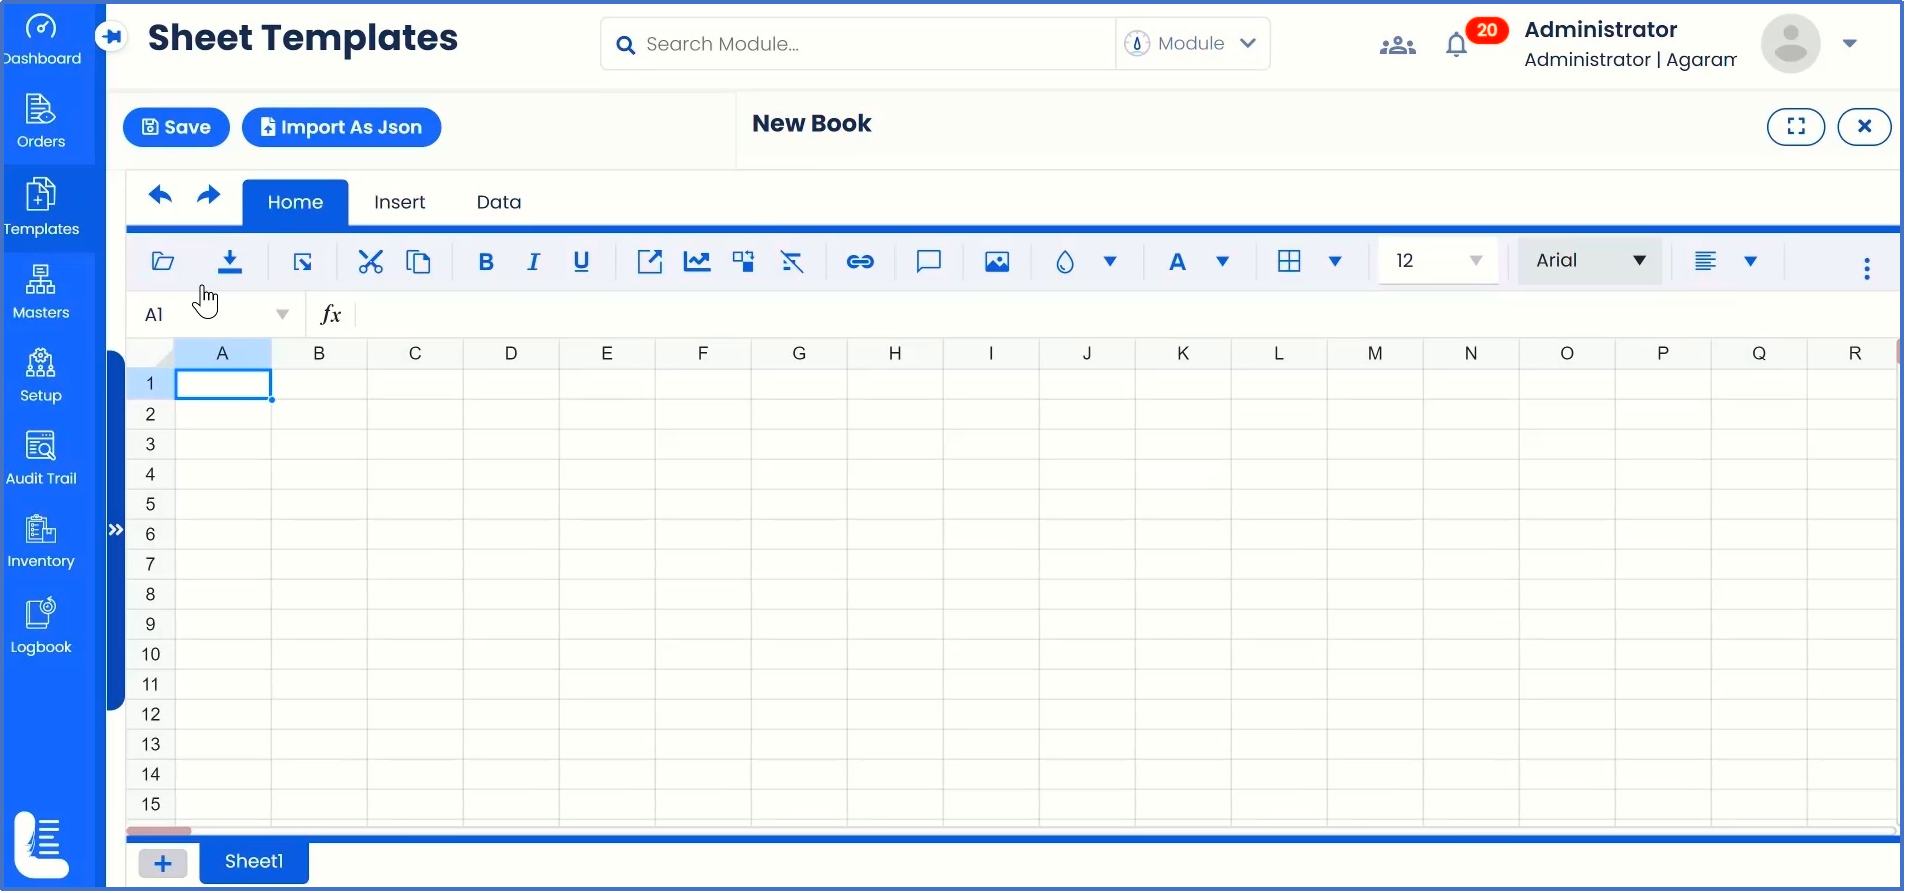
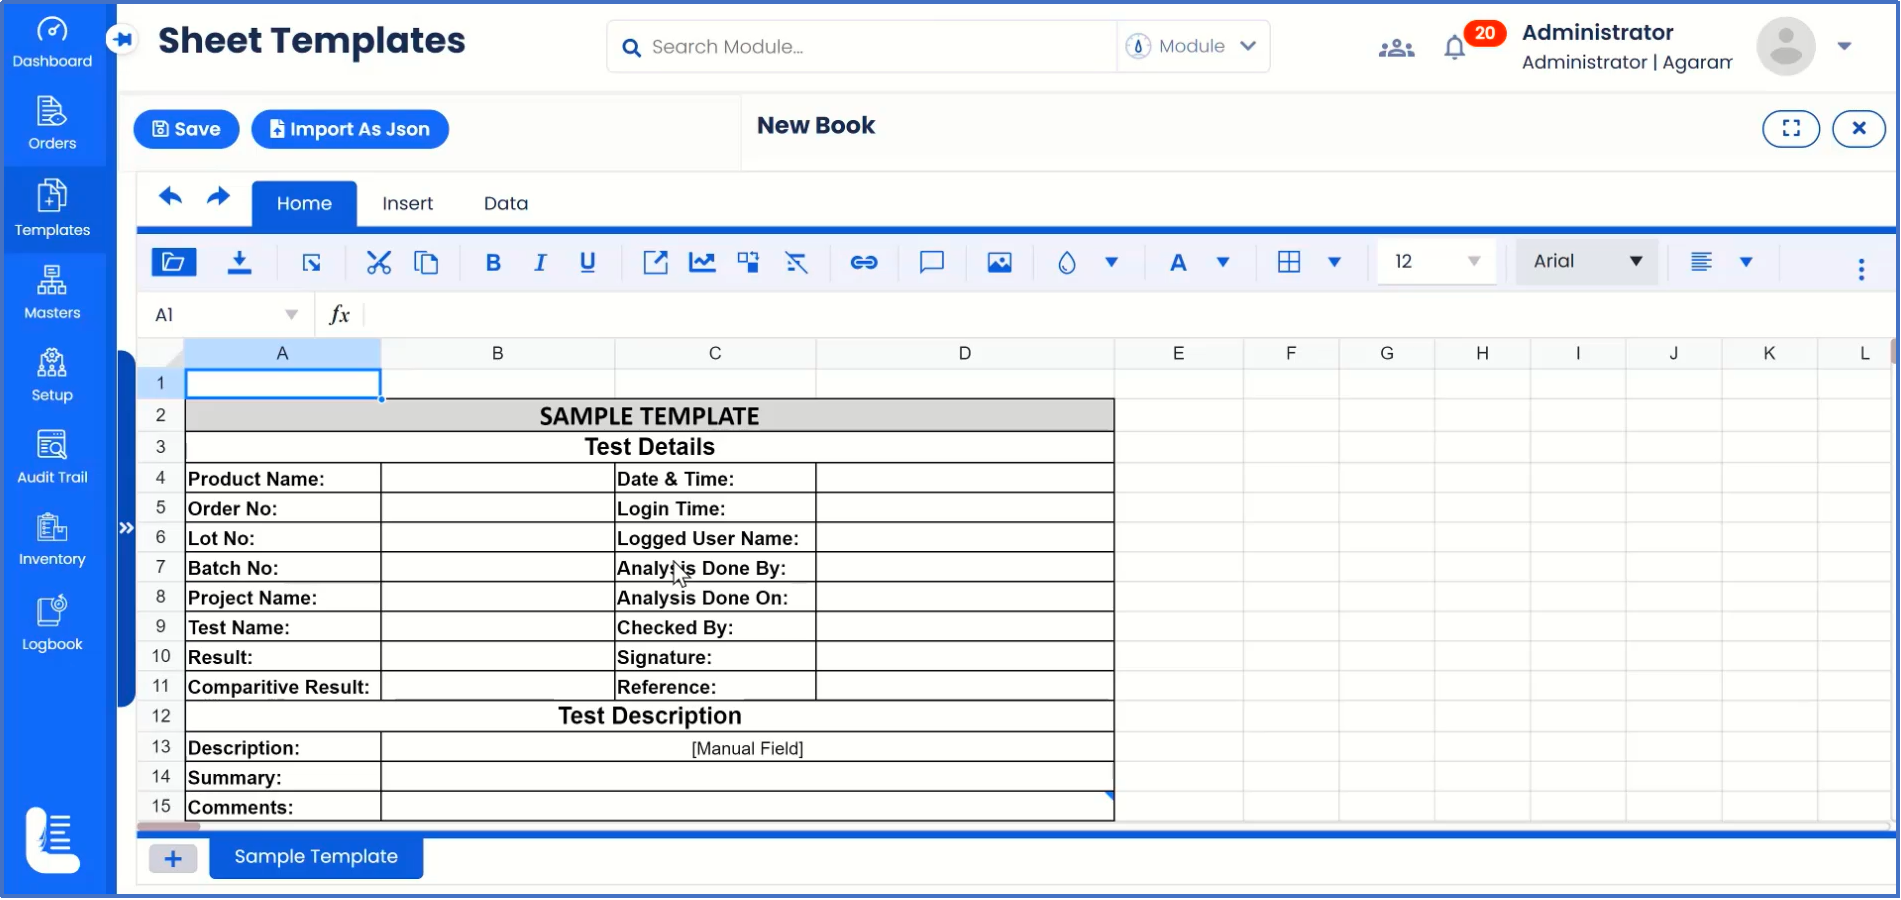
By default, an MS excel-like interface with 'Sheet1' as default will be displayed.
Let us now see how to import a sheet template from an already-created excel file.
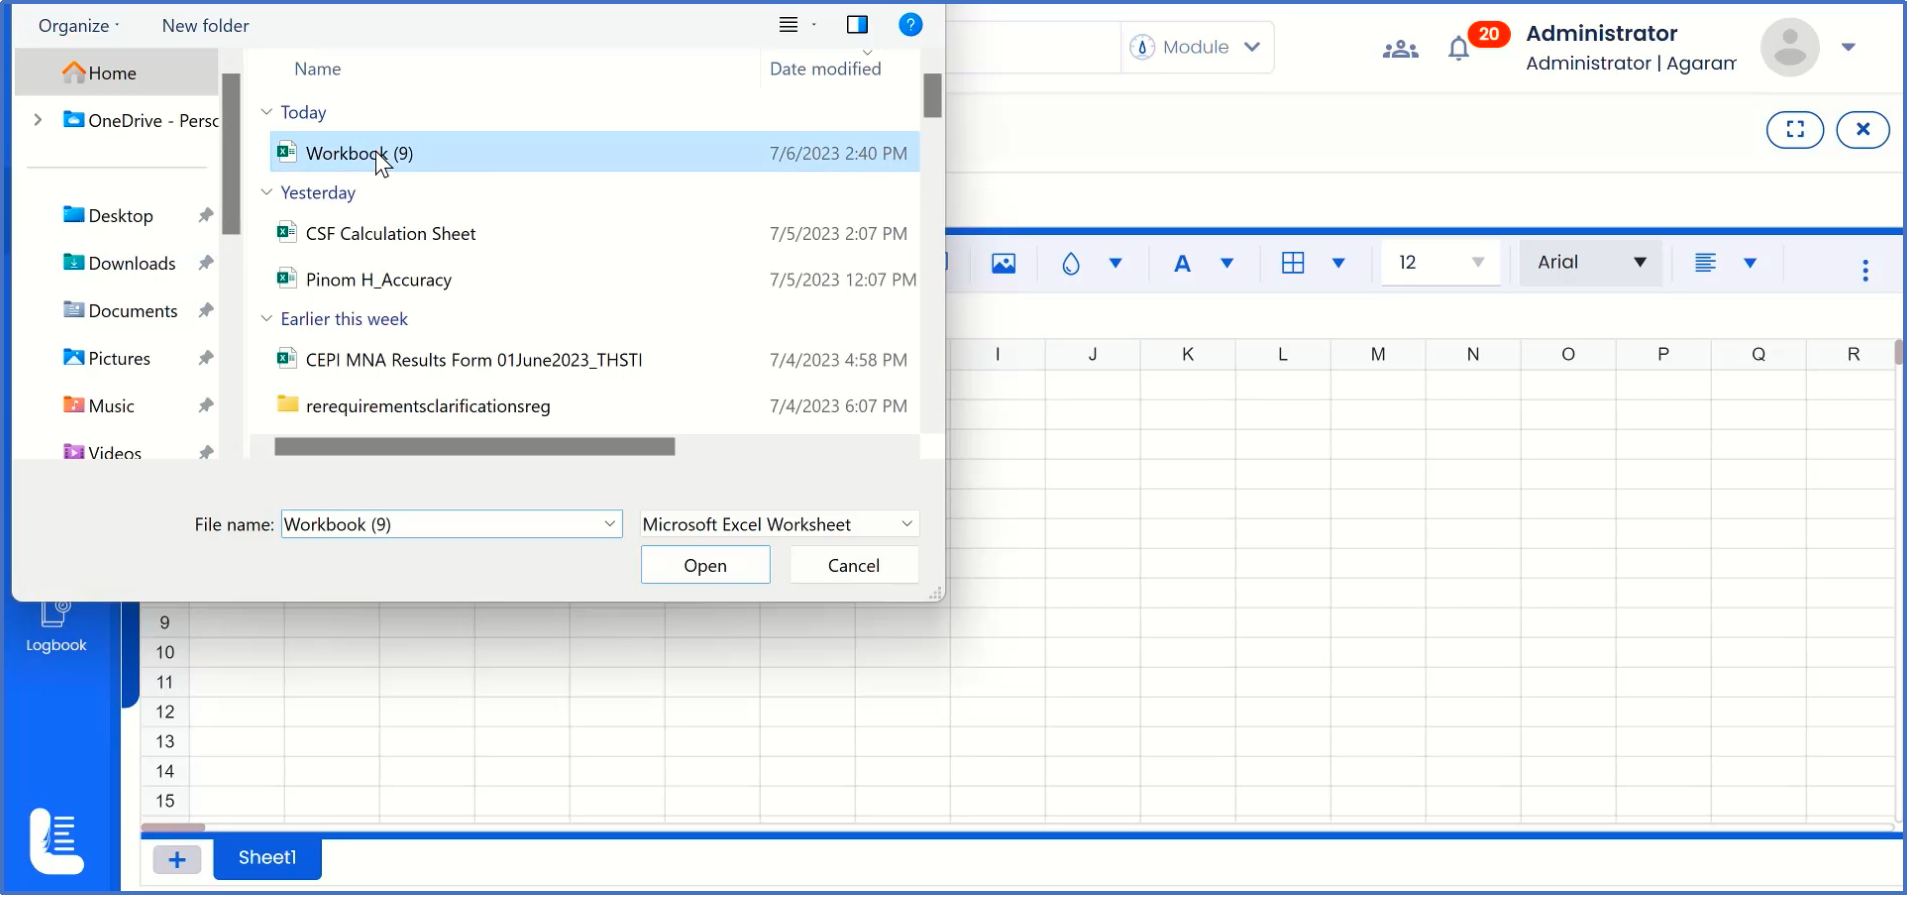
Click on 'Import' icon.
It will navigate to folder in the local system.
Locate the excel file, select it and click on 'Open' button.
It will open the excel file in the Sheet Template.
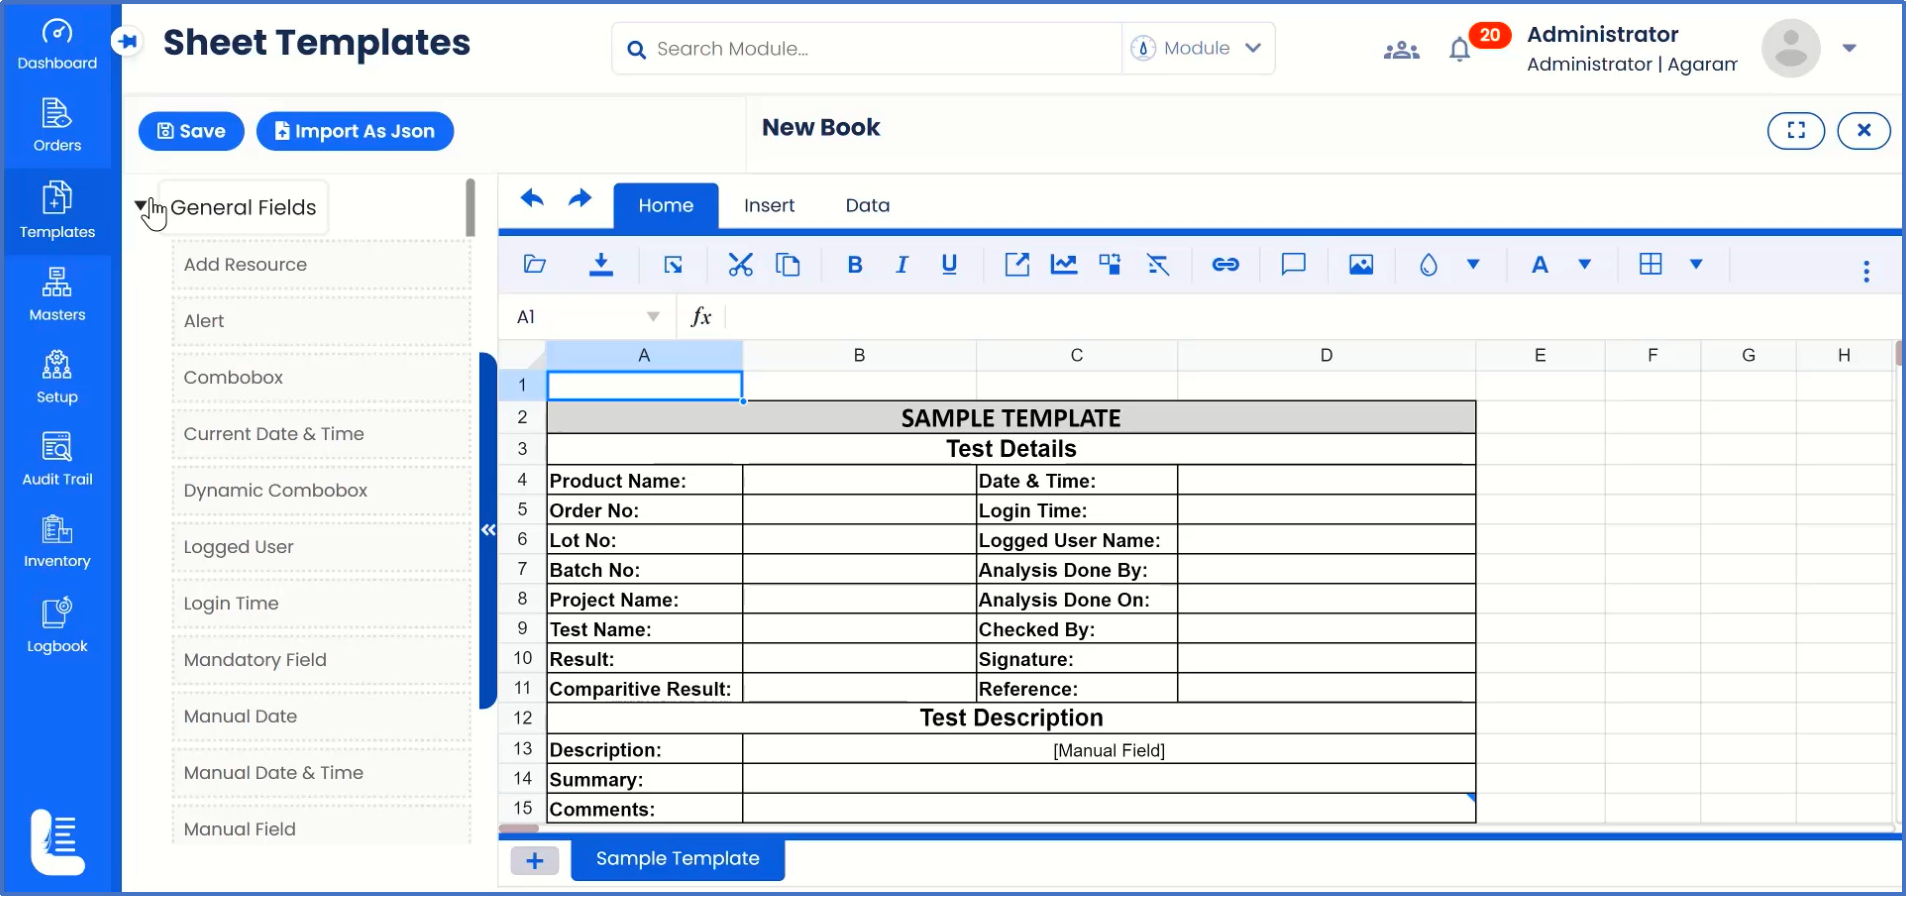
When you click on the arrow, it will expand the field list on the left hand side panel.
You can further expand the general fields to view the list of all available field types.
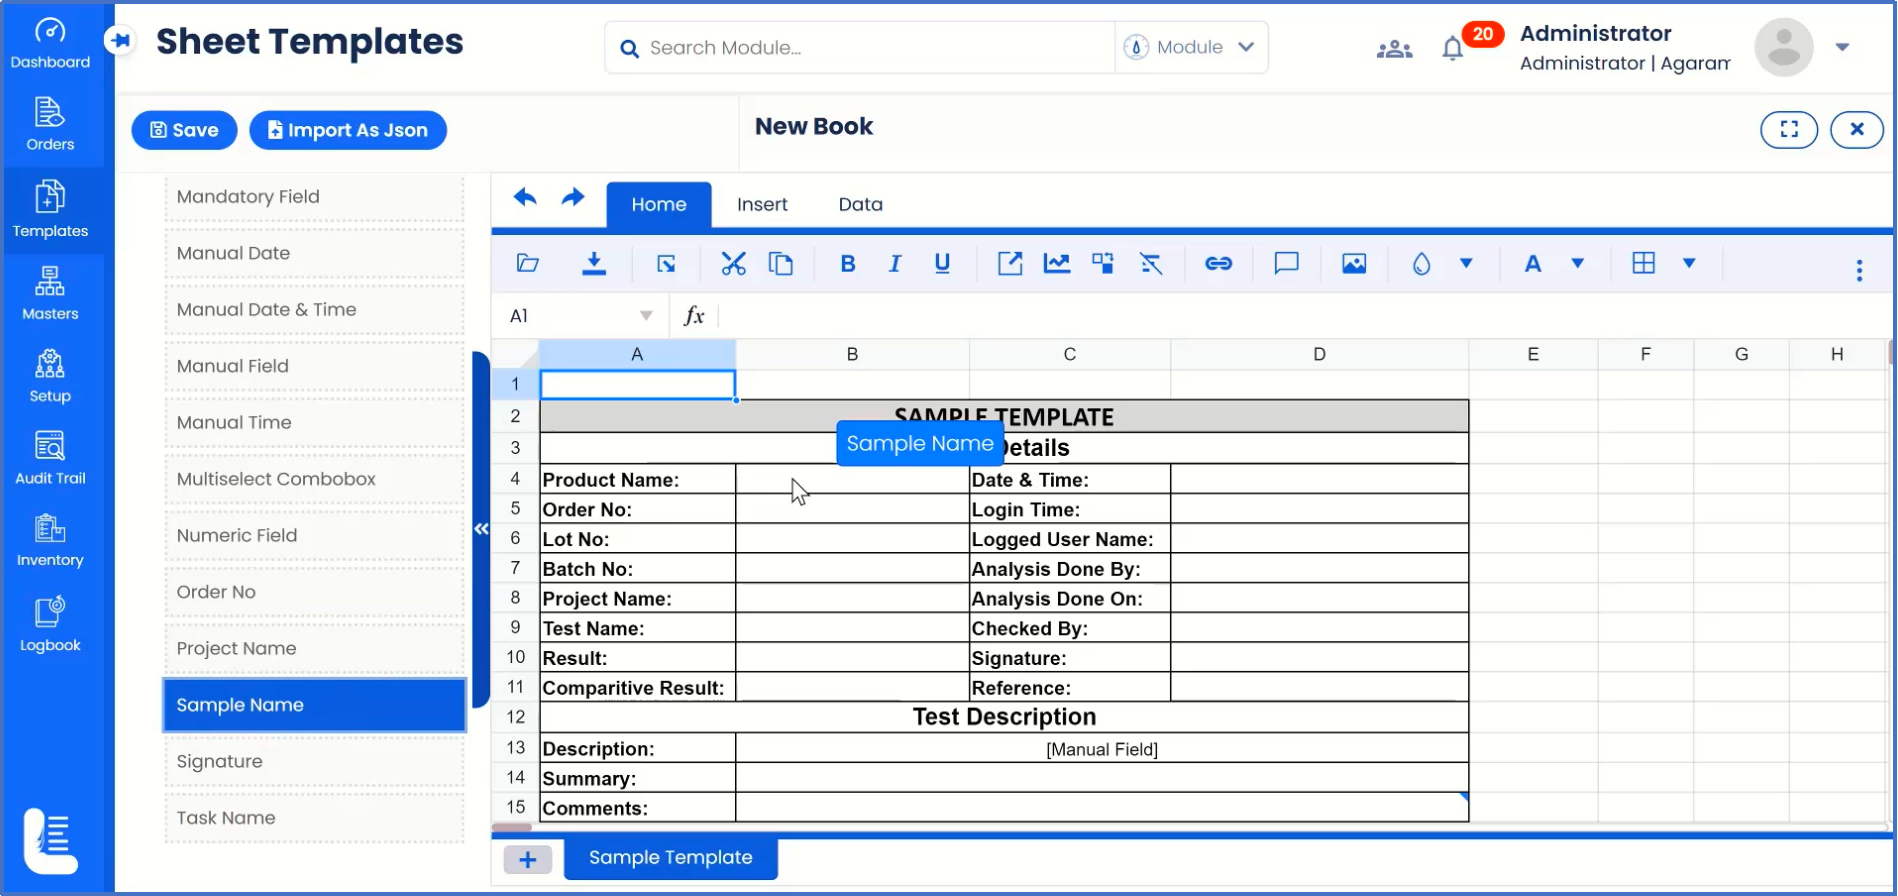
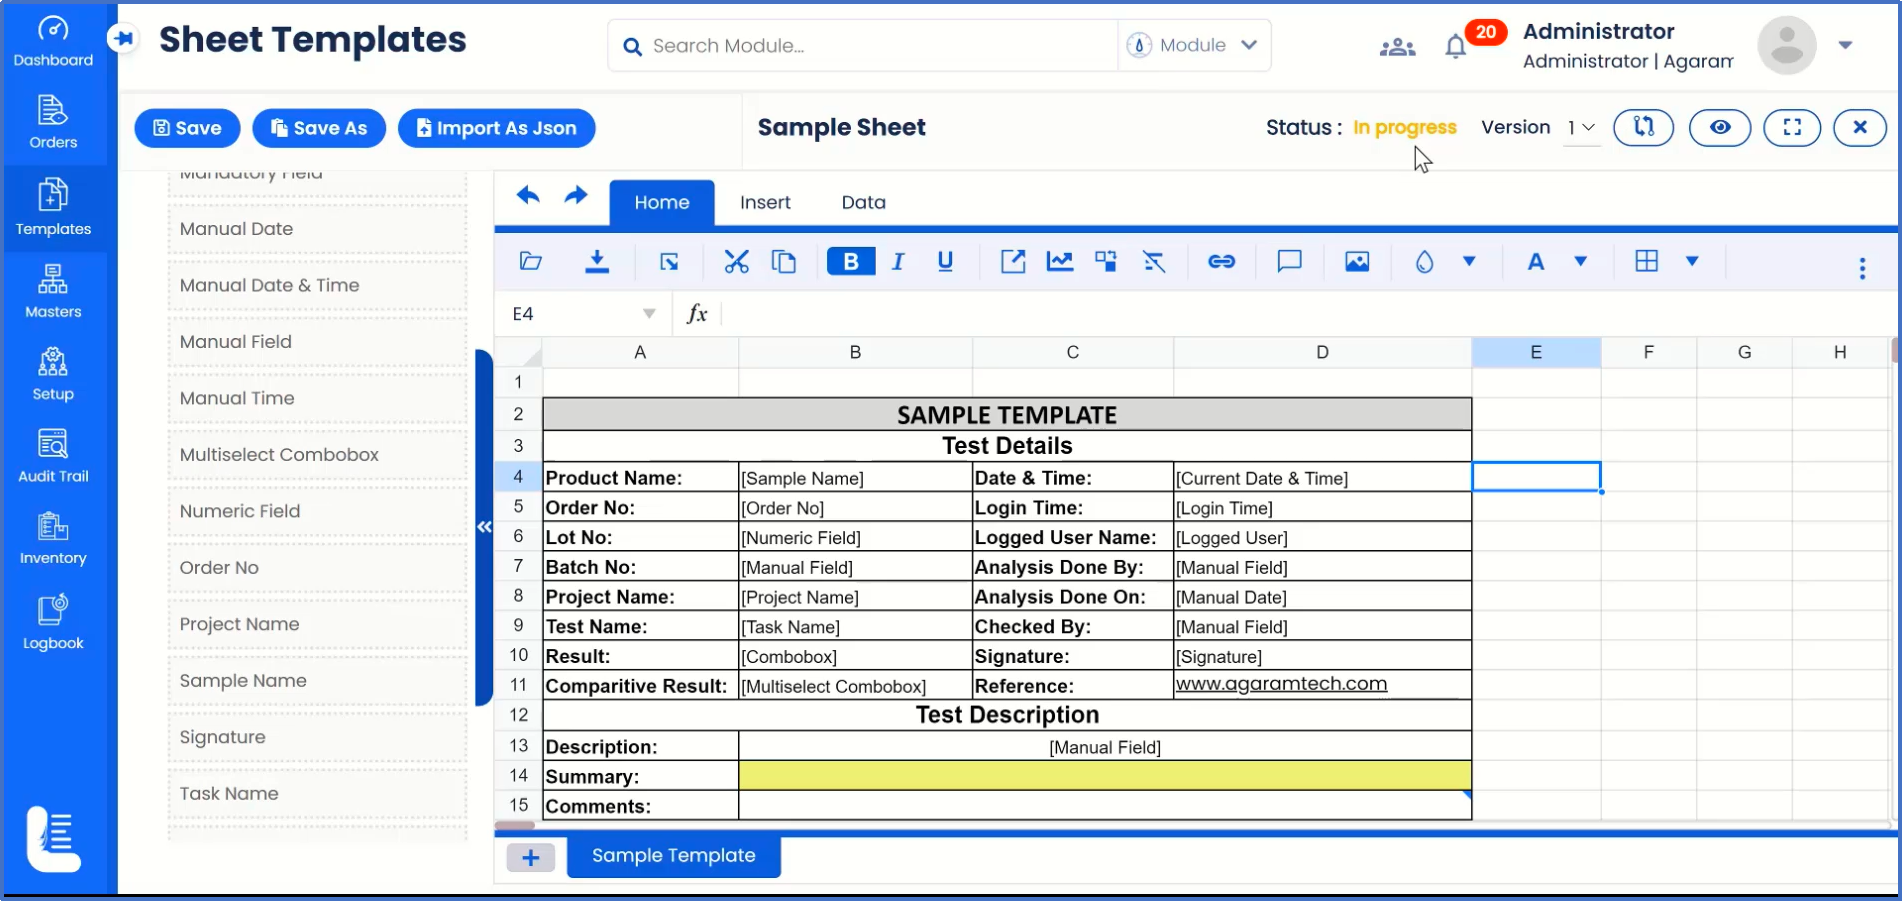
Select the field, drag and drop onto the specific cell.
For example, the field 'Sample Name' is selected for the template field 'Product Name'.
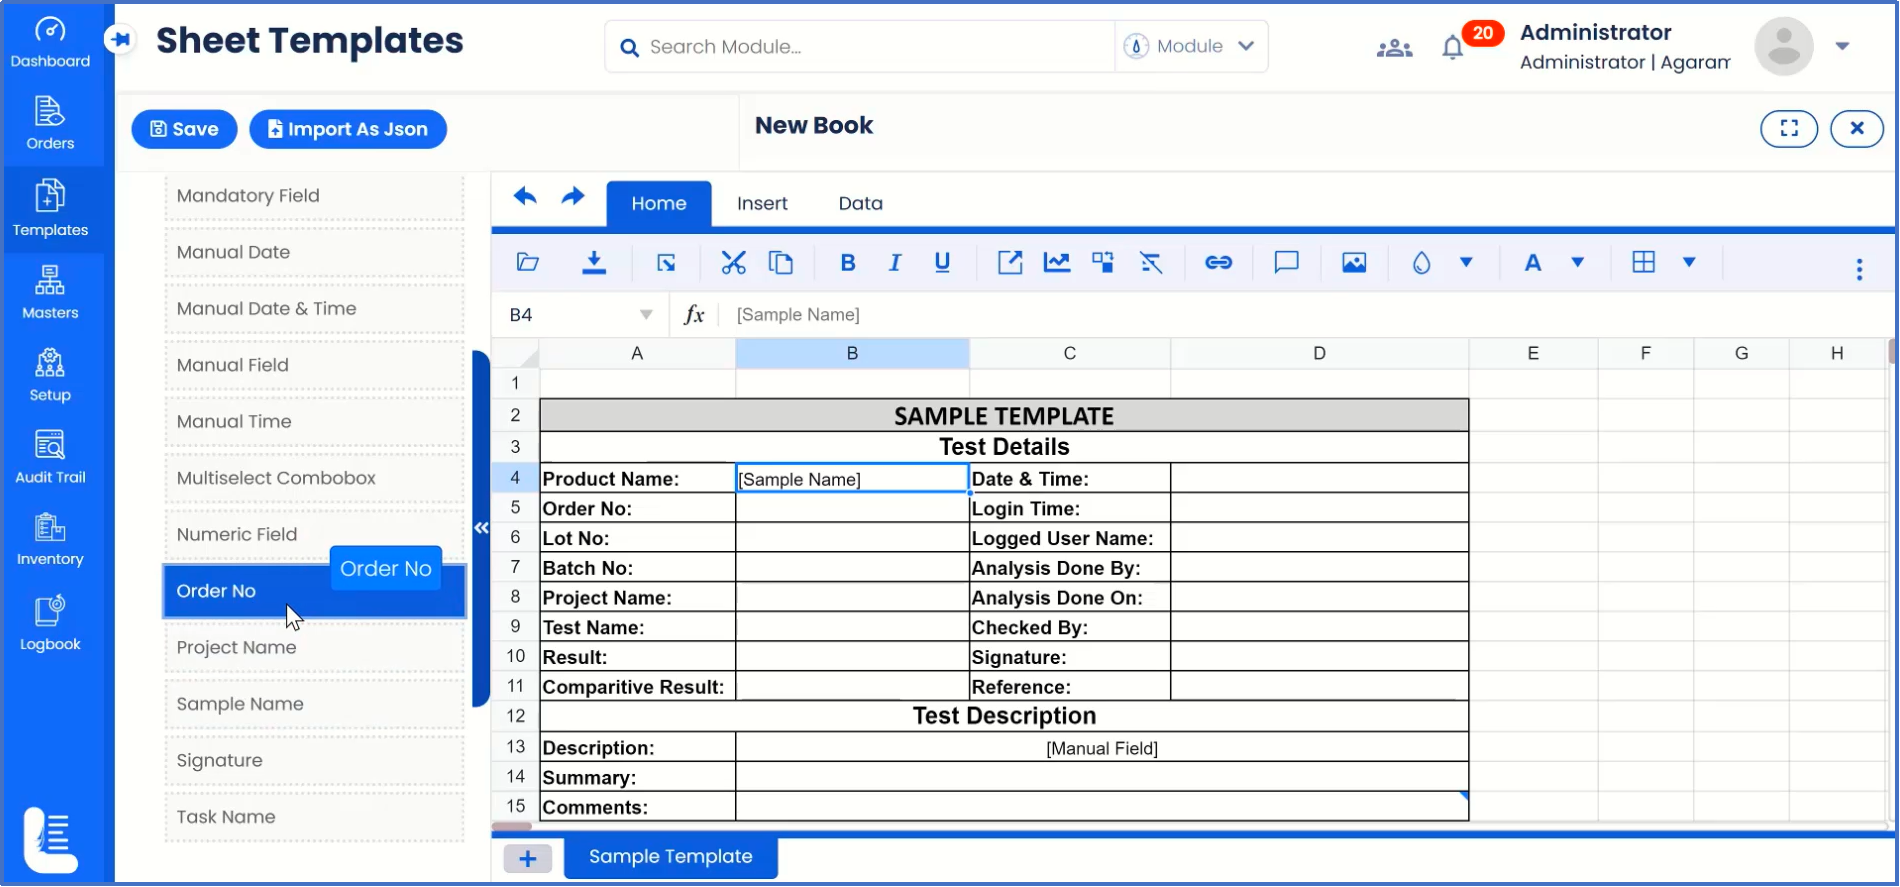
Select the fields one-after-the-another and complete the mapping of all the corresponding ones in the sample template.
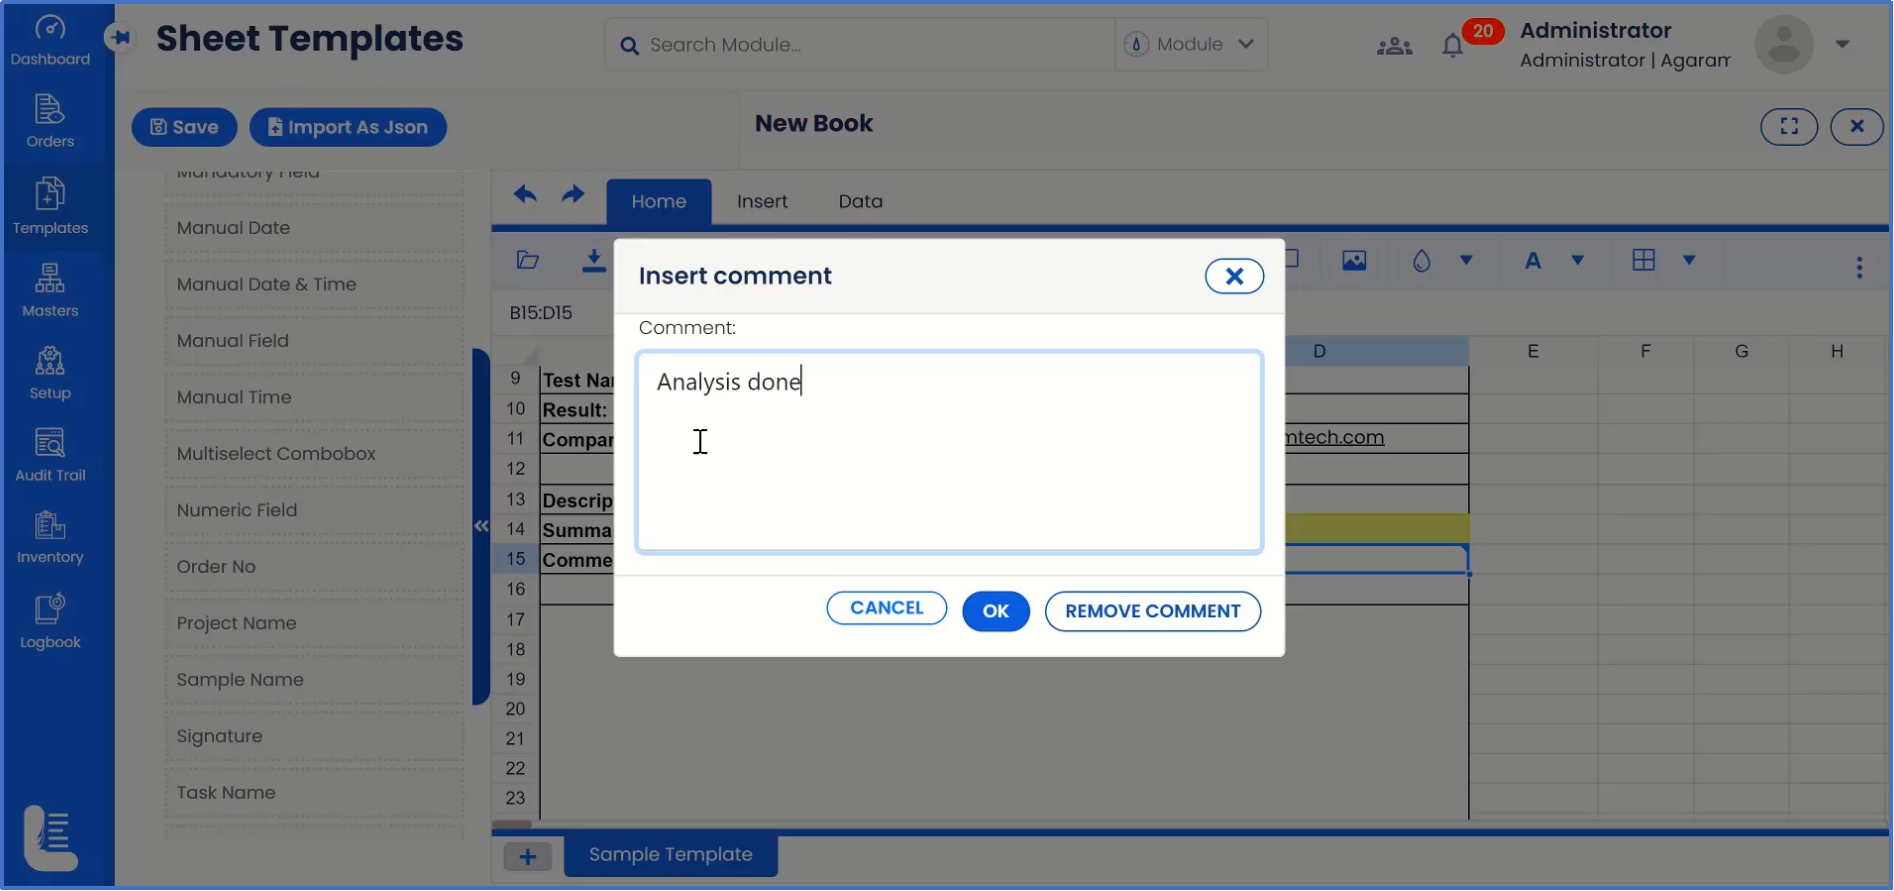
Inserting comments for any field is also possible as shown.
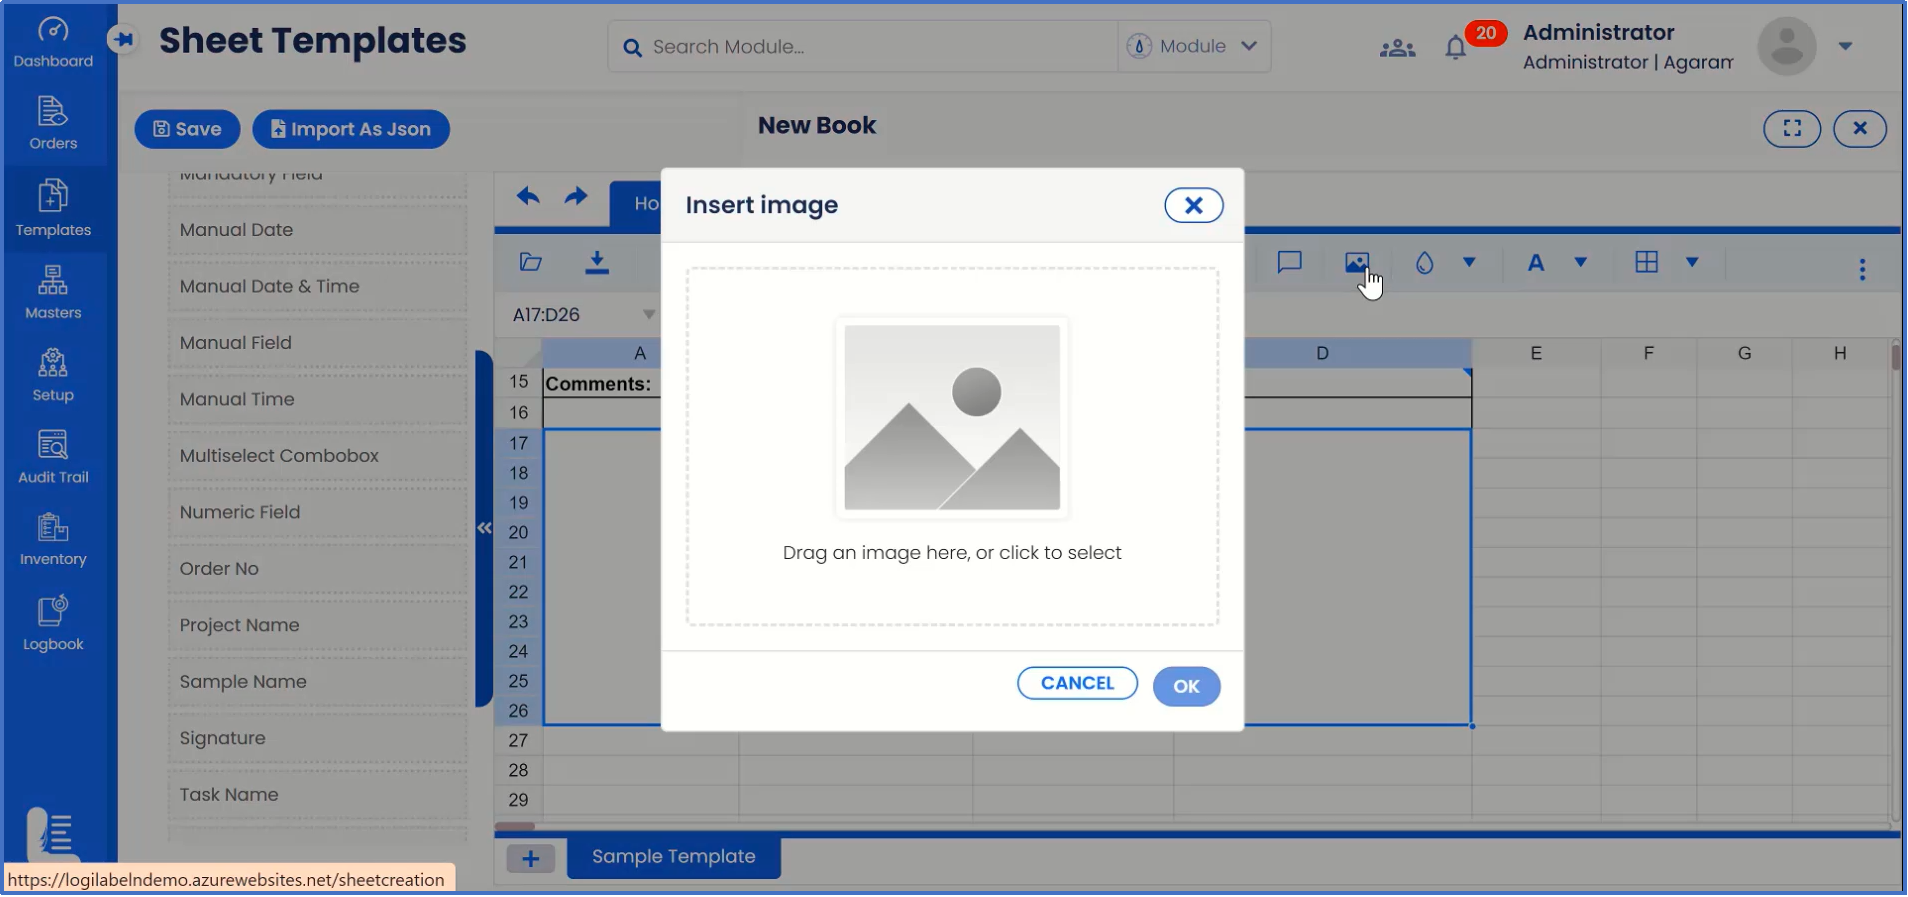
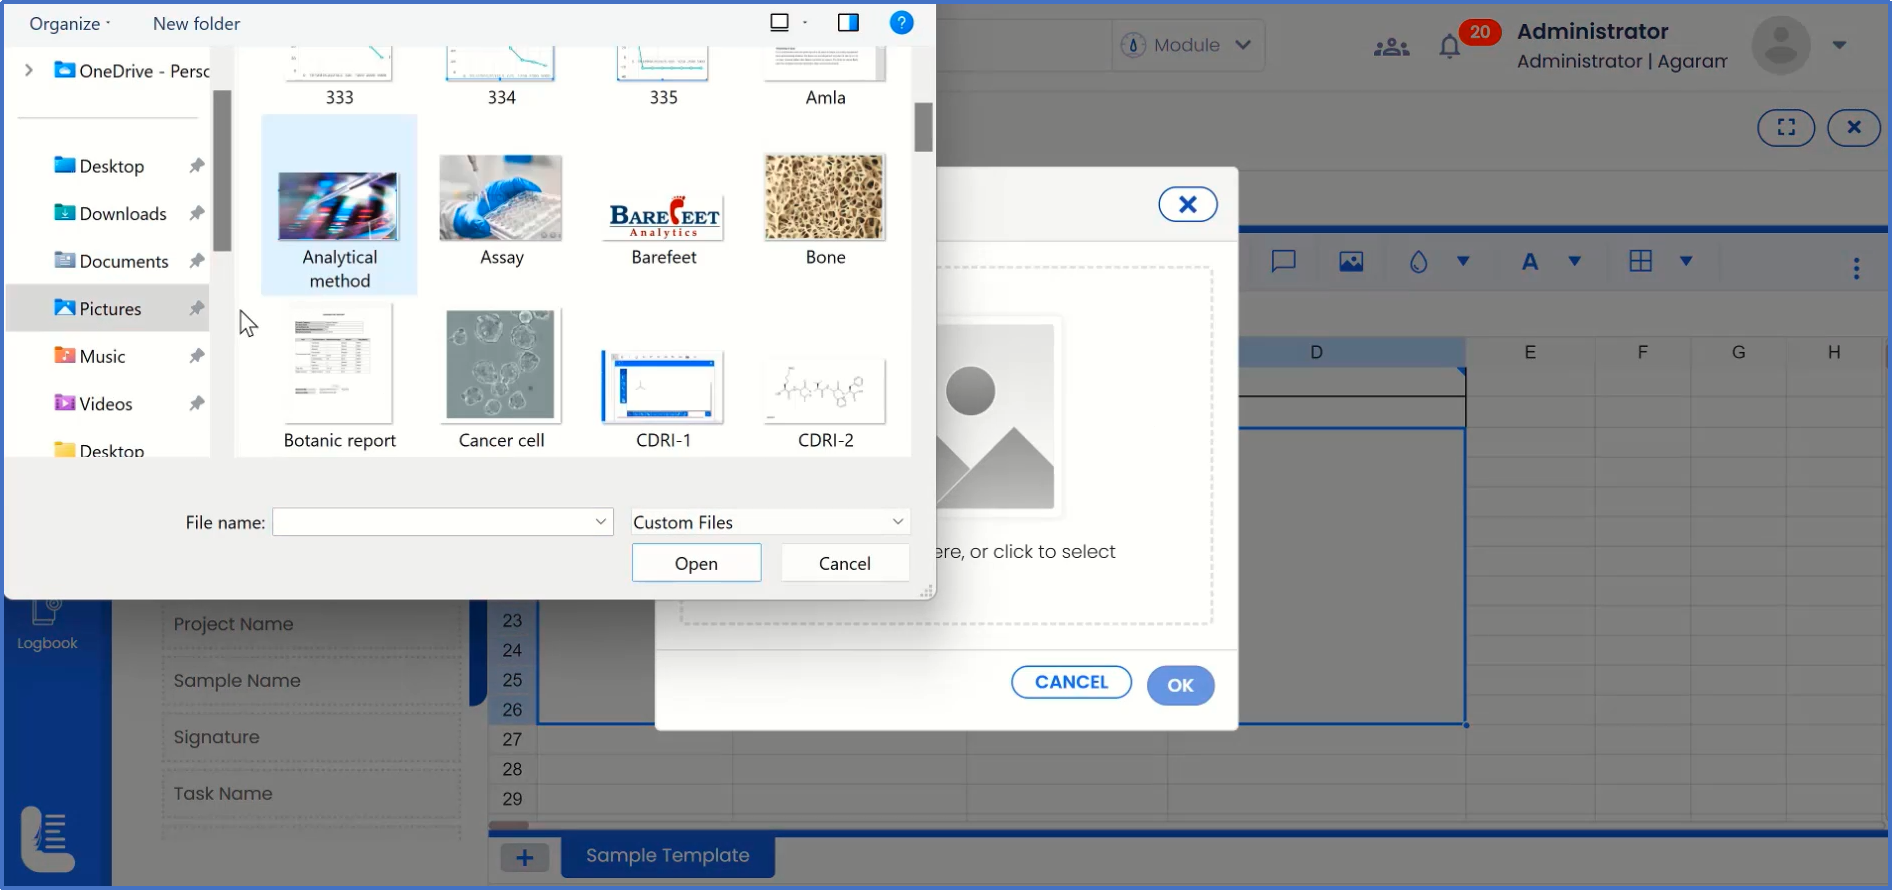
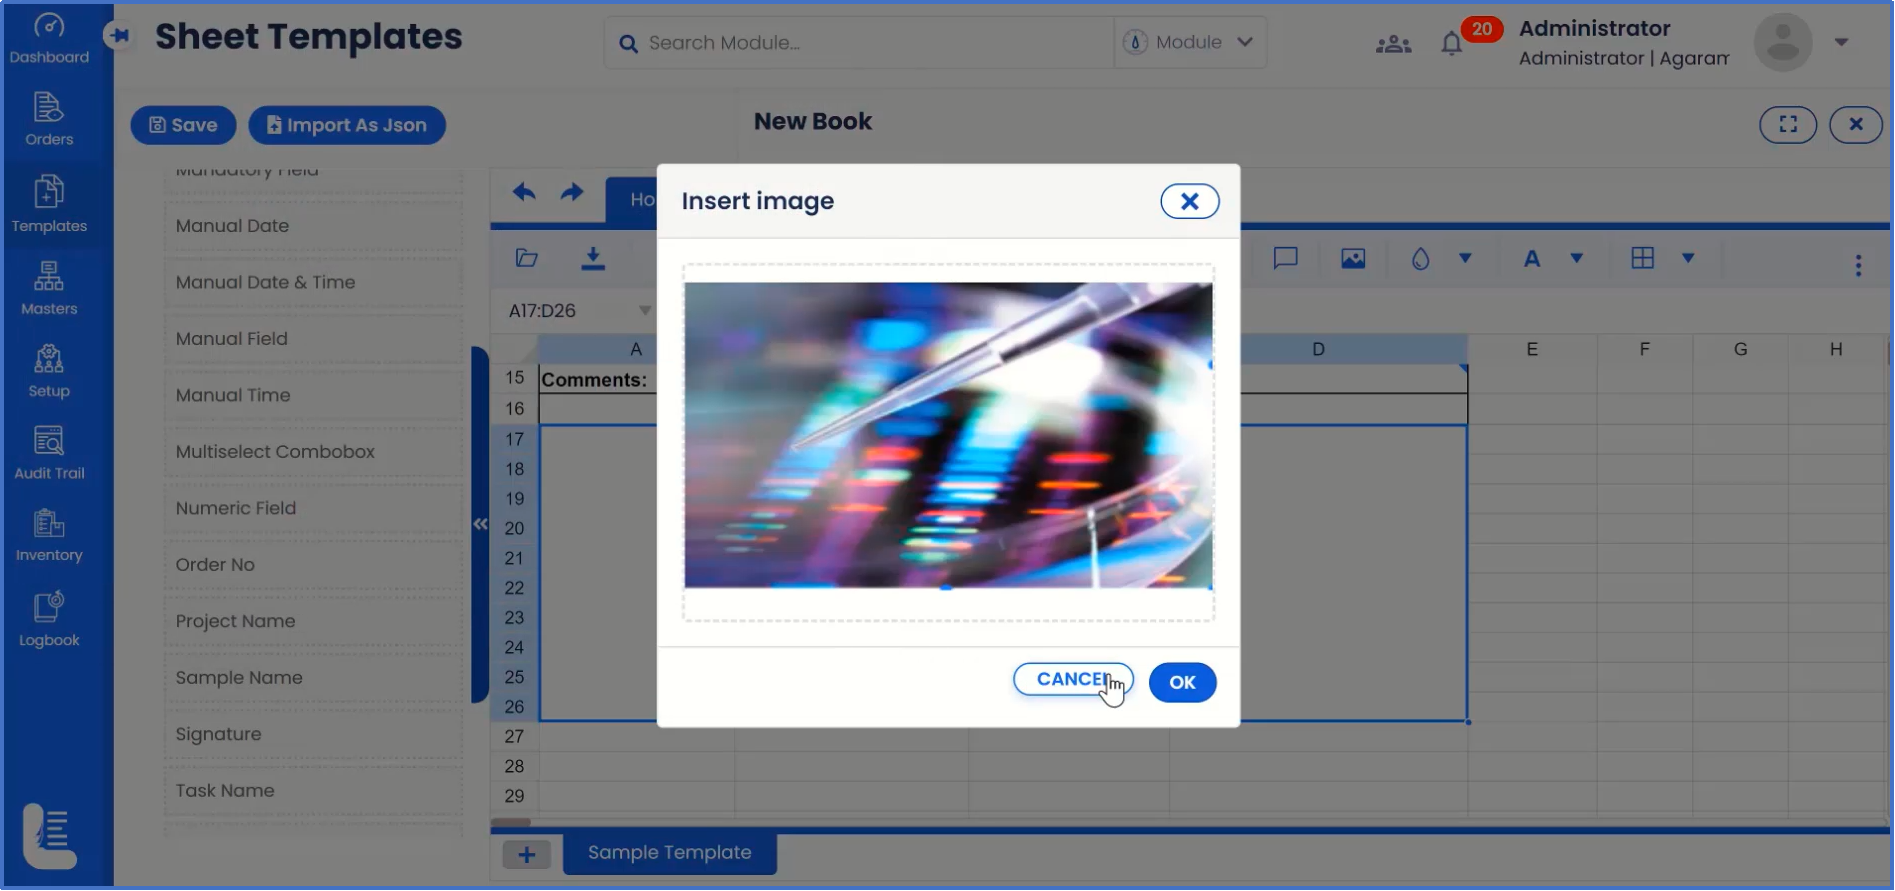
In case of inserting an image, please click on Image icon, navigate the system folder and select the picture file.
On the sheet, in addition to import, there are various options such as export, export as JSON, text formatting fields such as bold, italics, underscore, etc. link sheets,
add charts,
hyperlink, insert comment and insert images, etc. have been provided.
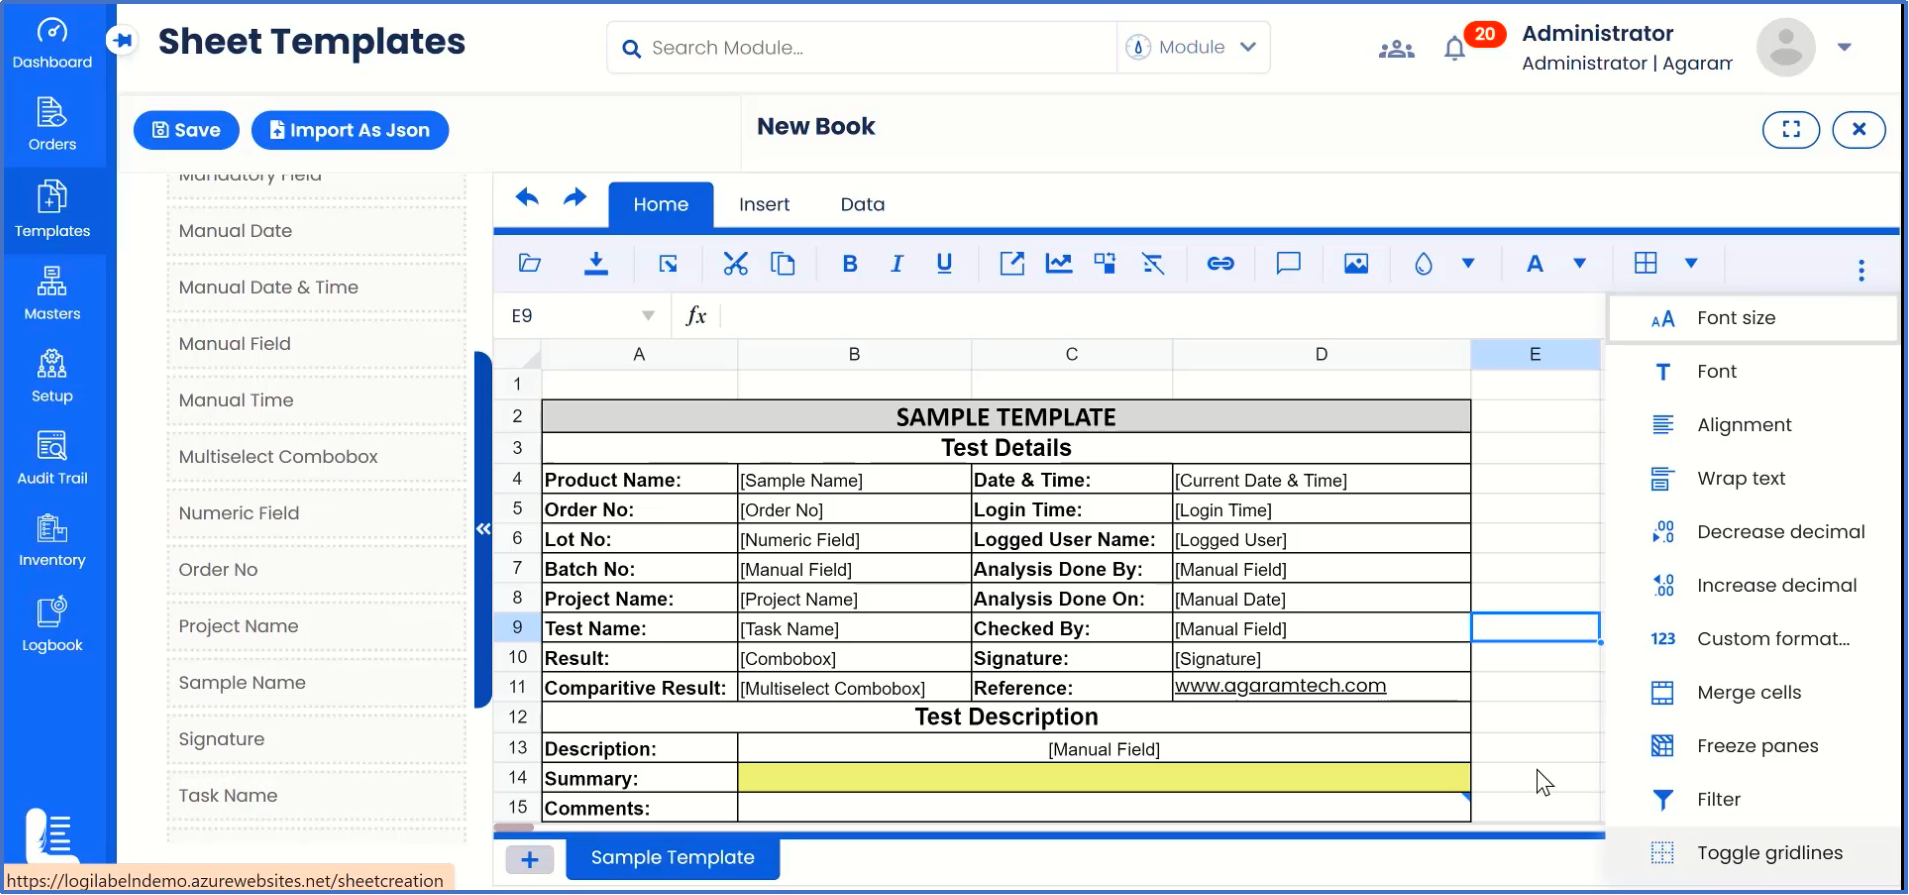
Other cell formatting options such as alignment, wrap text, etc. are also available.
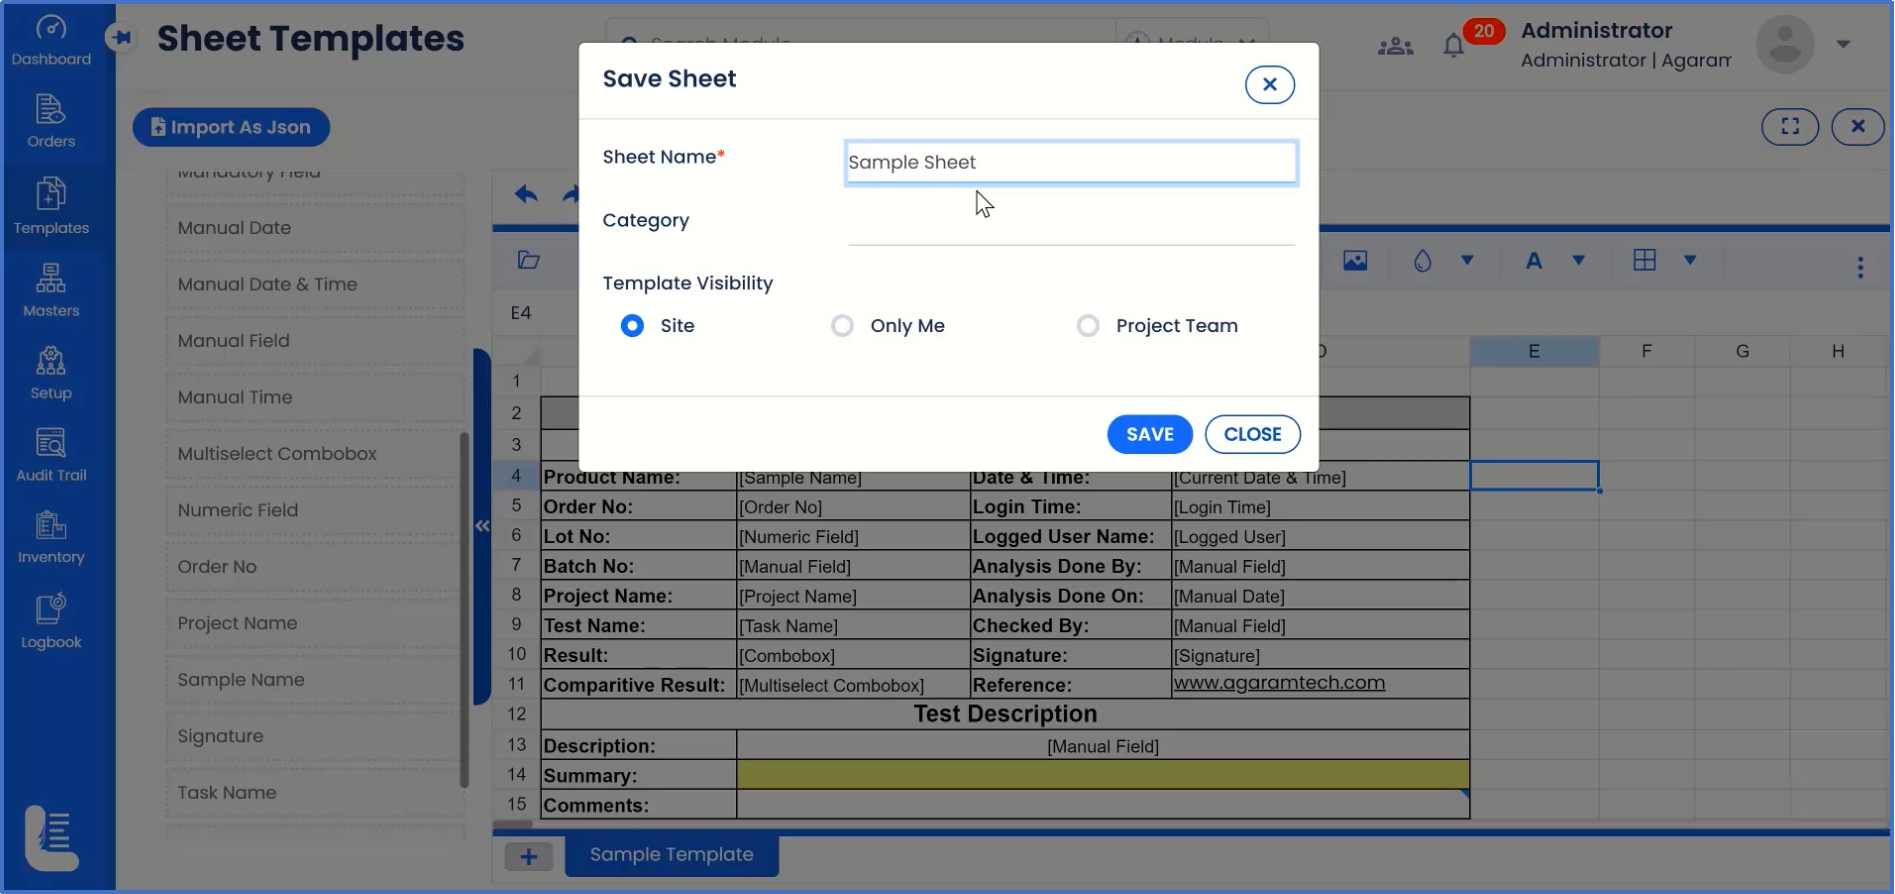
Once the sheet is fully configured, click on 'Save' button.
It will open up a dialog box named 'Save Sheet'.
Enter the Sheet name as the name in which the sheet will be saved.
After entering or selecting the other fields as required, click on 'SAVE' button.
The message 'SHEET SAVED SUCCESSFULLY' is displayed.
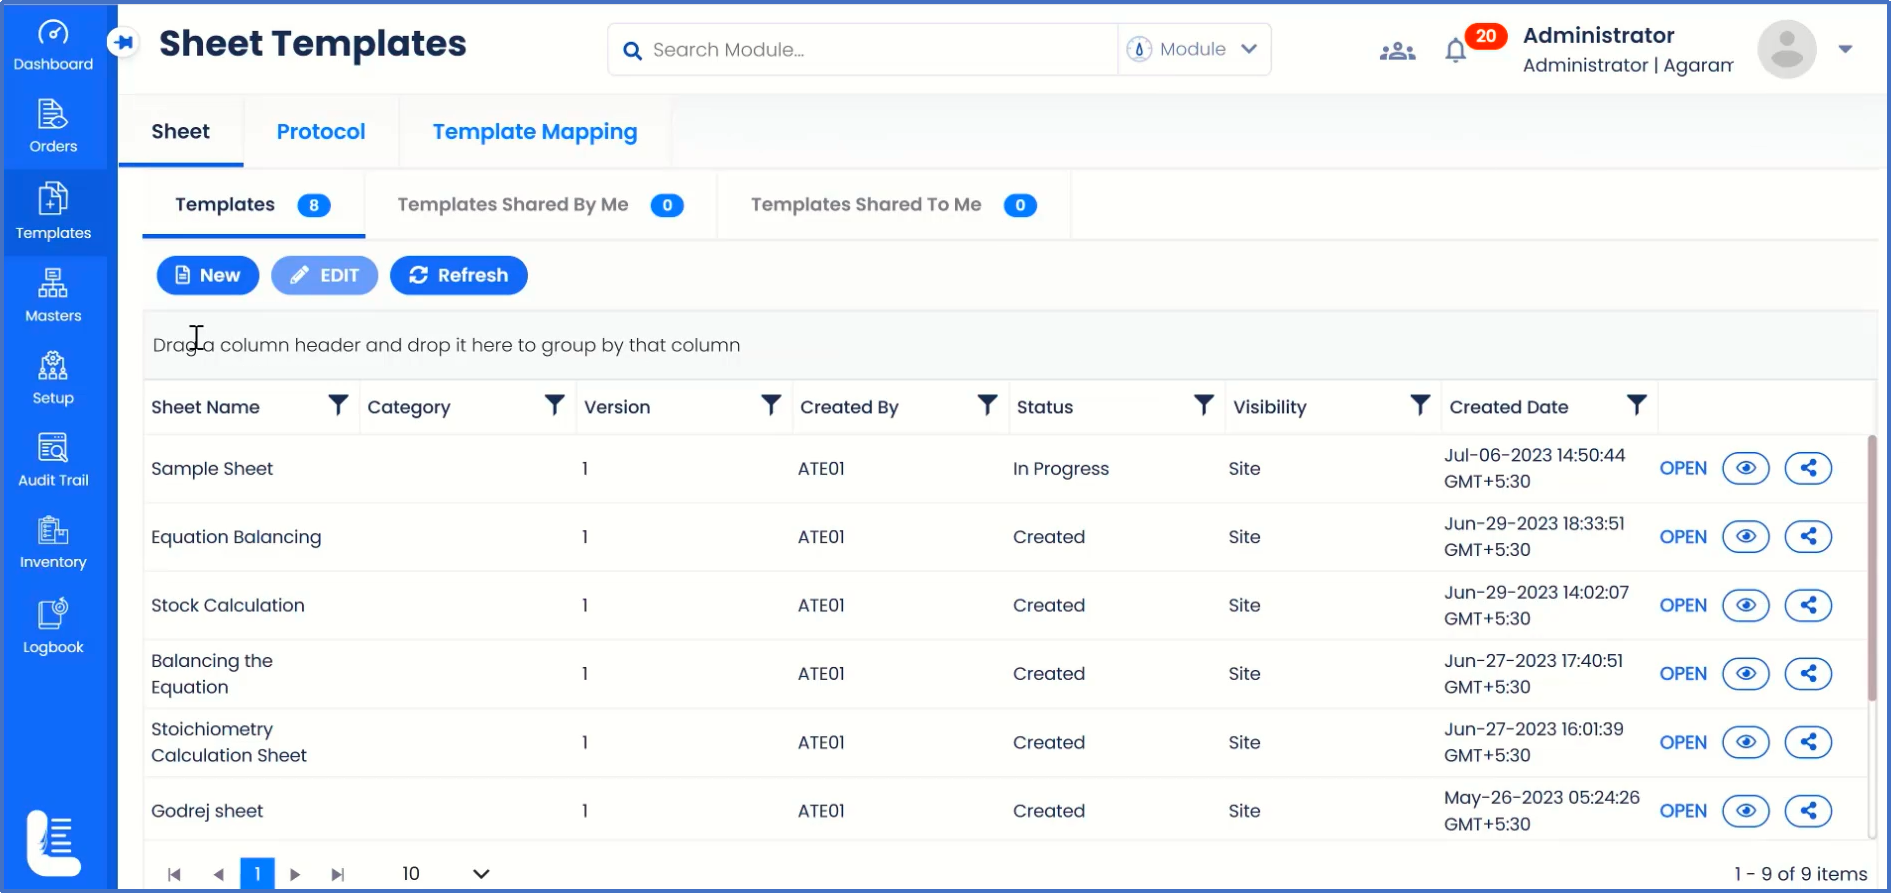
Also there are other options available in this page such as Compare Versions (that is: to compare different versions of same template), template history, Full screen, etc.
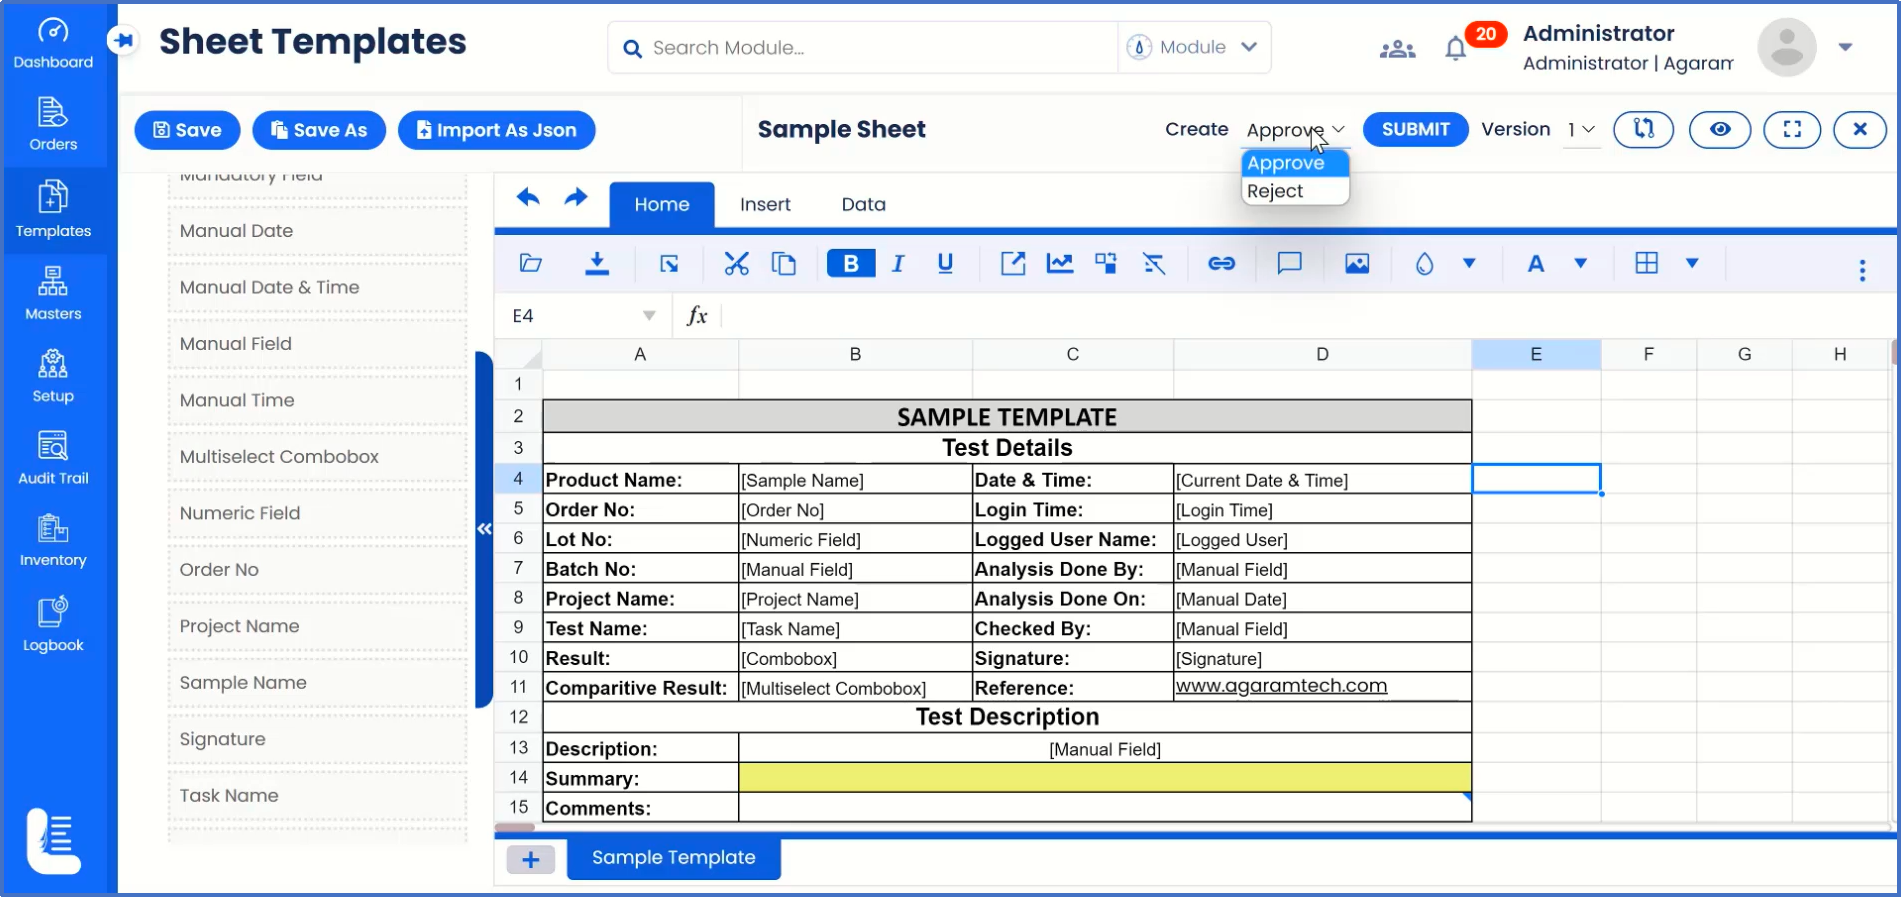
The created sheet is in the created status which needs to be transmitted to the next level of approver as setup in workflow.
Select the required option such as 'Approve' to transmit to the next level or 'Reject' if the sheet is not ok to be approved.
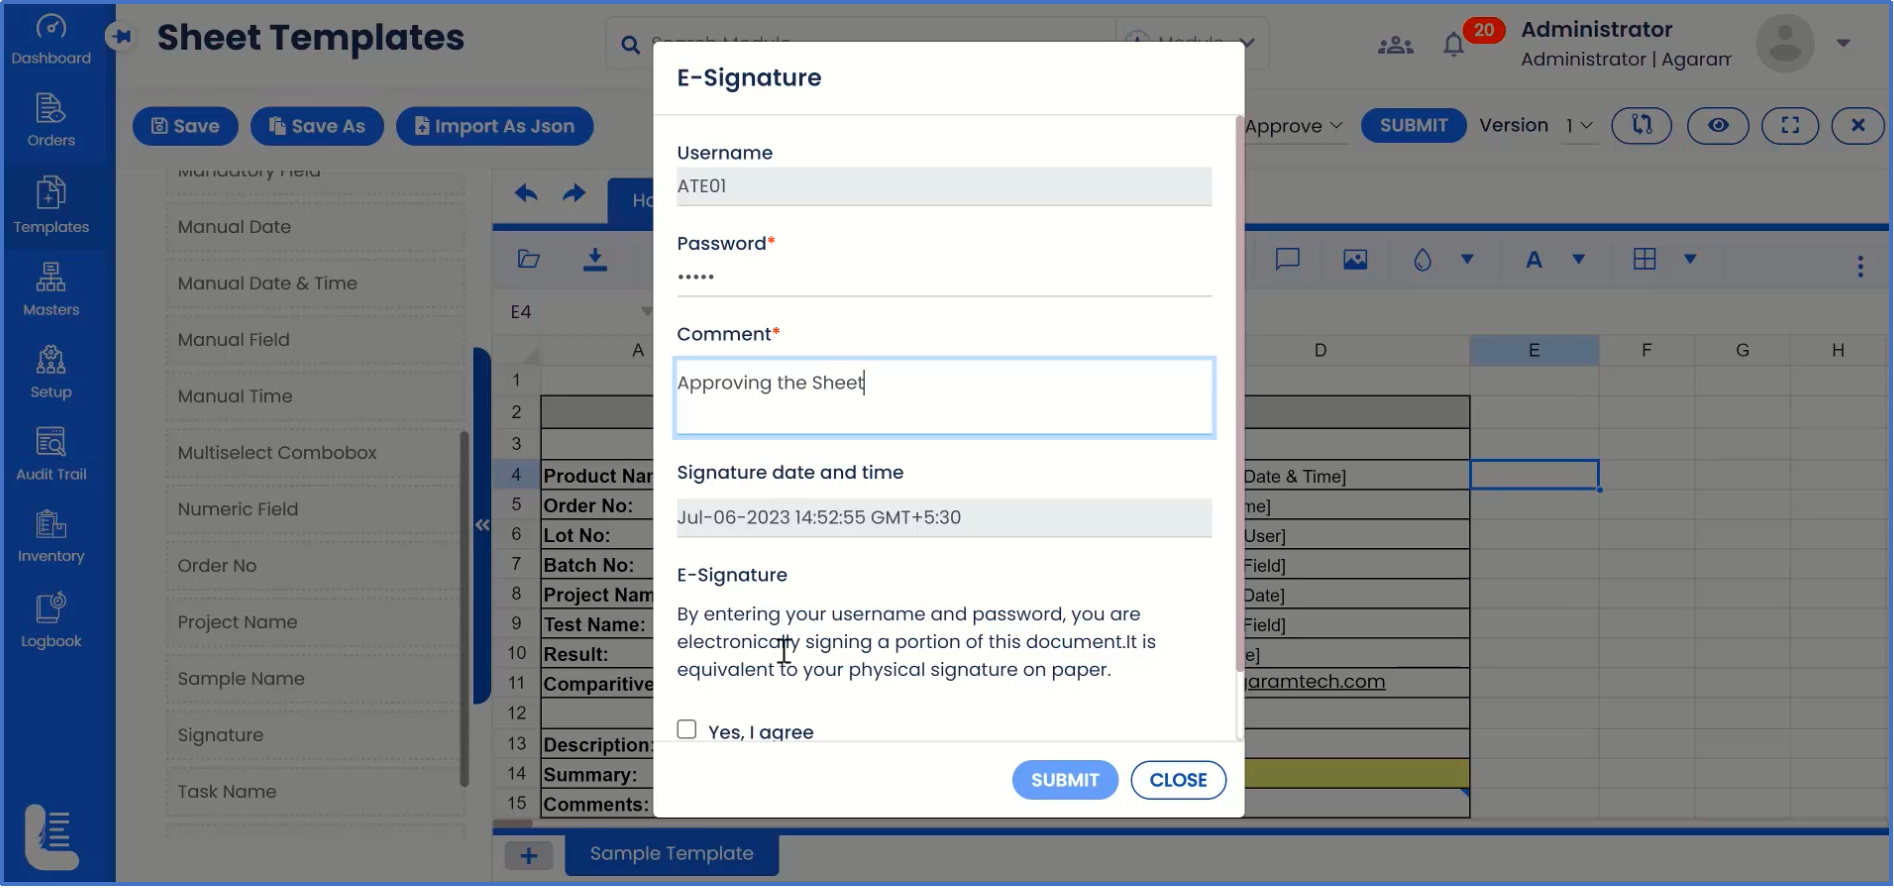
Once the 'SUBMIT' button is clicked, a new dialog box 'E-Signature' will be opened, in which the user has to enter the password.
Enter password first and then comment to authorise this entire process of template creation and approval at the user level.
Select the check-box "Yes, I agree" to complete the electronic signature process and click on 'SUBMIT' button.
The message 'STATUS UPDATED SUCCESSFULLY' is displayed and status field has been updated to 'In Progress' which means further review or approval is required depending upon the workflow setup.
Click on 'Close' icon to navigate to the previous page in which newly created sheet gets listed.
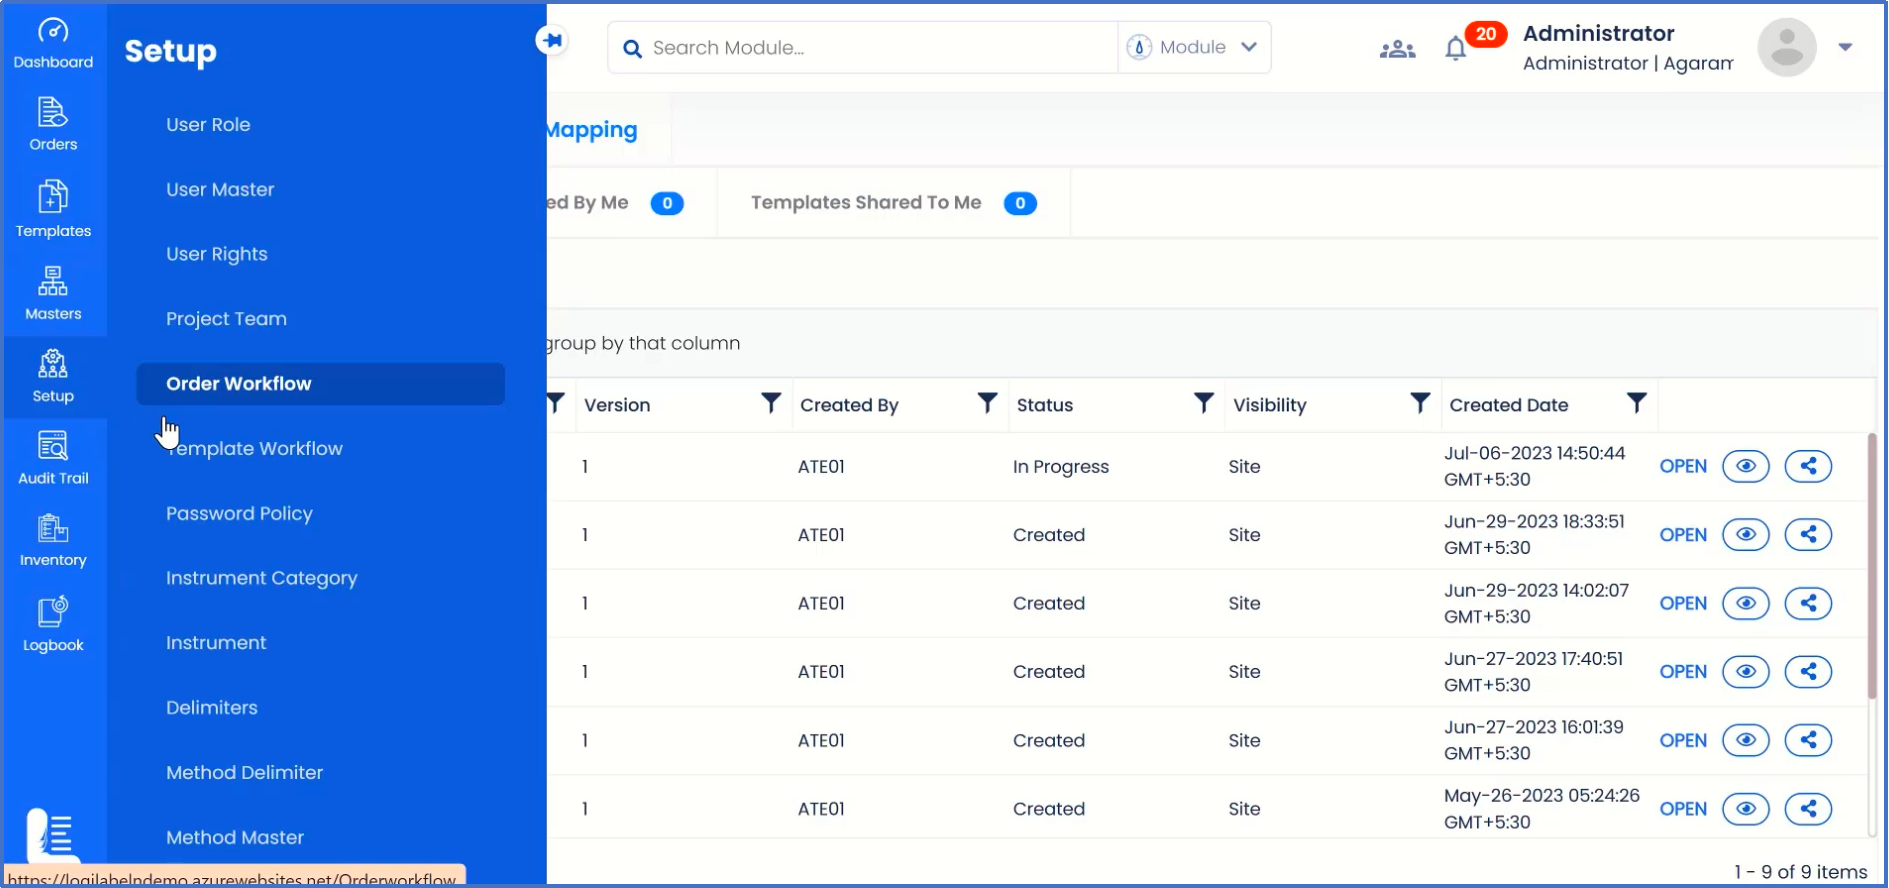
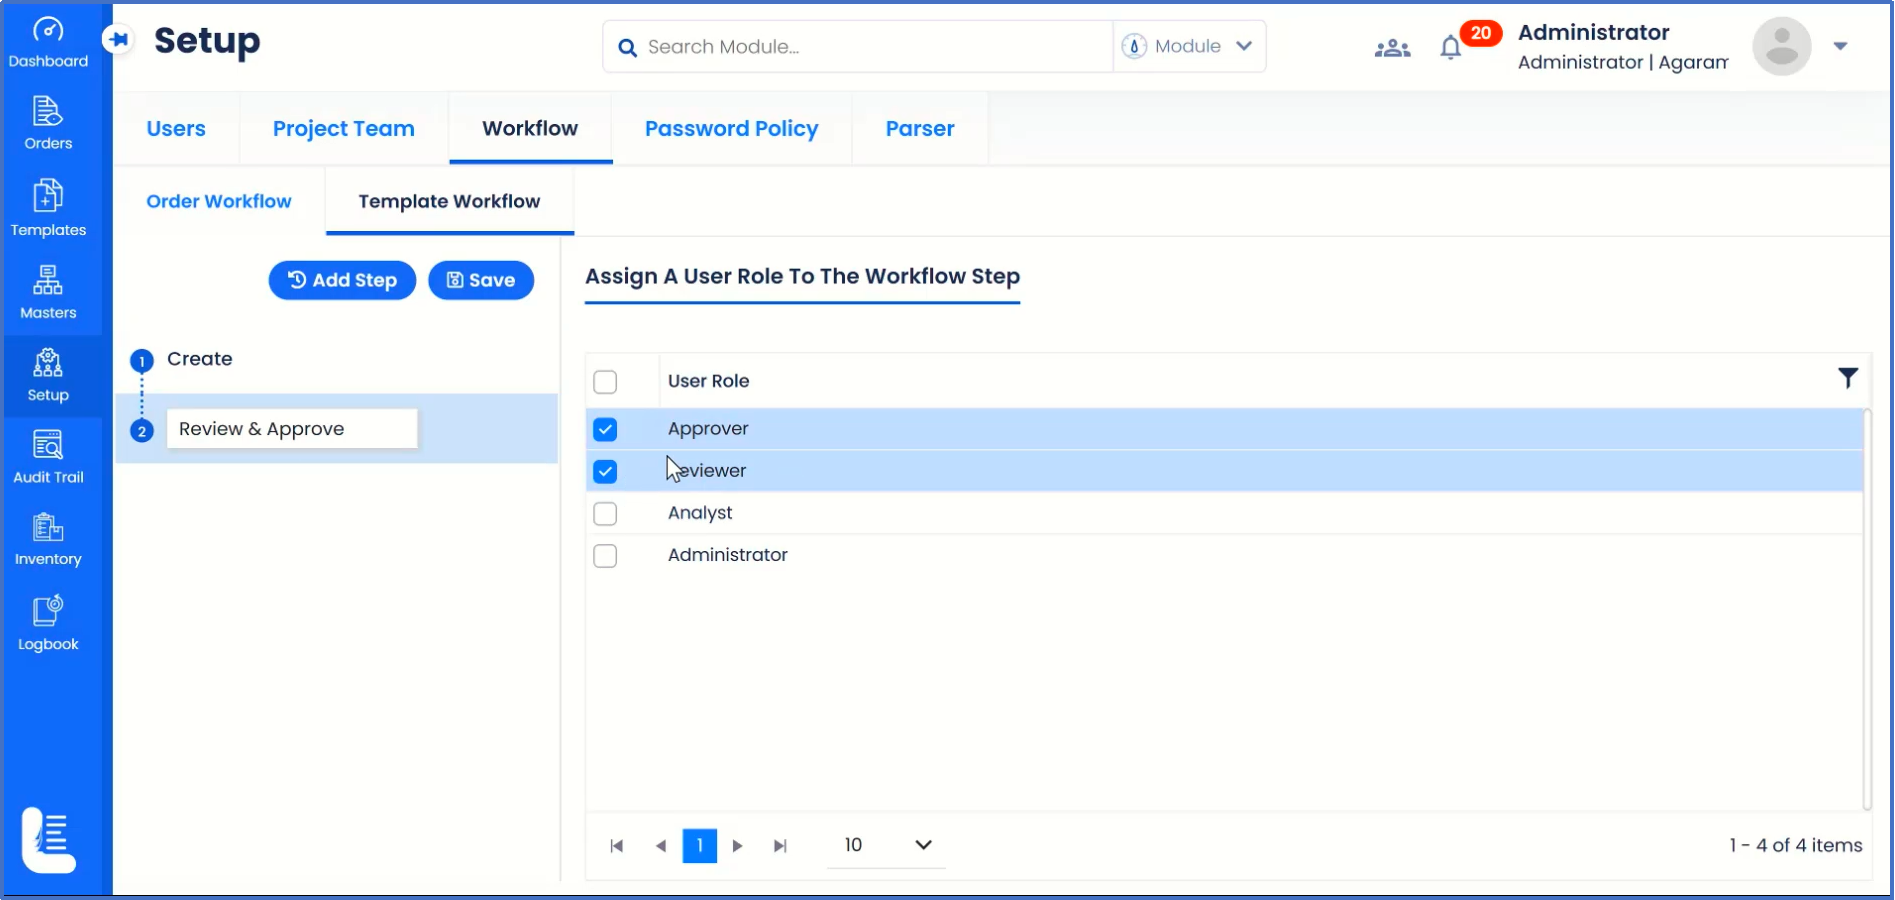
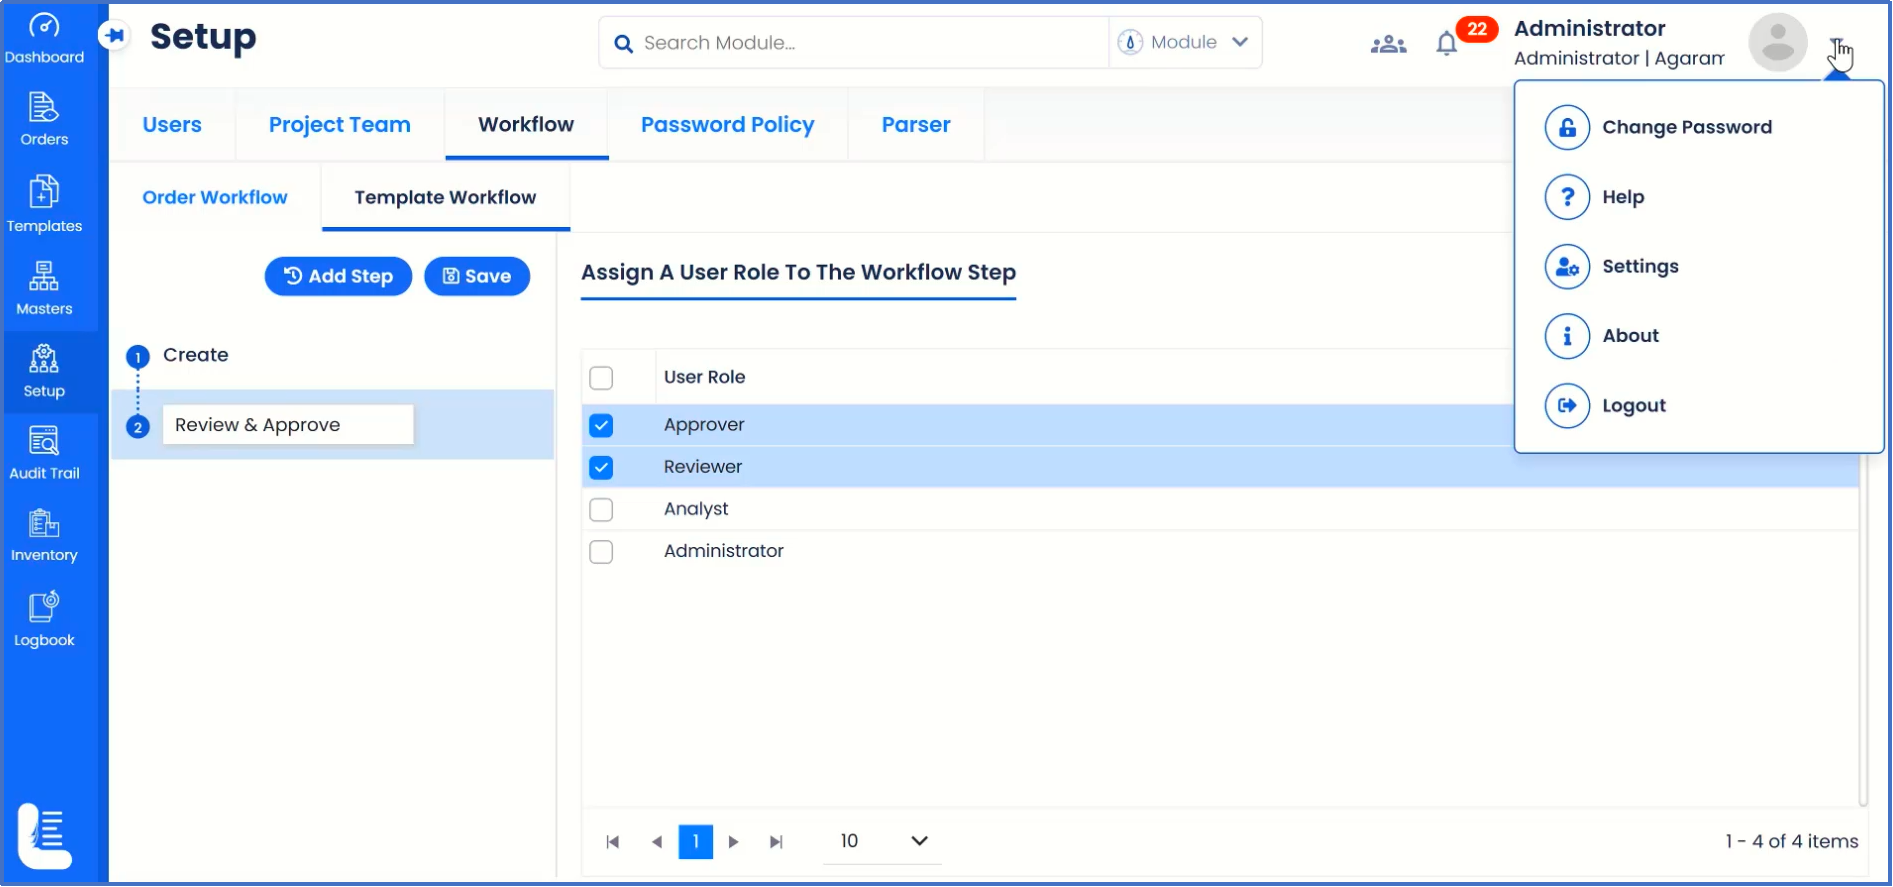
In order to view the further workflow stages for this template, click on 'Setup' and 'Template workflow' menu items.
The workflow details will be displayed with the details of further steps required to be completed. In this case, it is 'Review & Approve'.
Logout of the current user by clicking on the 'Logout' button followed by clicking on 'Yes' button in 'Confirm' dialog window.
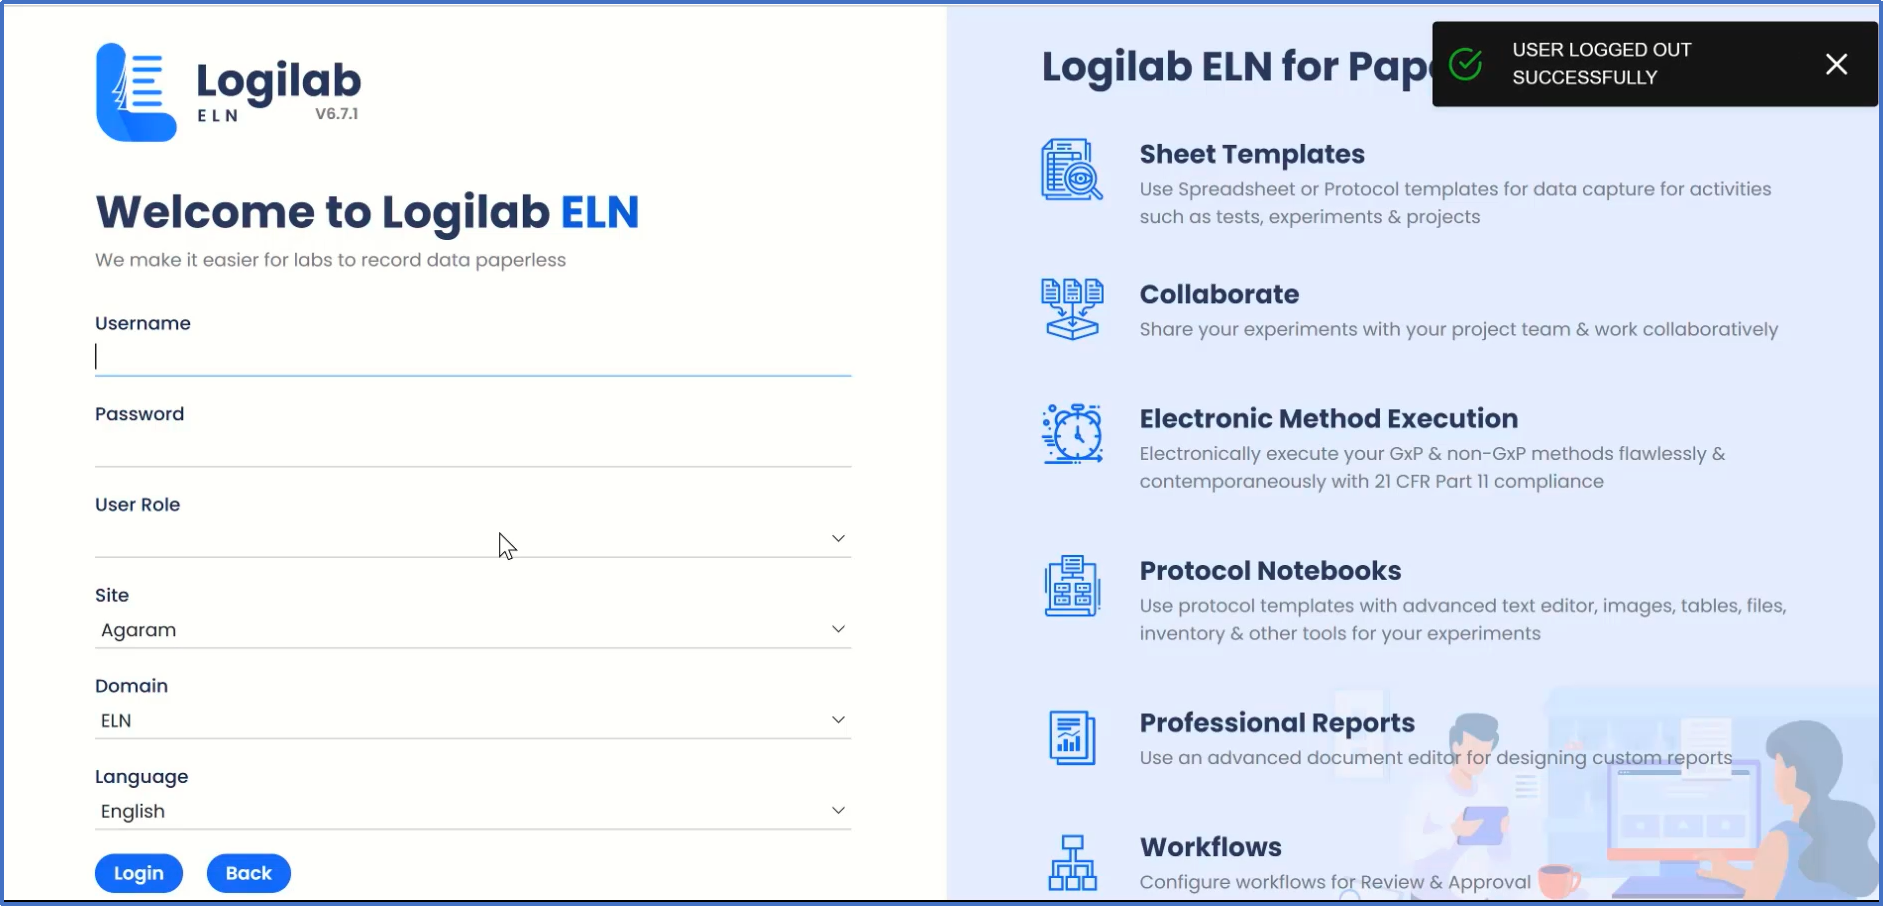
'USER LOGGED OUT SUCCESSFULLY' message gets displayed.