The Sheet Templates module enables you to create lab sheets in Logilab ELN. You can create, design, capture data, calculate and view results using lab sheets.
 and then click Sheet Templates. The Sheet tab appears as shown in the figure:
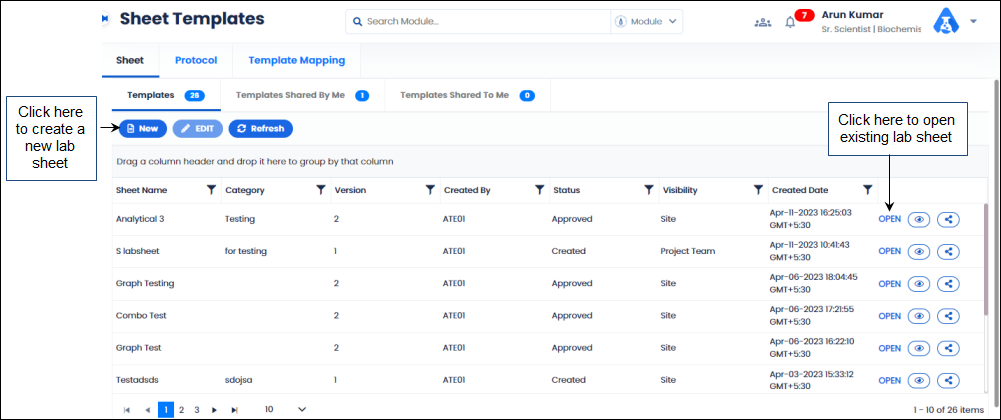
FIGURE: Sheet Templates Screen
The Sheet Templates screen consists of three tabs:
 Use the arrows to navigate to the next, previous, first and last pages. Click the dropdown arrow and select the number of records to display on the screen.
You can edit template details that are in the Created status. Click Edit to edit template name, category and template visibility for templates in Created status. When you select a template in Created status, the EDIT option will be enabled as shown in the figure:
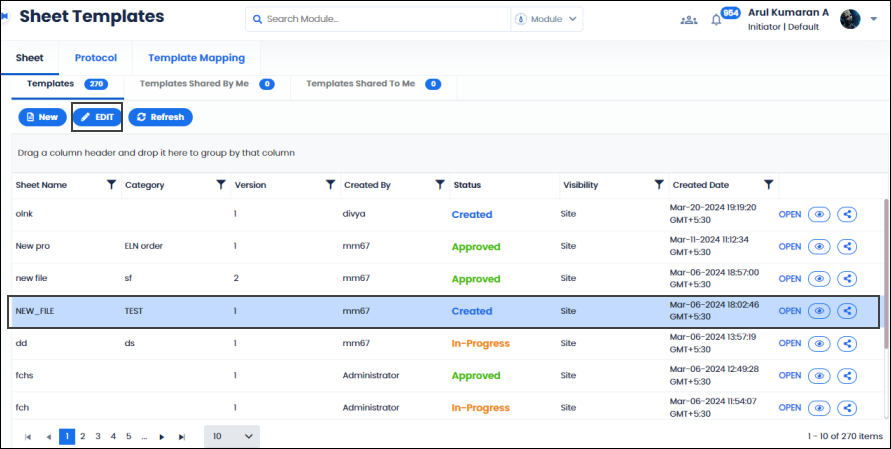
FIGURE: Editing Template Details
 to view Version History, Transaction History and Workflow History as shown in the figure:
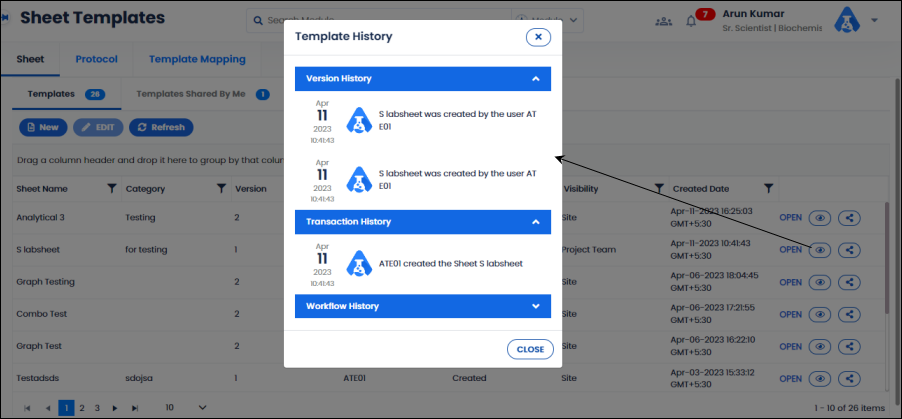
FIGURE: View Version, Transaction and Workflow History
Click the down arrow to view the list and click the up arrow to collapse the list.
You can share the template with other users in ELN.
 ;to share template with selected user as shown in the figure:
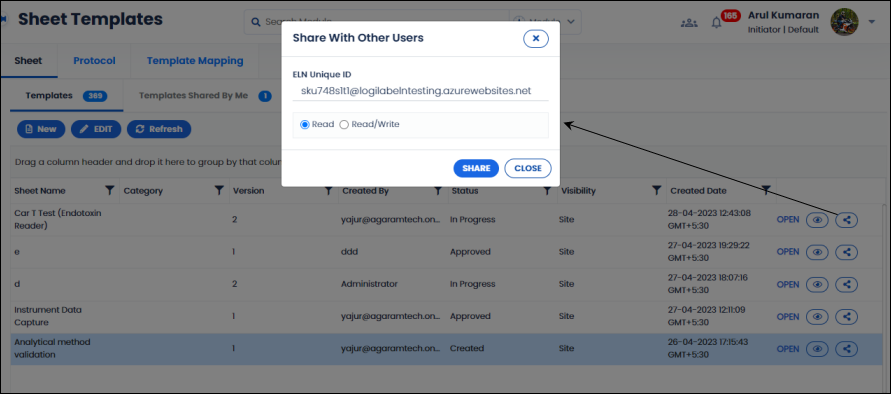
FIGURE: Share Template with other Users
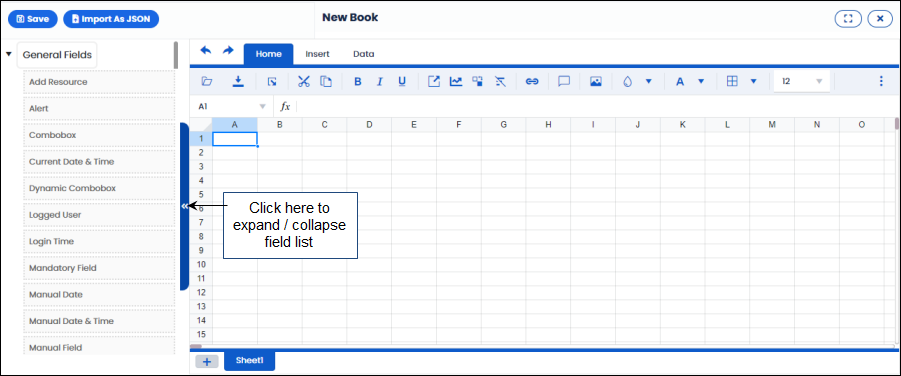
FIGURE: Creating New Book
Determine the place/cell to add a field by clicking a specific cell. For example, click A3 and then drag a field from the left panel. The dragged field is added to the specified cell.
These fields are commonly used in any sheet to capture general information such as system date, current time, and currently logged user, order number, mandatory field etc. Following is the list of general fields in the ELN lab sheet:
| Field | Description |
|---|---|
| Add Resource | Used to capture resource details from the inventory. Allows add resource |
| Alert | Enables adding an alert or reminder on a specified date and time |
| Combo Box | Enables choosing value from a predefined list |
| Current Date & Time | System date and time is captured |
| Dynamic Combo box | Allows fetching the result from another sheet/same sheet/cell |
| Logged User | Captures current logged in username |
| Login Time | Captures login time of the current session for the first time |
| Mandatory Field | Sheet cannot be saved without entering value to this field |
| Manual Date | Allows selecting Date |
| Manual Date & Time | Allows selecting Date and Time as a single field value |
| Manual Field | Allows entering data/number/formula |
| Manual Time | Allows selecting Date |
| Multiselect Combo Box | Enables choosing multiple values from a predefined list |
| Numeric Field | Allows entering a numeric value |
| Order No | The processed order number will be displayed |
| Project Name | The processed project name will be displayed |
| Sample Name | The processed sample name will be displayed |
| Signature | Username of the selected user is displayed as e Signature |
| Task Name | The processed test name will be displayed |
| Text Wrapper | The text inside the cell wraps to fit the column width. When you change the column width, text wrapping adjusts automatically |
Table: 4 - Lab Sheet - General Fields
Alert option is used to set reminder. To do so, follow these steps:
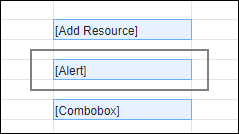
FIGURE: Adding Alert
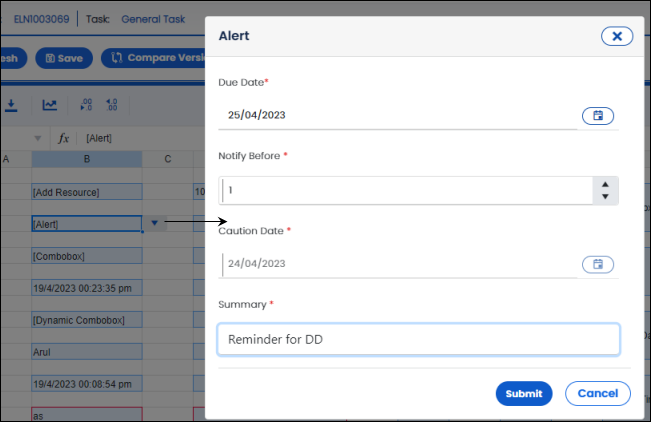
FIGURE: Adding Alert
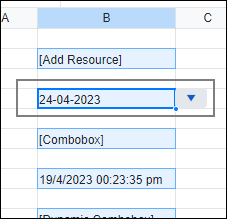
FIGURE: Added Alert
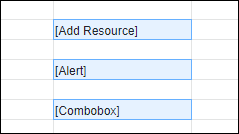
FIGURE: Adding Resource
At runtime, the Add resource dialog appears as shown in the figure:
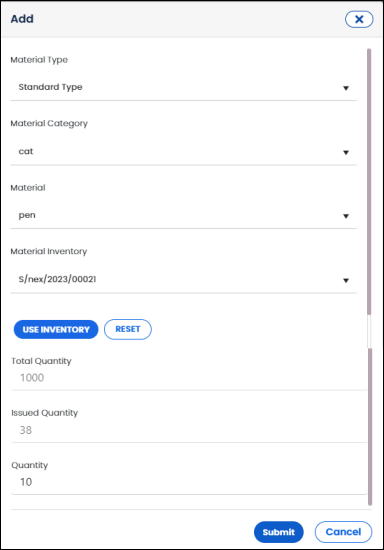
FIGURE: Add Resource at Runtime
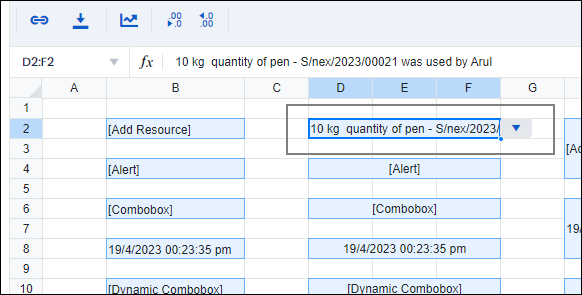
FIGURE: Resource Added
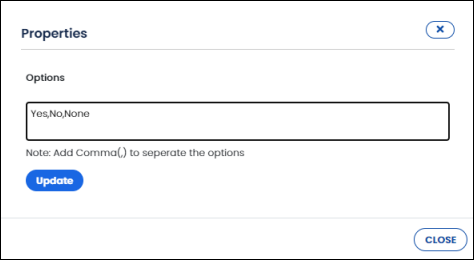
FIGURE: Adding Combo Box
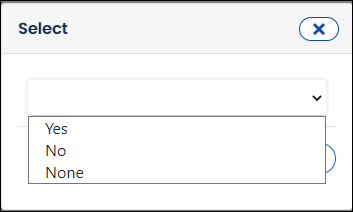
FIGURE: Combo box At Runtime
At runtime, the current date and time is automatically captured as shown in the figure:
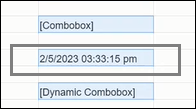
FIGURE: Current Date and Time Field
Add dynamic combo box to the lab sheet that captures dynamic data at runtime. To add a dynamic combo box, follow these steps:
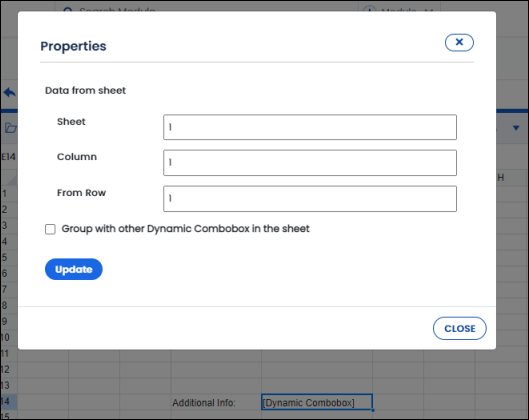
FIGURE: Creating Dynamic Combo Box
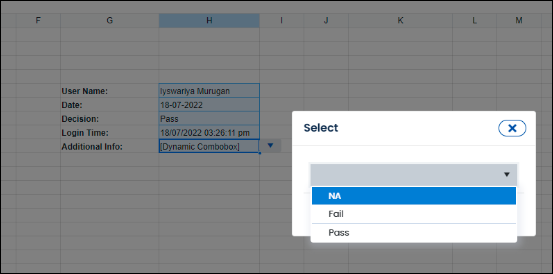
FIGURE: Dynamic Combo Box Showing Fields for Data Capture
This field captures the logged username automatically.
At runtime, the current logged username is automatically captured as shown in the figure:

FIGURE: Logged User Field
This field captures the login date and time of the current session for the first time automatically.
At runtime, the login date and time is automatically captured as shown in the figure:
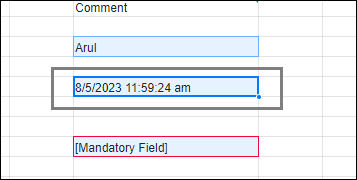
FIGURE: Login Time Field
You cannot save the lab sheet until you fill the Mandatory Field.
At runtime, Mandatory Field is highlighted in Red and appears as shown in the figure:
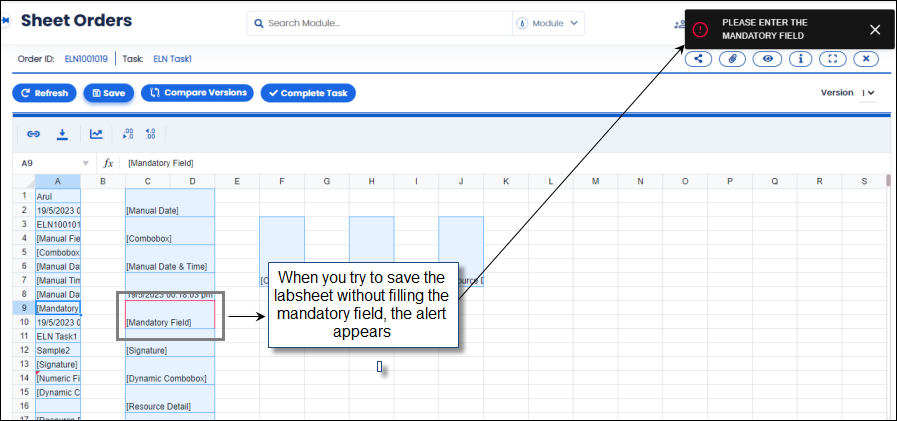
FIGURE: Mandatory Field
When you try to save the lab sheet without filling the mandatory field, you will see an alert as shown in the above figure.
The Manual Date field enables the user to select date manually. To add manual date field, follow these steps:
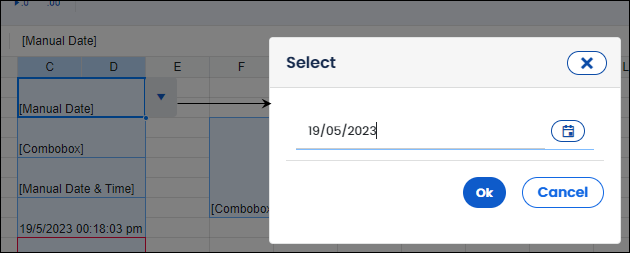
FIGURE: Manual Date Field
The Manual Date & Time field enables the user to select date and time manually. To add manual date and time field, follow these steps:
FIGURE: Manual Date & Time Field
 and select the date. Click and select time as shown in the above figure.
Manual field enables the user to add a manual field that can hold any type of data: Numeric /String.
At runtime, the manual field allows you to type any data type like numeric, character etc as shown in the figure:
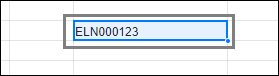
FIGURE: Manual Field
The Manual Time field enables the user to select time manually. To add manual time field, follow these steps:
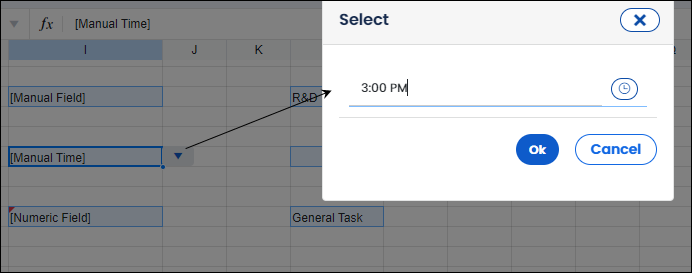
FIGURE: Manual Time Field
 and select the time as shown in the above figure.
FIGURE: Adding Multiselect Combo Box
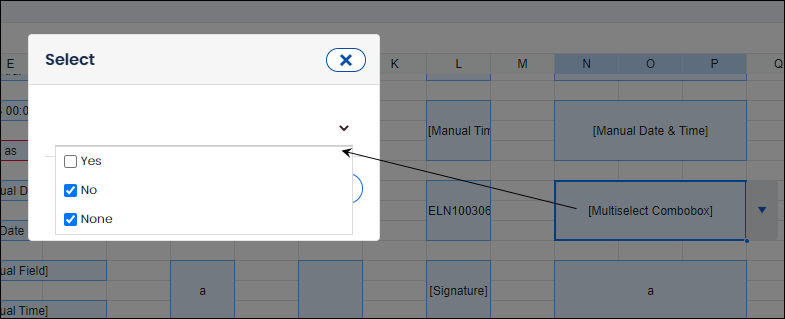
FIGURE: Combo box At Runtime
Numeric Field enables the user to capture numeric value at runtime. When you type non-numeric value, an error message appears as shown in the figure:
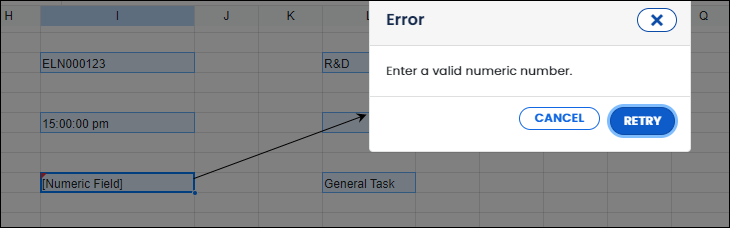
FIGURE: Numeric Field
The Order No field displays the current order number.
The Project Name field displays the project name the order is associated with.
The Sample Name field displays the sample name the order is associated with.
The Task Name field displays the task name the lab sheet is mapped.
You can add Signature field to the lab sheet that captures E- signature of the currently logged in user. And the username is displayed in the Signature field. You can also make Signature field mandatory to track changes done to the lab sheet by various users in the workflow.
When you use the sheet in the workflow, the signature field appears as shown in the figure:
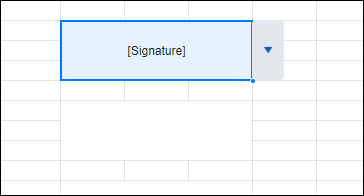
FIGURE: Using Added Signature Field in the Lab Sheet
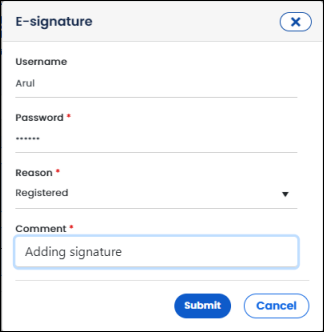
FIGURE: E- Signature Dialog
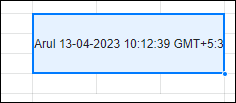
FIGURE: E-Signature Field Showing Captured Username and Date & Time
Text Wrapper option is used to insert a textbox that wraps text to fit the column width. When you change the column width, text wrapping adjusts automatically. To add a text wrapper, follow these steps:
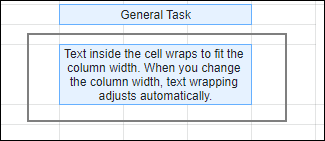
FIGURE: Text Wrapper
Link sheets to selected fields. You can only link an approved lab sheet. To do so, follow these steps:
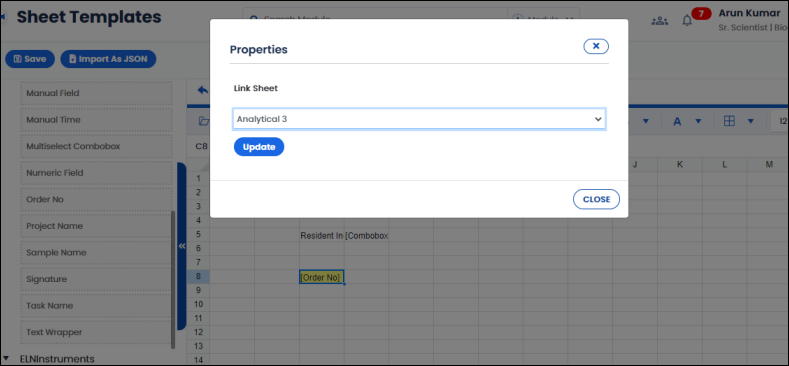
FIGURE: Linking Sheets
The selected lab sheet will be linked to the selected field.
You can add comments to a field in the lab sheet. To do so, follow these steps:

FIGURE: Adding Comments
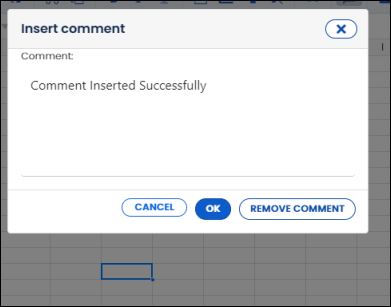
FIGURE: Comment Added
To remove the comment, in the Insert Comment dialog click REMOVE COMMENT.
You can add chart to your lab sheet to compare field values as shown here:
 . The chart dialog appears as shown in the figure:
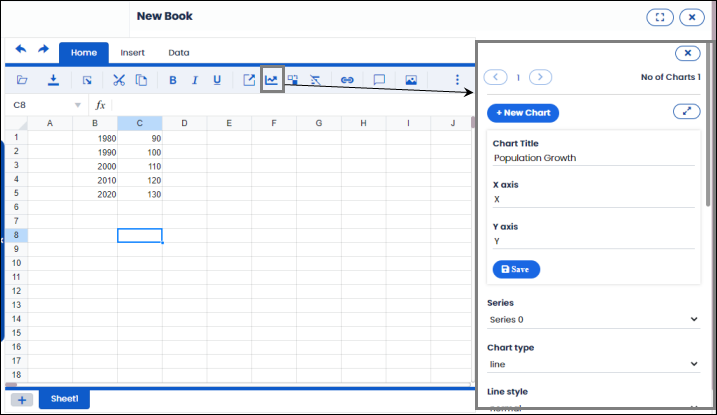
FIGURE: Adding Chart
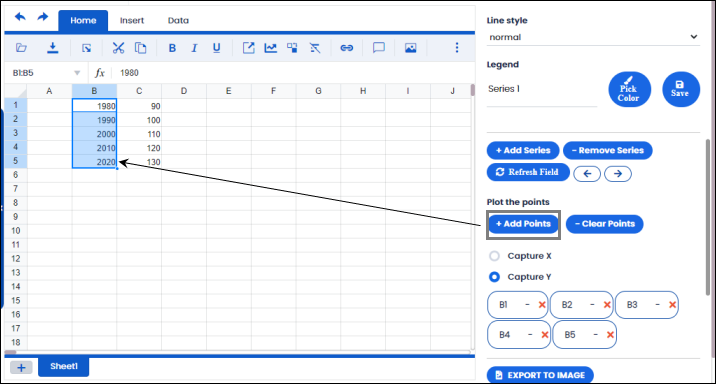
FIGURE: Adding Points
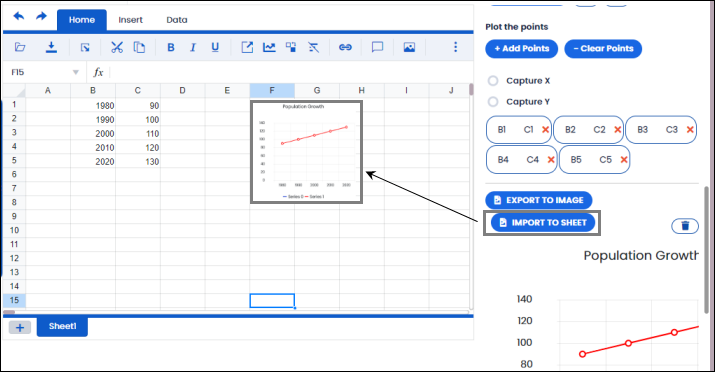
FIGURE: Importing Chart to Lab sheet

FIGURE: Downloaded Chart
To add chemical diagrams, follow these steps:
 click. The cell turns blue color.
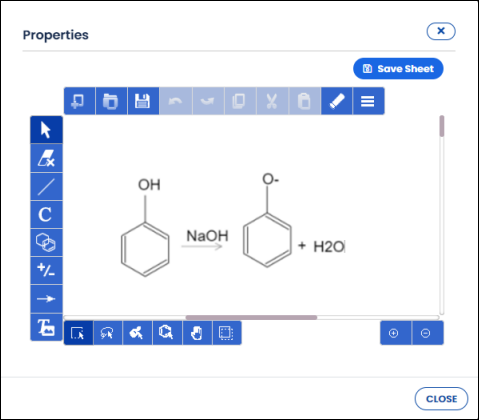
FIGURE: Chemical Diagram – Properties Dialog
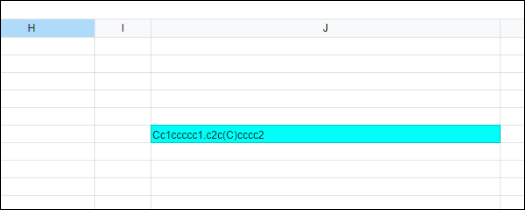
FIGURE: Added Chemical Diagram
You can tag fields in the lab sheet that shall be used in reports. To do so, follow these steps:
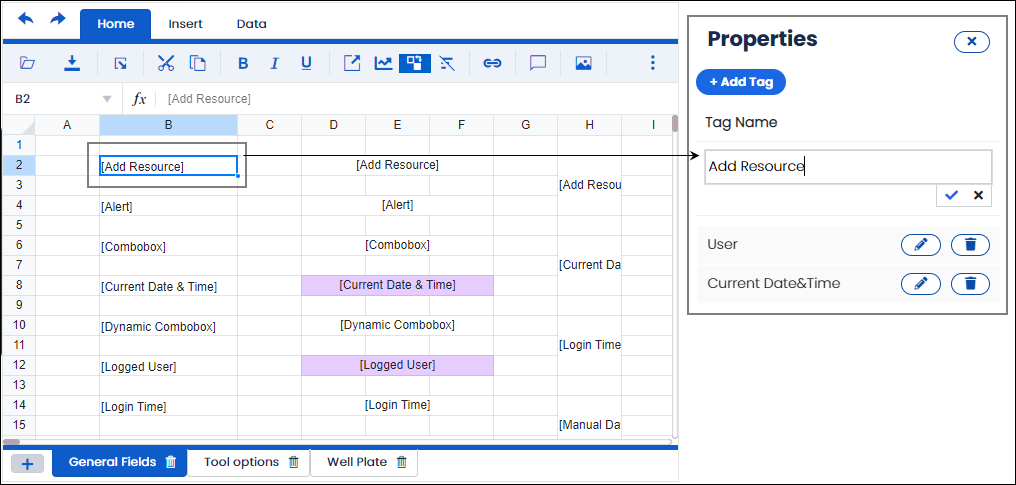
FIGURE: Tag Fields
 to edit the tag.
 to delete the tag.
There are multiple ways to format your spreadsheet. To bold, italicize, underline, or align data to left, right or center in a cell, you can do this by clicking on the buttons shown in the figure:
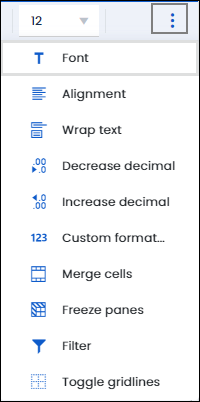
FIGURE: Sheet Formatting Options
 The Hyperlinkdialog appears as shown in the figure:
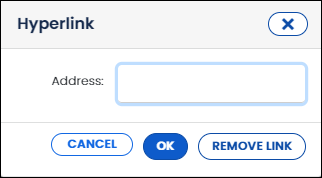
FIGURE: Add Hyperlink Dialog
To add functions to the sheet, type in the function in the top bar in correlation with the cell it is being applied to as shown in the figure:
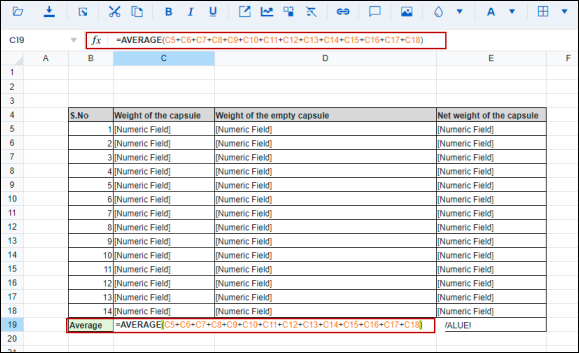
FIGURE: Adding Functions to ELN Sheet
When you process the order based on the formula calculations are done in runtime and appears as shown in the figure:
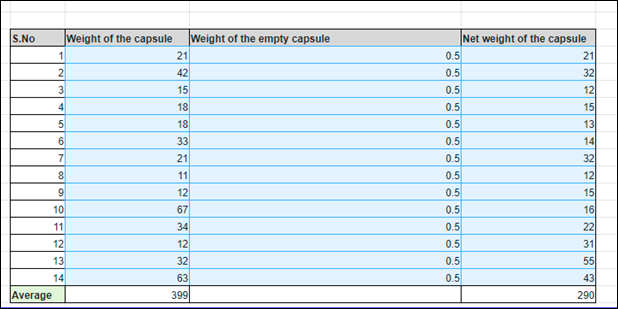
FIGURE: Formula Applied at Runtime
Logilab ELN enables you to create multiple sheets in a lab book. To do so, click that appears at the footer of the sheet. A new lab sheet is added as shown in the figure:

FIGURE: Adding Multiple Sheet
You can edit and rename the sheet as required.
 in the sheet. In the File Namefield, type the file name, in the Save As Type field, select the format (Excel / PDF) to export as shown in the figure:
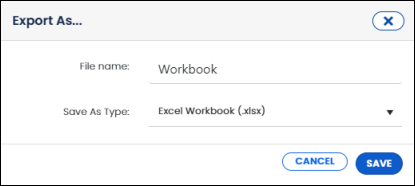
FIGURE: Export Dialog - for Excel
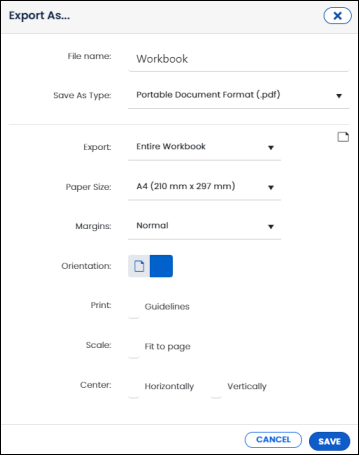
FIGURE: Export Dialog - for PDF
 click. The sheet is exported in Json format.
 to import a Json file.
| Feature | Description |
|---|---|
| 1.1.33.1 Common Controls | |
 | Opens a new lab sheet from the Sheet Templates screen. |
 | Open the selected lab sheet for editing from the Sheet Templates screen. Note that you can edit a lab sheet that is in the "Created" status. |
 | Enables open an existing lab sheet from the Sheet Templates screen. |
 | Saves the changes to the lab sheet. |
 | Submits for review. |
 | Enables import a JSON file. This feature helps to import templates into the lab sheet. |
 | Enables view order in full screen. |
 | Helps close the sheet order. |
| 1.1.33.2 Home Tab | |
 Open Open | Imports or opens existing lab sheet. |
 Export Export | Exports sheet to Excel. |
 Export as json Export as json | Export as JSON. |
 Cut Cut | Cuts the selection. |
 Copy Copy | Pastes the cut selection. |
 Format Format | Format text using bold, italics, and underline. |
 Link sheet Link sheet | Link a sheet. |
| Chart | Add chart to the sheet. |
 Tag Tag | Add tag to the field. |
| Link | Insert a hyperlink to the sheet. |
 Insert Comment Insert Comment | Insert comment to the field. |
 Insert Image Insert Image | Insert image to the sheet. |
 | Change background color of the field/column/row. |
 Text color Text color | Change font color of the selected field/column/row. |
 Borders Borders | Change borders of the selected cells. |
 Font size Font size | Change font size. |
 Font Font | Change font face. |
 Alignment Alignment | Align text to right, left, center, top, bottom, or justify. |
 ;Text Wrap ;Text Wrap | Wrap text in the selected cell/column/row. |
| 1.1.33.3 Data Tab | |
 | The Data tab helps to sort, filter, and validate data. Add batch settings and chemical diagrams. |
 Sort Sort | Sorts data A-Z or Z-A. |
 Filter Filter | Filter data. |
 Validate Data Validate Data | Validates data in the selected field. |
 Chemical Diagram Chemical Diagram | Add chemical diagrams to the sheet. |
 Well Plates Well Plates | Add well plate template to the sheet. |
| 1.1.33.4 Insert Tab | |
 | The Insert tab enables insert column/row above or below. Also enables delete selected row or column. |
 | Enables insert column to the left. |
 | Enables insert column to the right. |
 | Enables add row below. |
 | Enables add row above. |
 | Enables delete column. |
 | Enables delete row. |
Table: 5 - Common Features in Lab Sheet
Logilab ELN enables you create well plates templates. Well Plate Templates describe the layout of wells on the plate read by a given instrument. Each well is associated with Sample Type and Sample ID.
To create a well plate template, follow these steps:
The dialog appears as shown in the figure.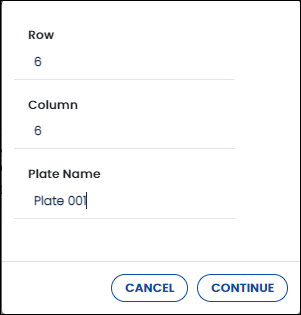
FIGURE: Create Well Plate Dialog

FIGURE: Well Plate Created
Each well shall be associated with Sample Type and Sample ID.
You can see the Well ID of selected well.
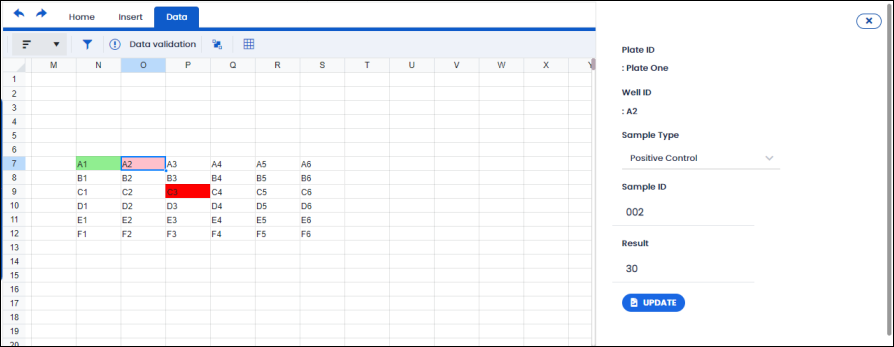
FIGURE: Well Plate Inserted in the Lab Sheet
If you close the lab sheet without saving, the following dialog appears prompting to save the changes:
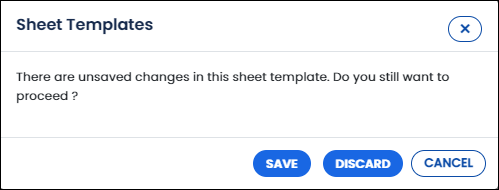
FIGURE: Save Dialog
