Order Workflow screen helps you to create workflows for sheet orders and protocol orders.
Workflows can be designed based on logic in each step. For example, the order created shall pass through the following steps in a workflow:
| Workflow Step | Role Mapped | Workflow Status |
|---|---|---|
| Initiate | Analyst | Completed |
| Review | Reviewer | Reviewed |
| Approve | Approver | Approved |
Table: 2 - Order Workflow Steps
Each step in the workflow is mapped to a role. Once the sheet pass through a step, the status of the order is changed to the next step. The order should pass through all the steps in the workflow to successfully complete.
Note: For administrators the Site field will appear. Hence, administrator user can create site specific workflows.
You can design work flow by adding user roles to each work flow step. To do so follow these steps:
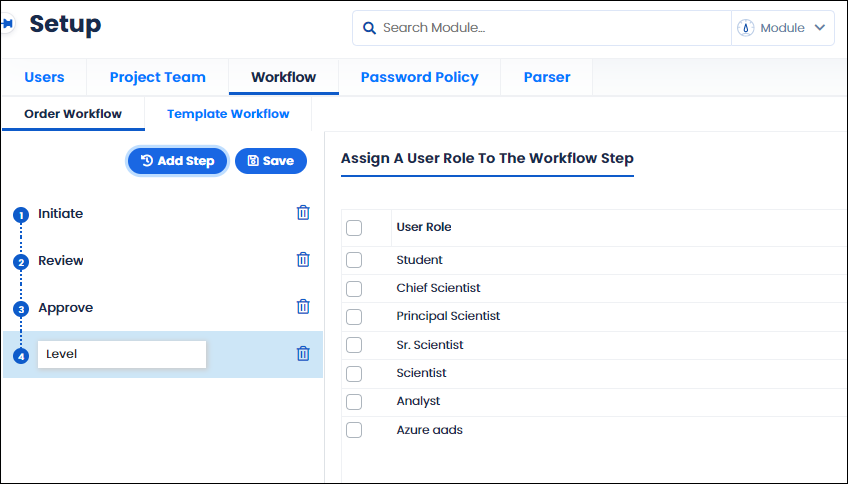
You can see the list of existing work flow steps on the left panel.
To create a new work flow step, follow these steps:
Note: For Administrator login the site name field appears. You can select the site and then select user roles in the selected site.
The workflow step is created. Same way, you can add more steps to the workflow.
Template Workflow screen helps you to create workflows for sheet templates and protocol templates.
Workflows can be designed based on logic in each step. For example, the protocol created shall pass through the following steps in a workflow:
| Workflow Step | Role Mapped | Workflow Status |
|---|---|---|
| Initiate | Analyst | Completed |
| Review | Reviewer | Reviewed |
| Approve | Approver | Approved |
Table: 3 - Template Workflow Steps
Each step in the workflow is mapped to a role. Once the template pass through a step, the status of the template is changed to the next step. The template should pass through all the steps in the workflow to successfully complete the task.
Note: For administrators the Site field will appear. Hence, administrator user can create site specific workflows.
You can design work flow by adding user roles to each work flow step. To do so follow these steps:
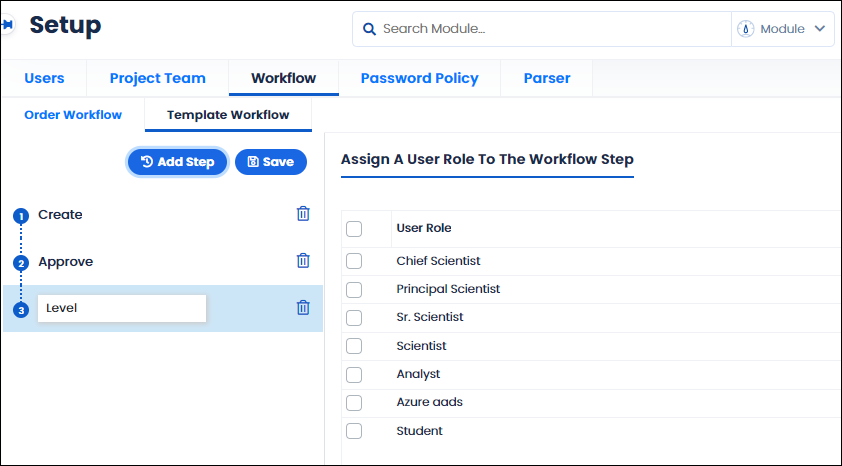
You can see the list of existing work flow steps on the left panel.
To create a new work flow step, follow these steps:
Note: For Administrator login the site name field appears. You can select the site and then select user roles in the selected site.
The template workflow step is created. Same way, you can add more steps to the template workflow.
