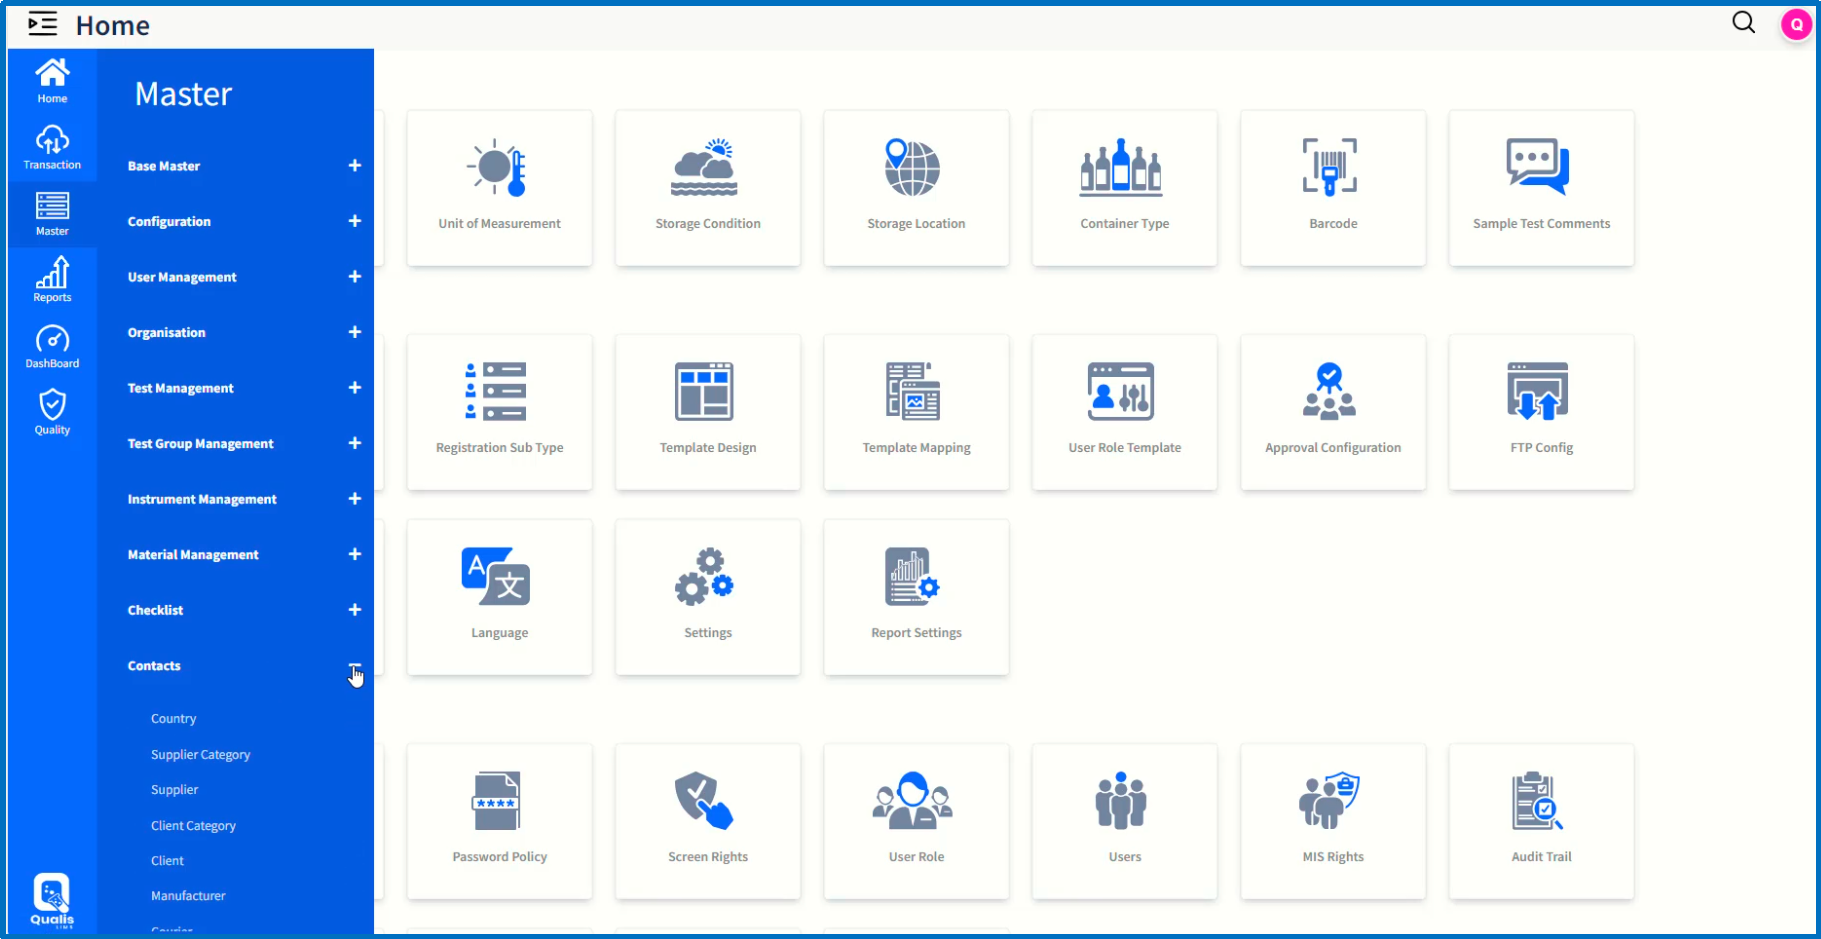
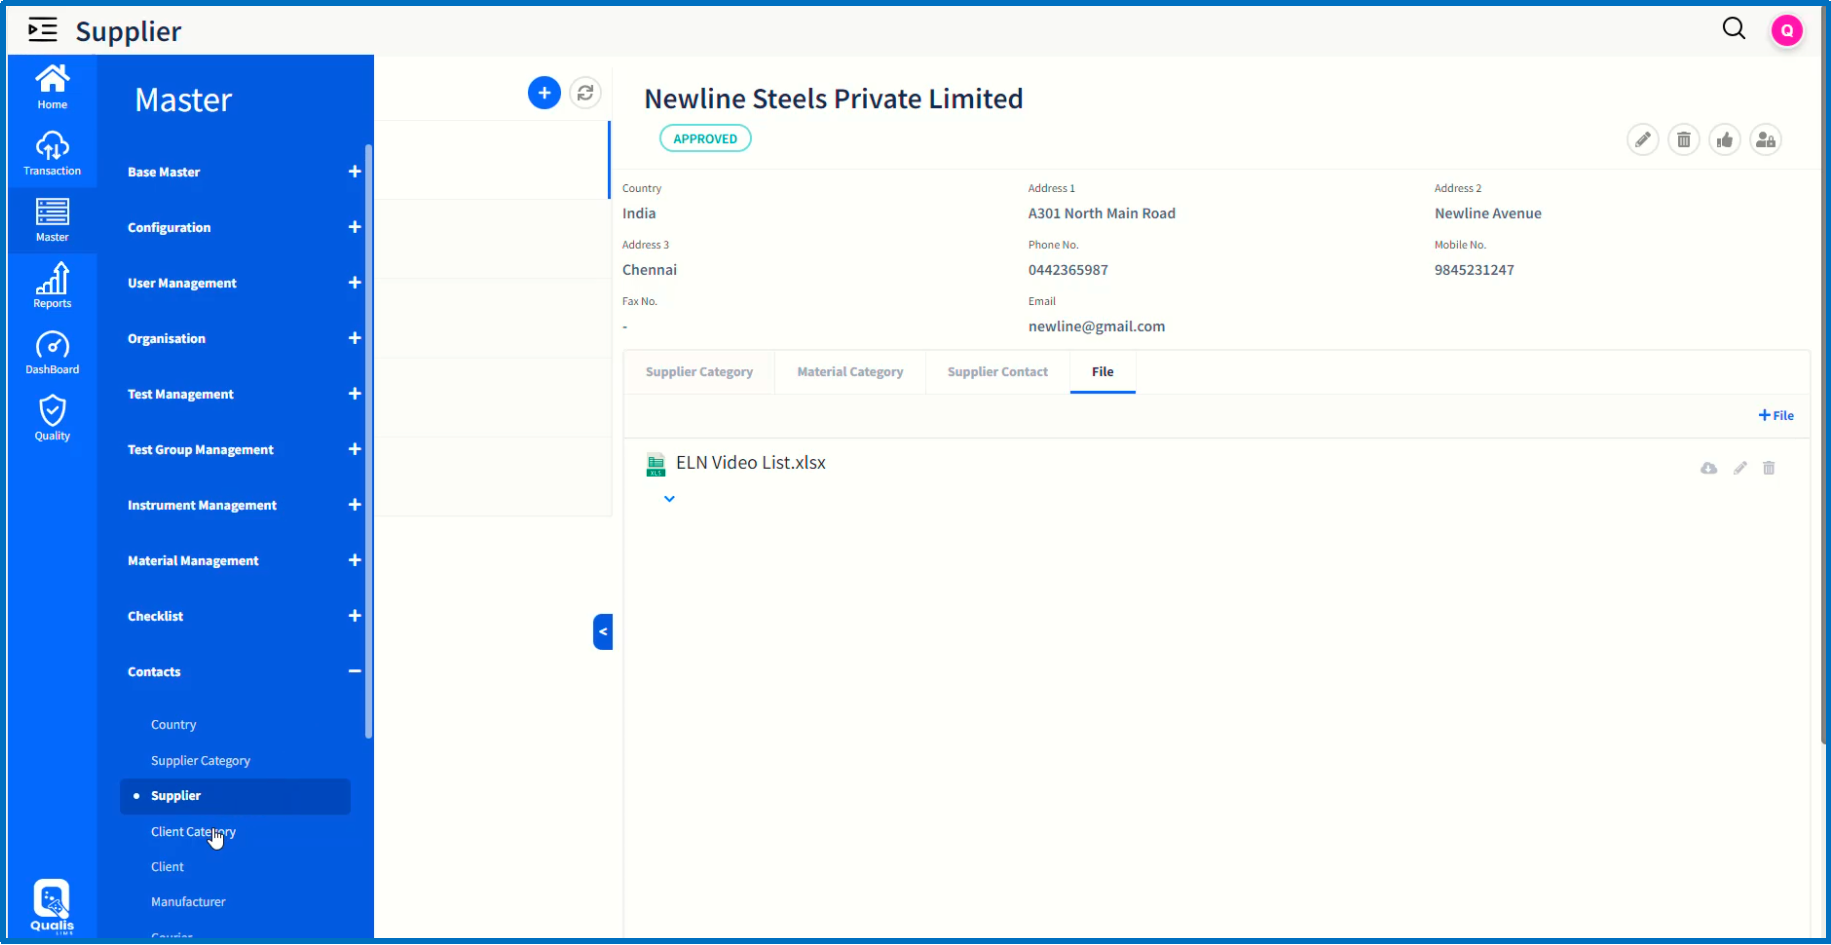
After logging into Qualis LIMS application as an administrator user with required privileges, navigate to Country page by clicking Master Main menu followed by Contacts submenu.
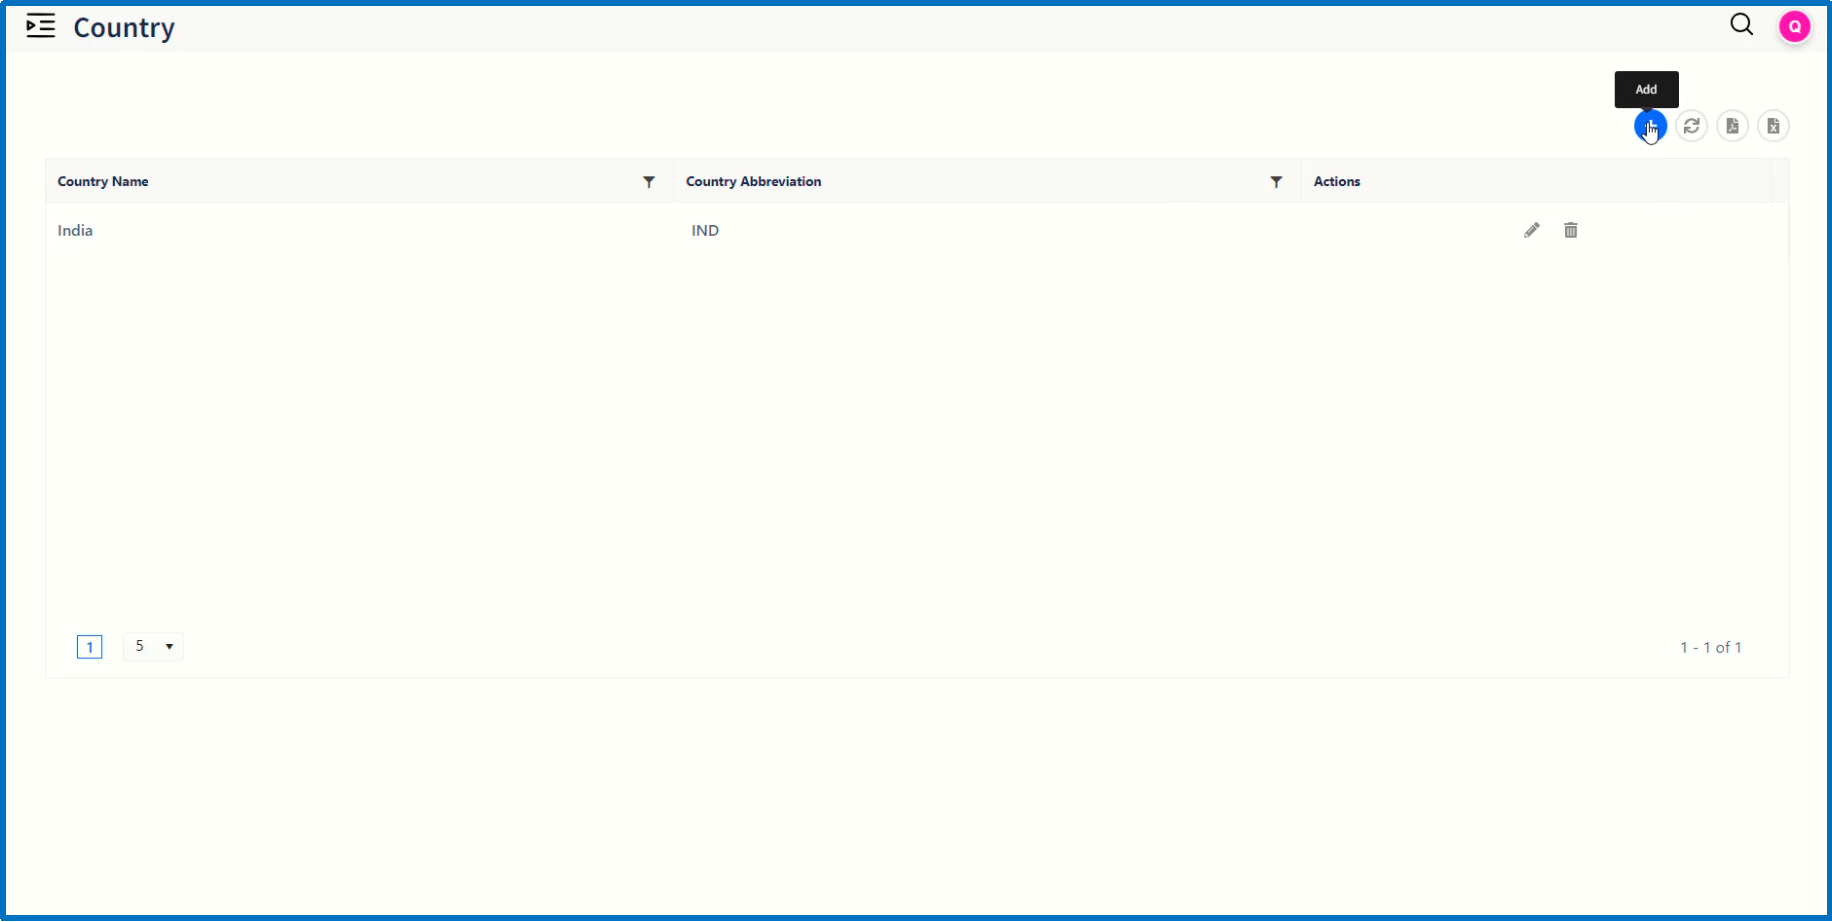
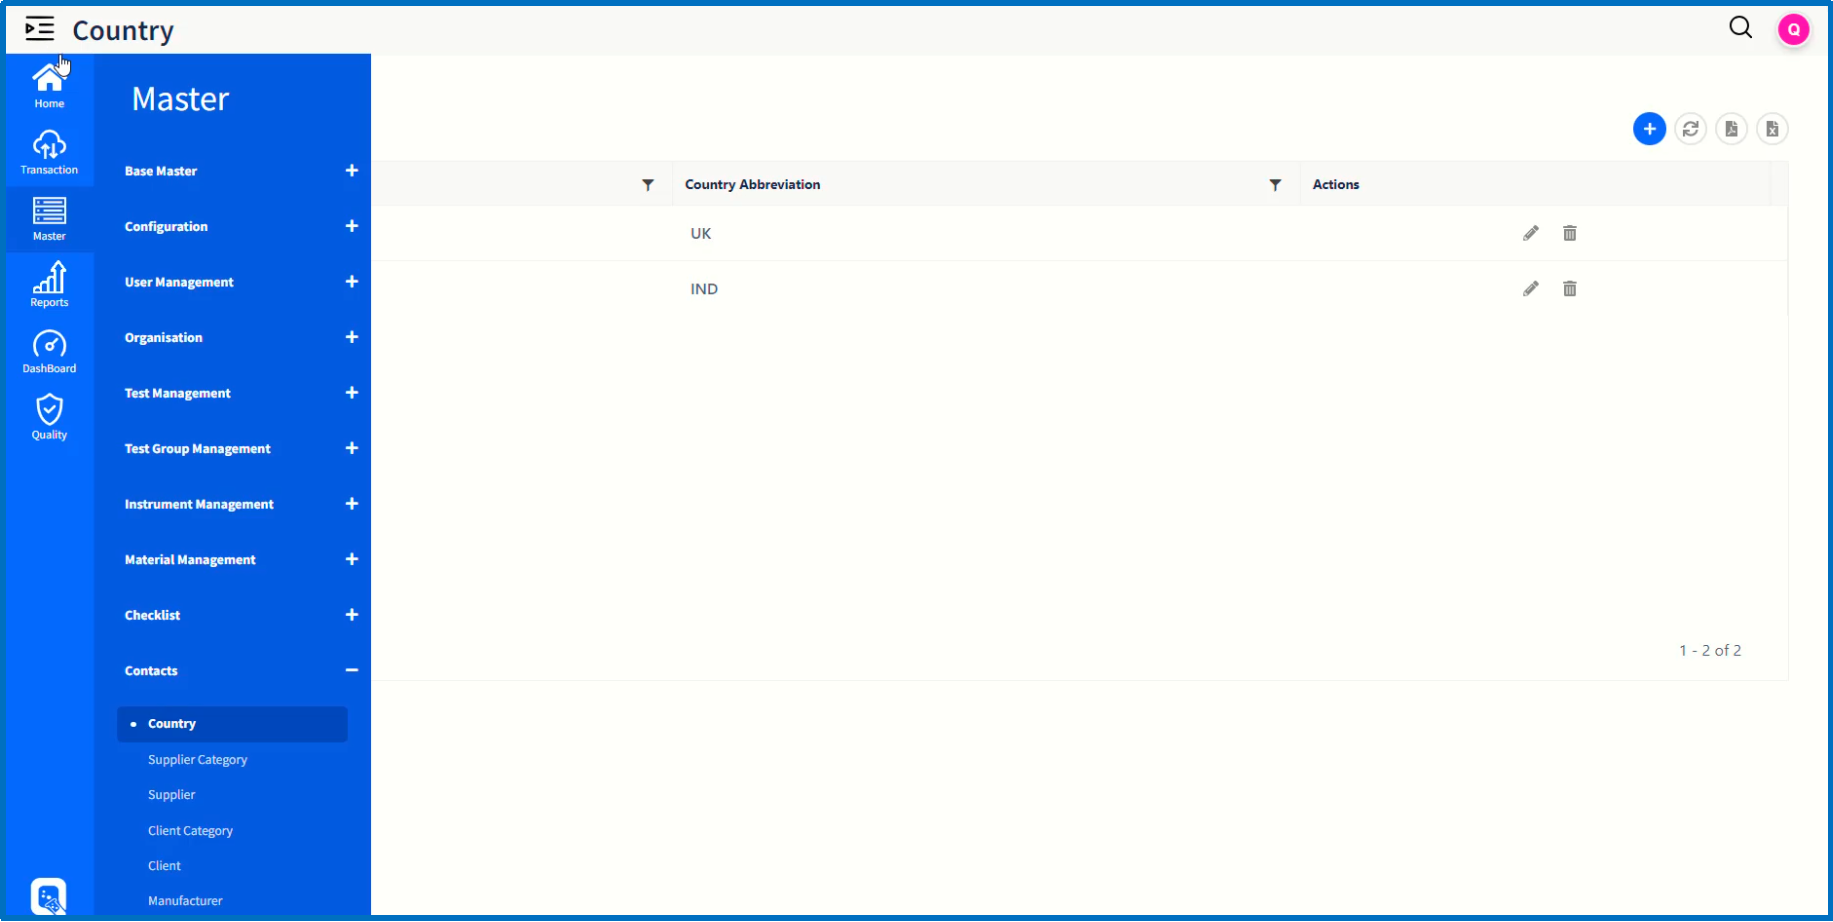
On the Country page, the existing list of countries will be displayed.
Click on '+' icon to add a new country.
In 'Add Country' dialog window, enter Country Name followed by Country Abbreviation in the respective fields.
Click on 'Save' button.

The newly-added country record will be displayed in the Country page.

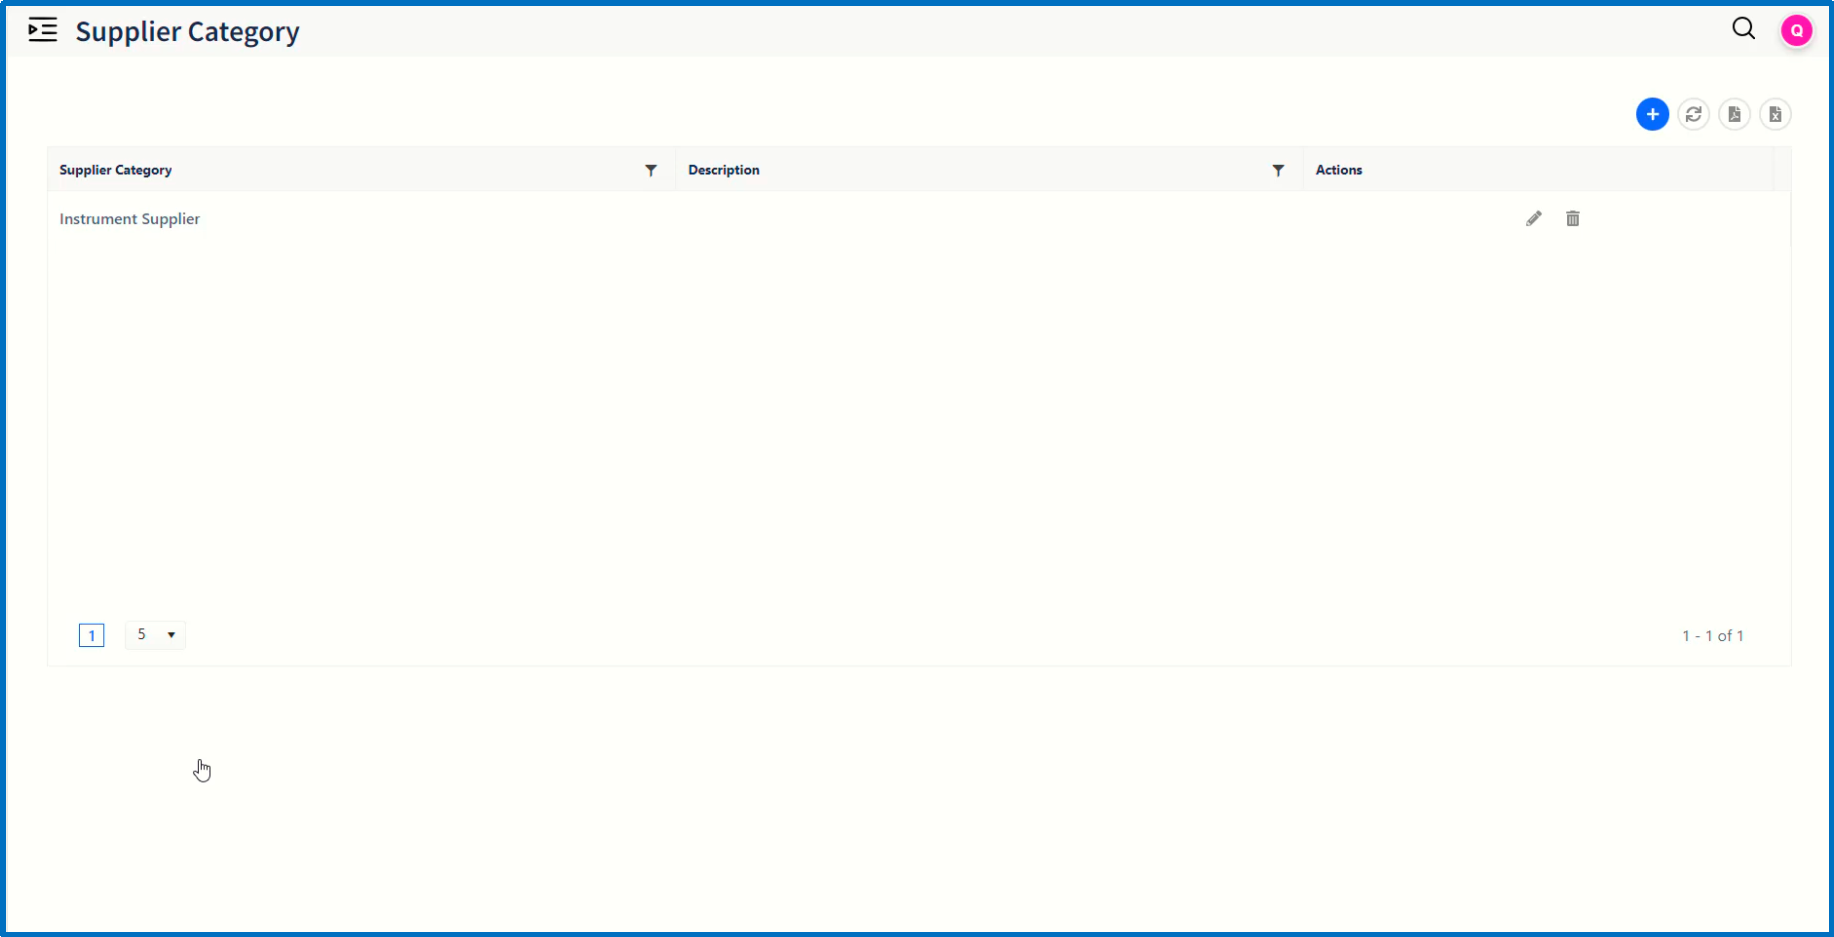
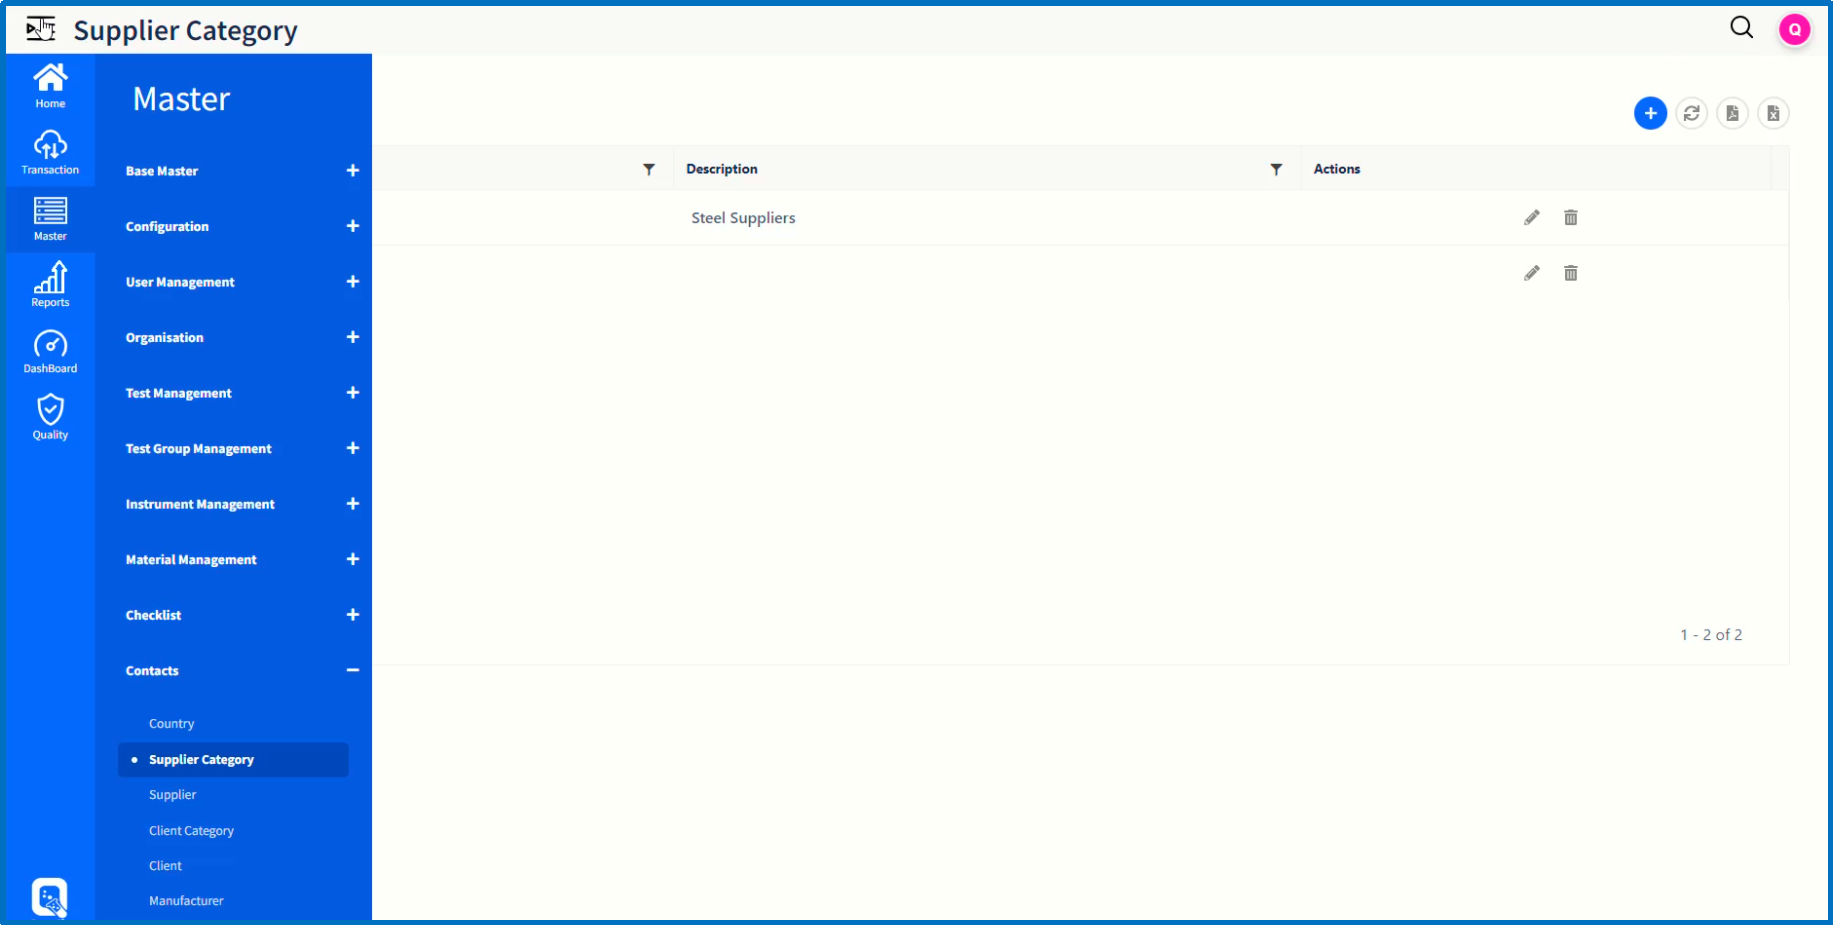
Let us now move to on to create new supplier category by clicking 'Supplier Category' page item in the Contacts Submenu.
On the Supplier Category page, click on '+' icon to add a new record.
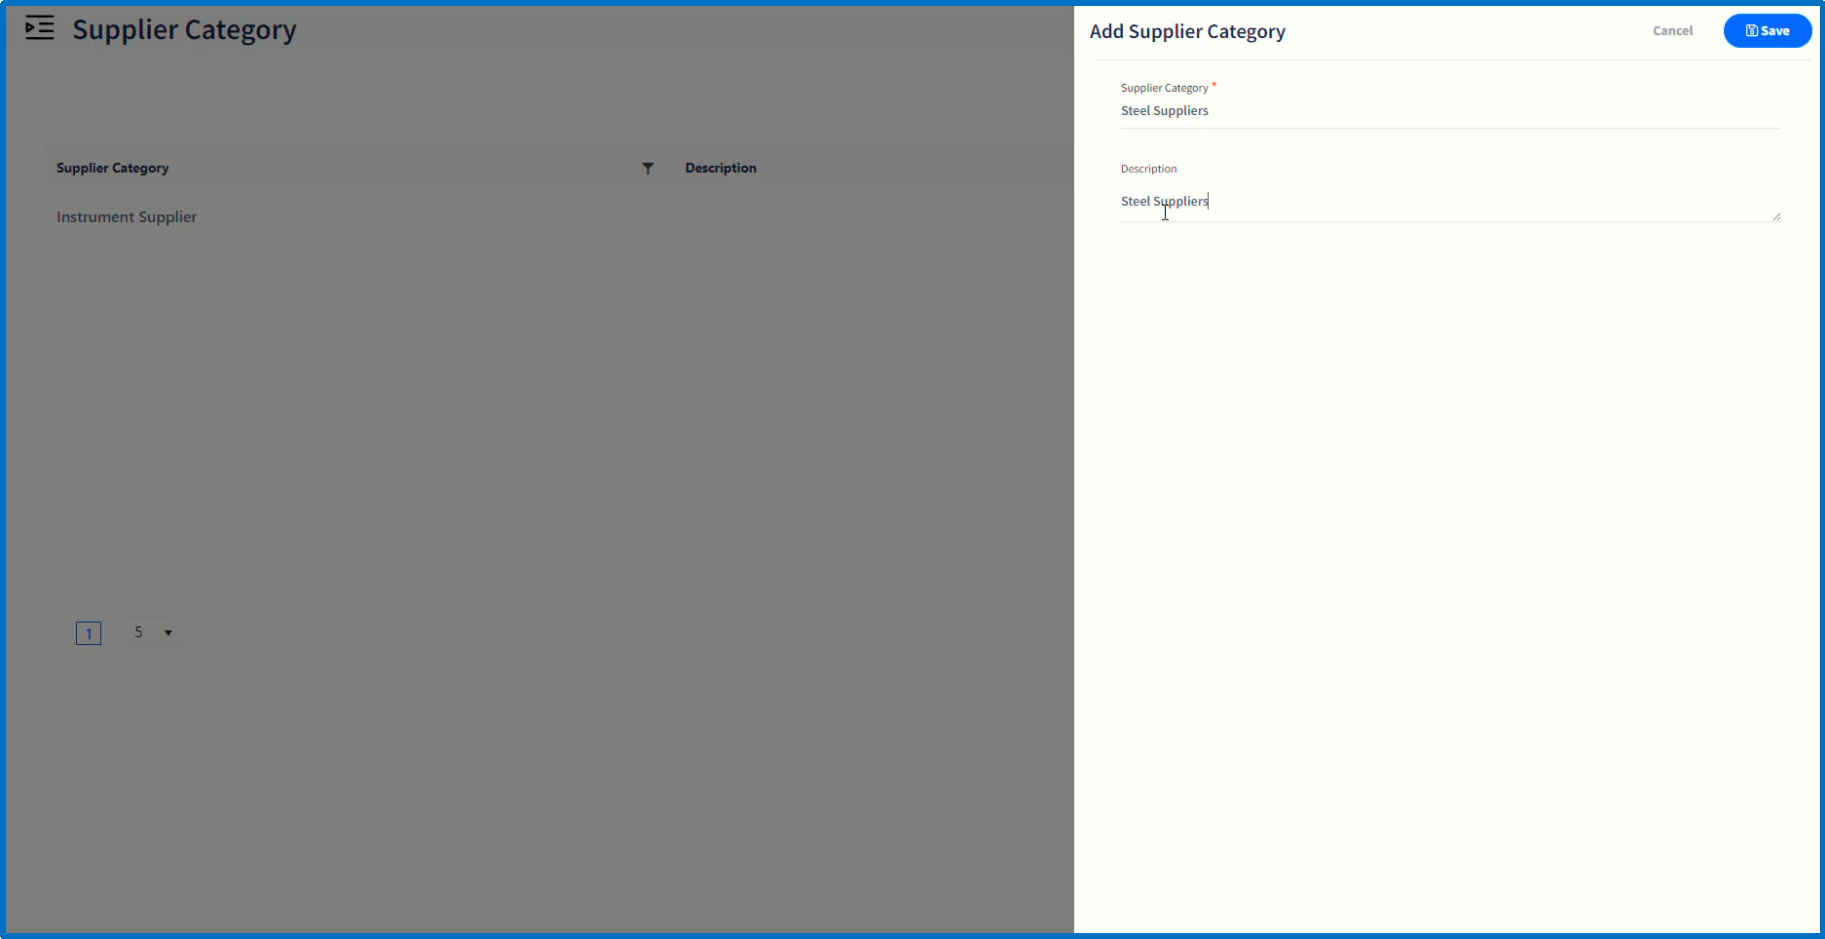
In 'Add Supplier Category' dialog window, enter Supplier Category and Description in the respective fields.
Click on 'Save' button.
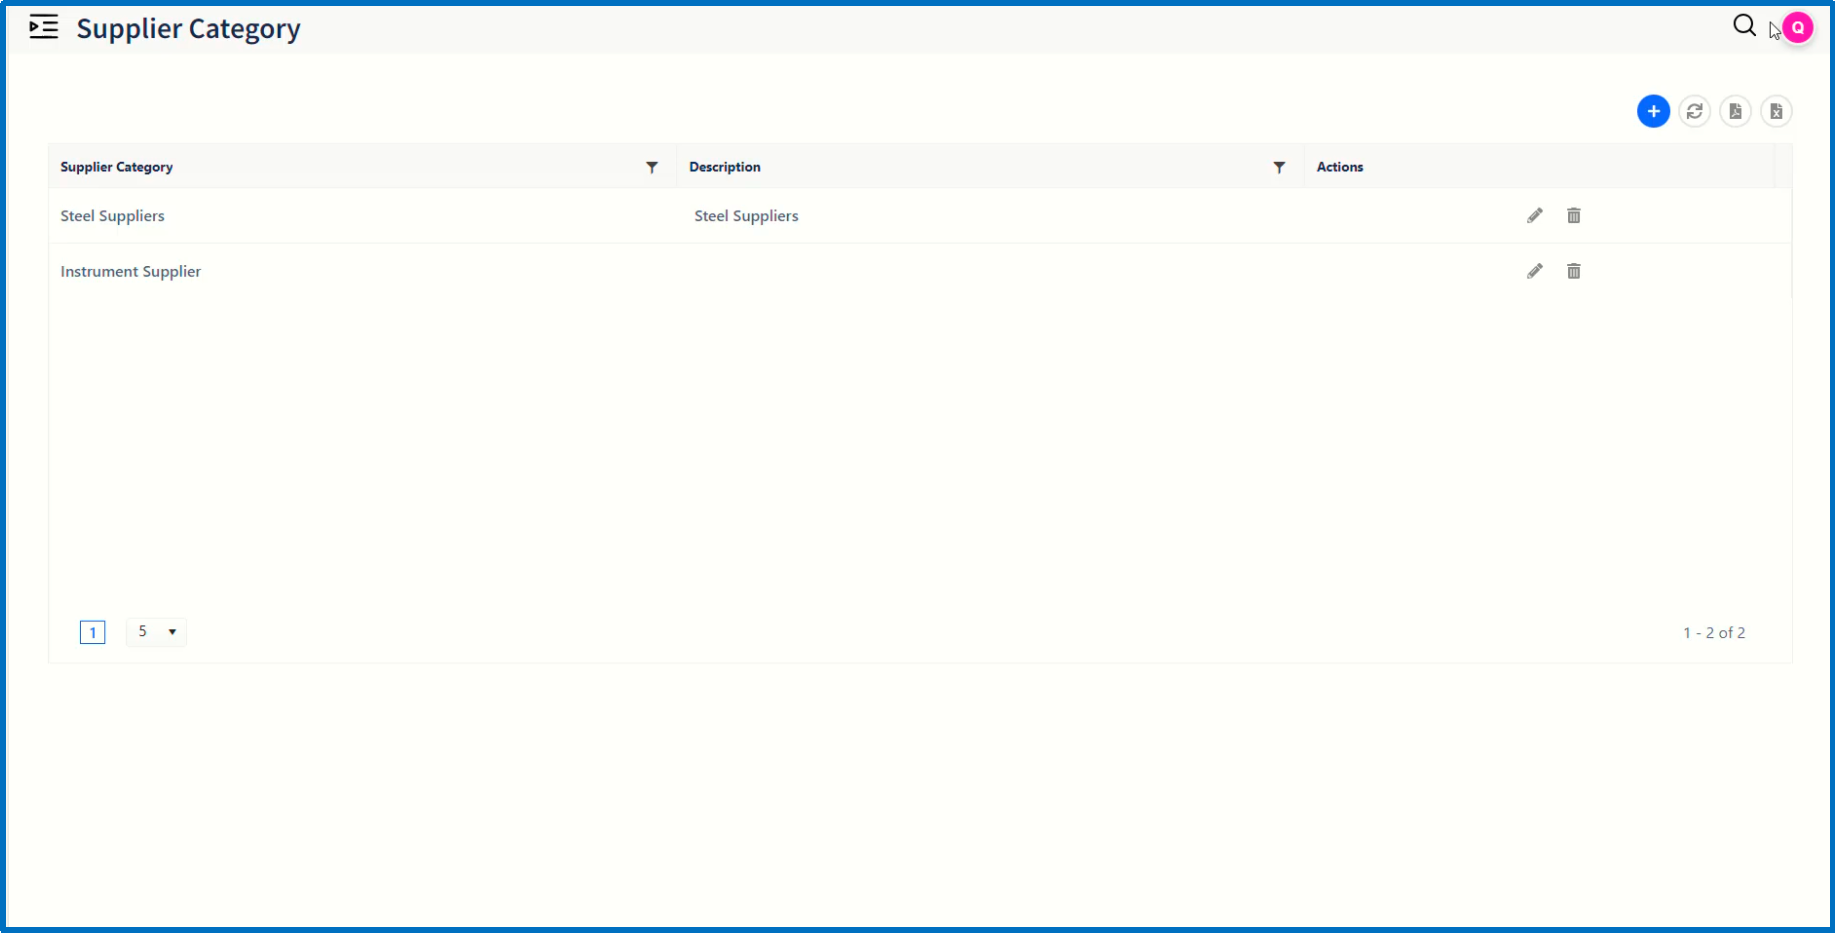
The newly-added Supplier Category record will be displayed in the Supplier Category page.
Next by clicking 'Supplier' page item in the Contacts Submenu, we will navigate to 'Supplier' page.
The list of existing suppliers will be displayed.
Click on '+' icon to add a new Supplier.
On the resulting 'Add Supplier' dialog window, enter values in the fields.
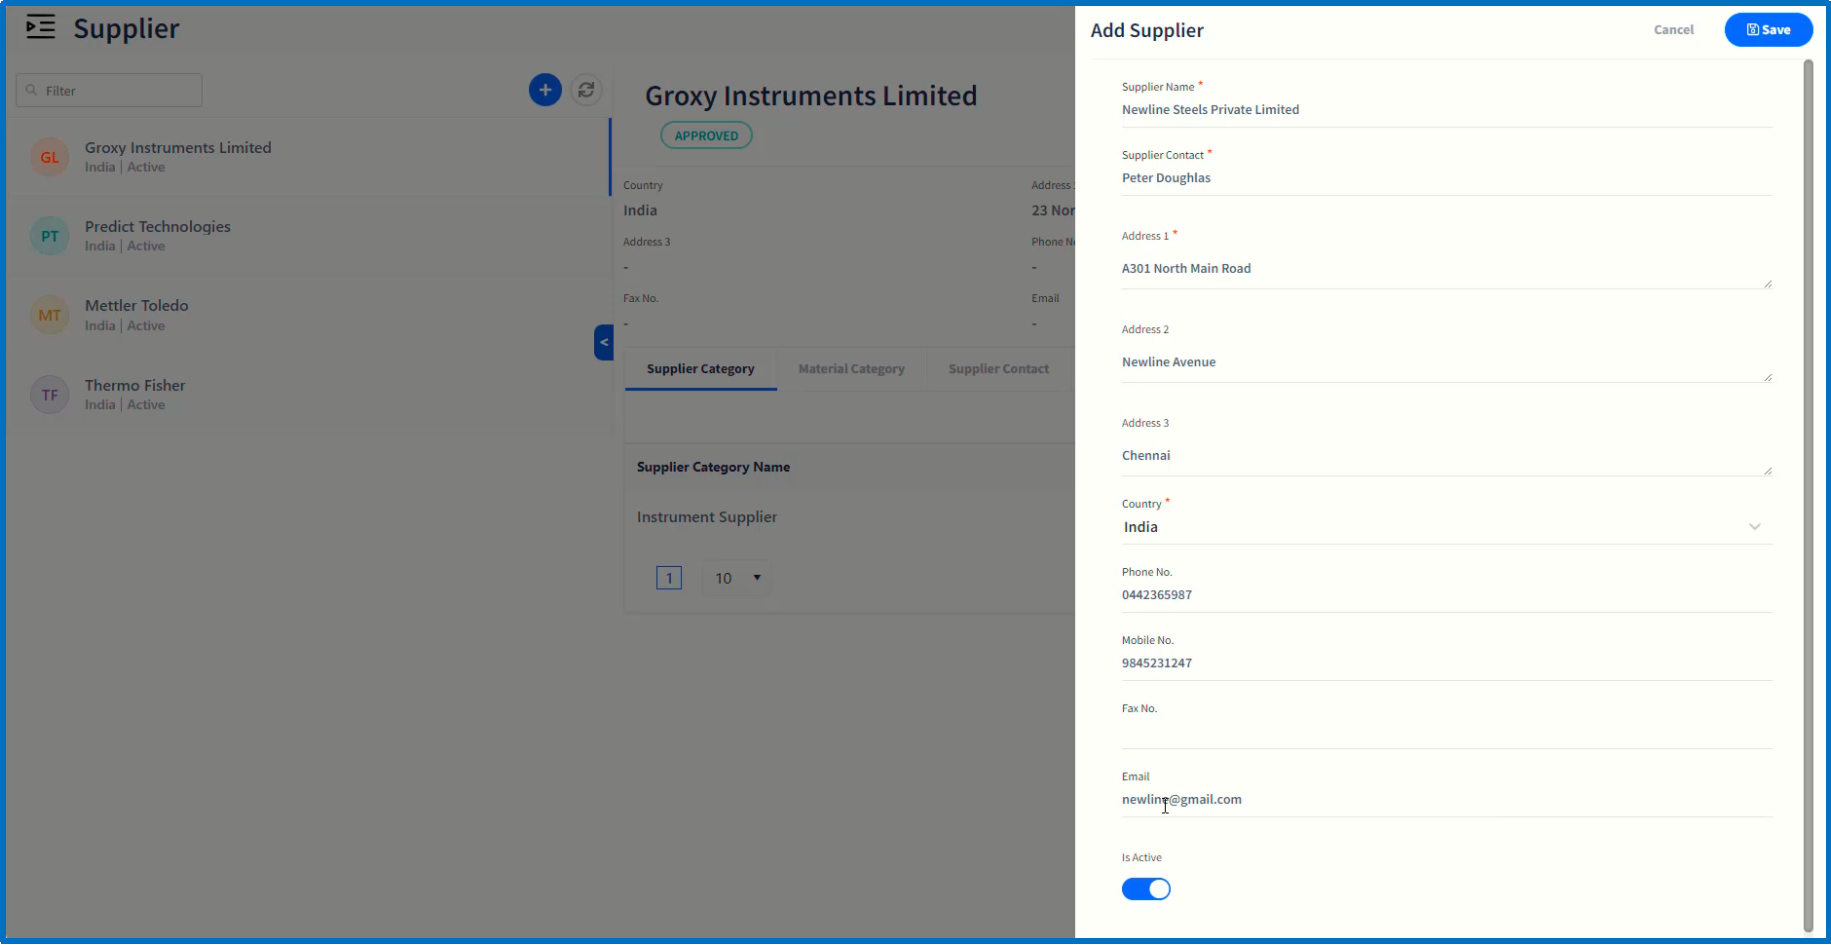
After completing the entry of values, click on 'Save' button which will result in adding a new supplier record in the draft status.
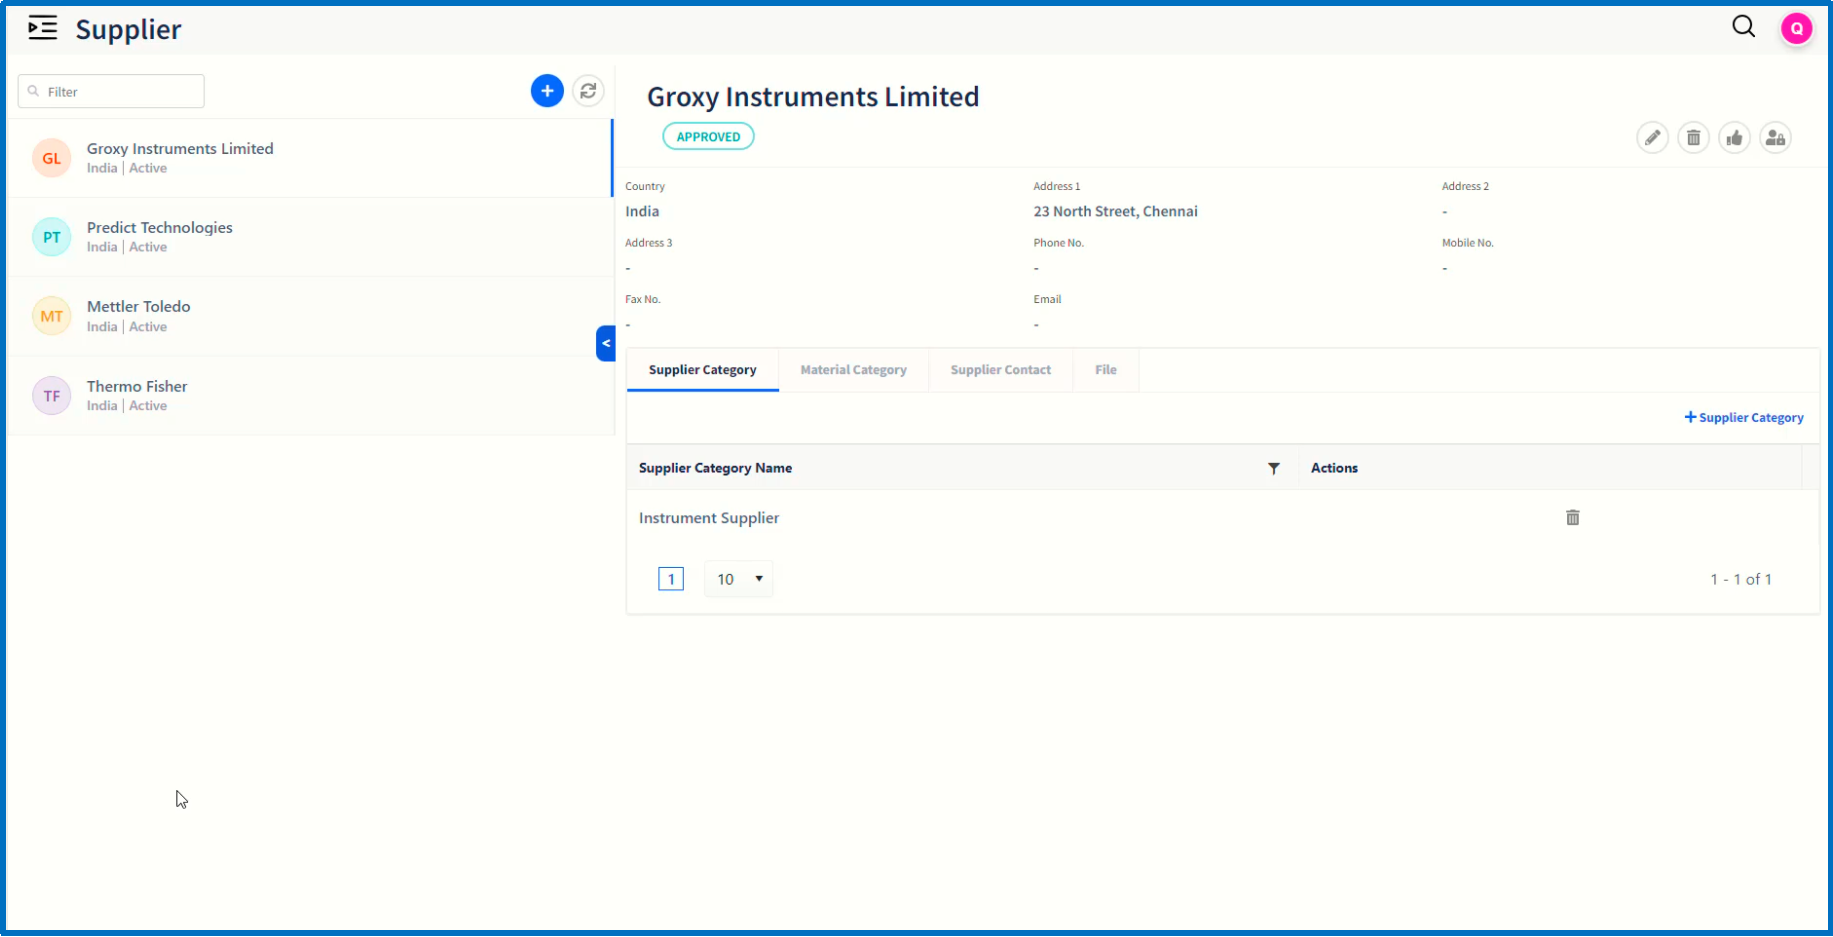
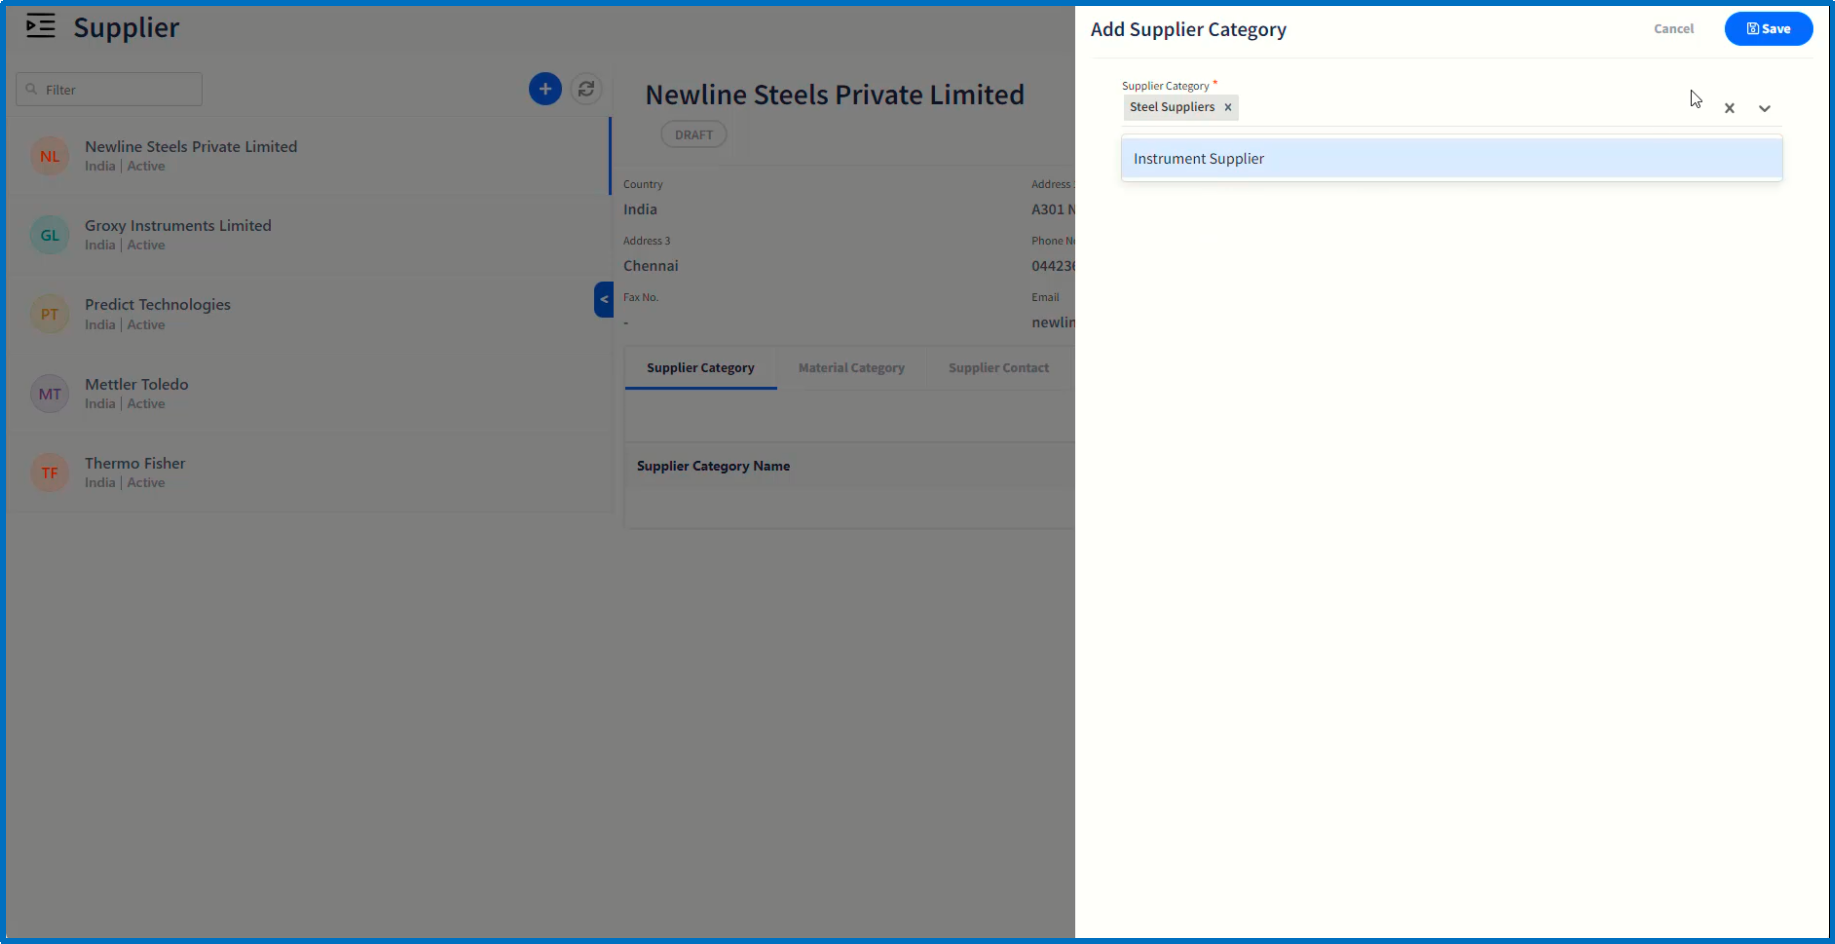
In the main page, there are tabs to add Supplier Category, Material Category, Supplier Contact and File attachment.
Click on Supplier Category link to map Supplier category.
Click 'Save' button on each stage to complete the mapping.
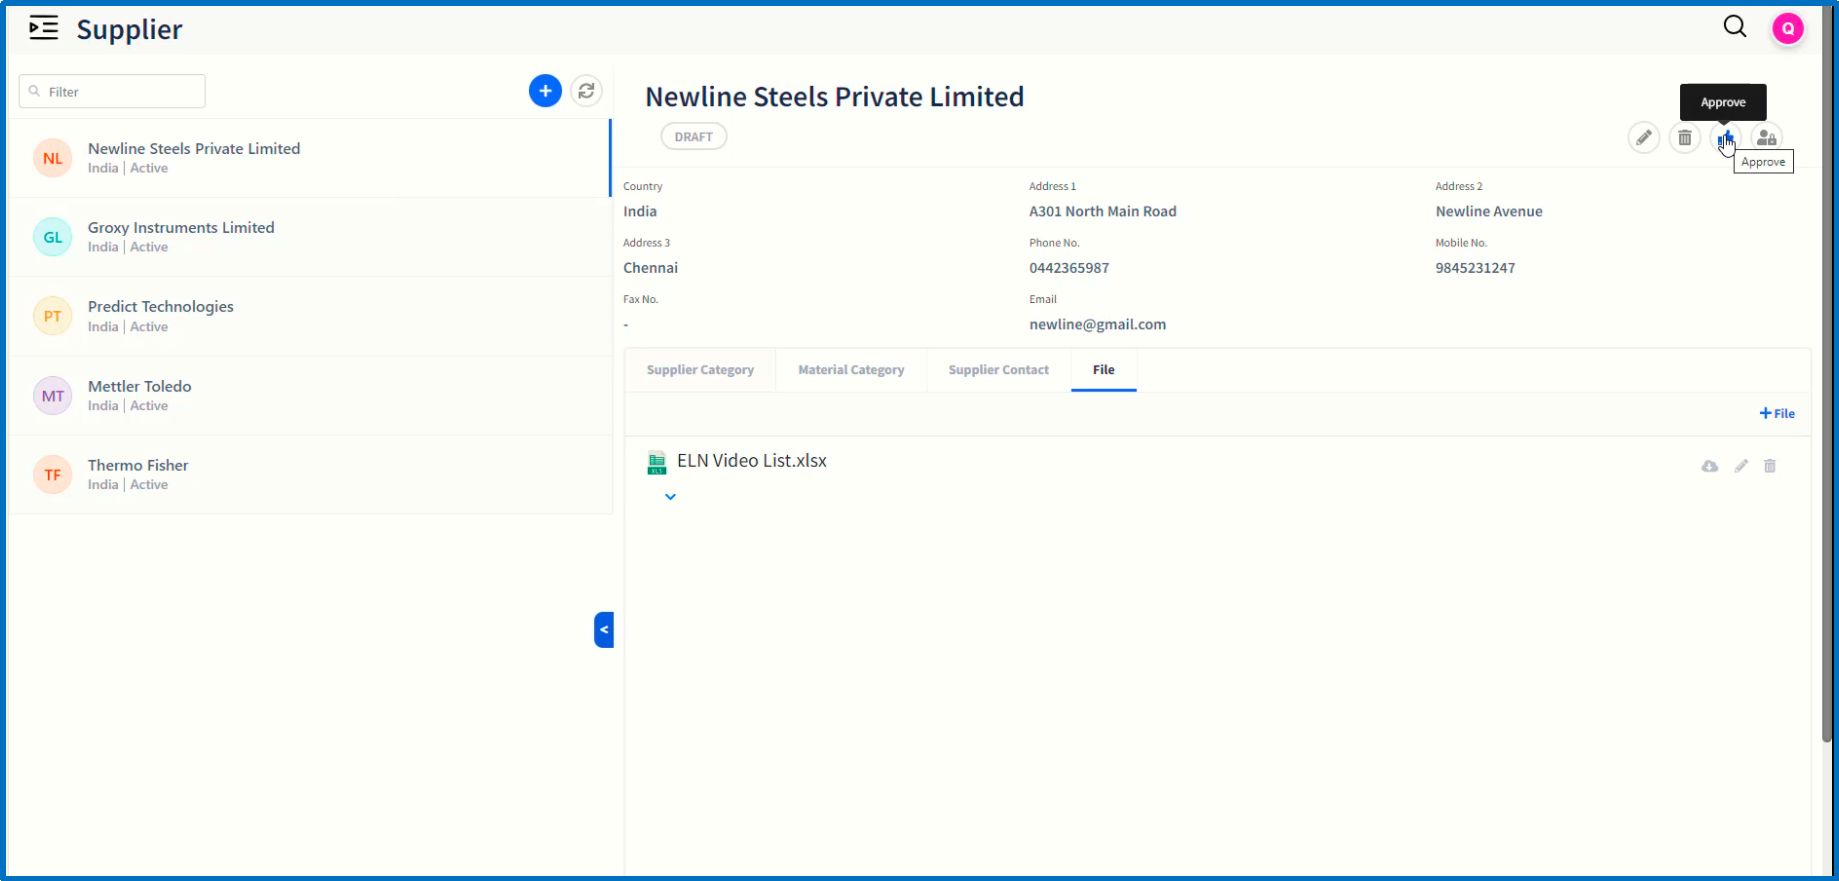
After mapping, click on 'Approve' icon to approve this supplier.
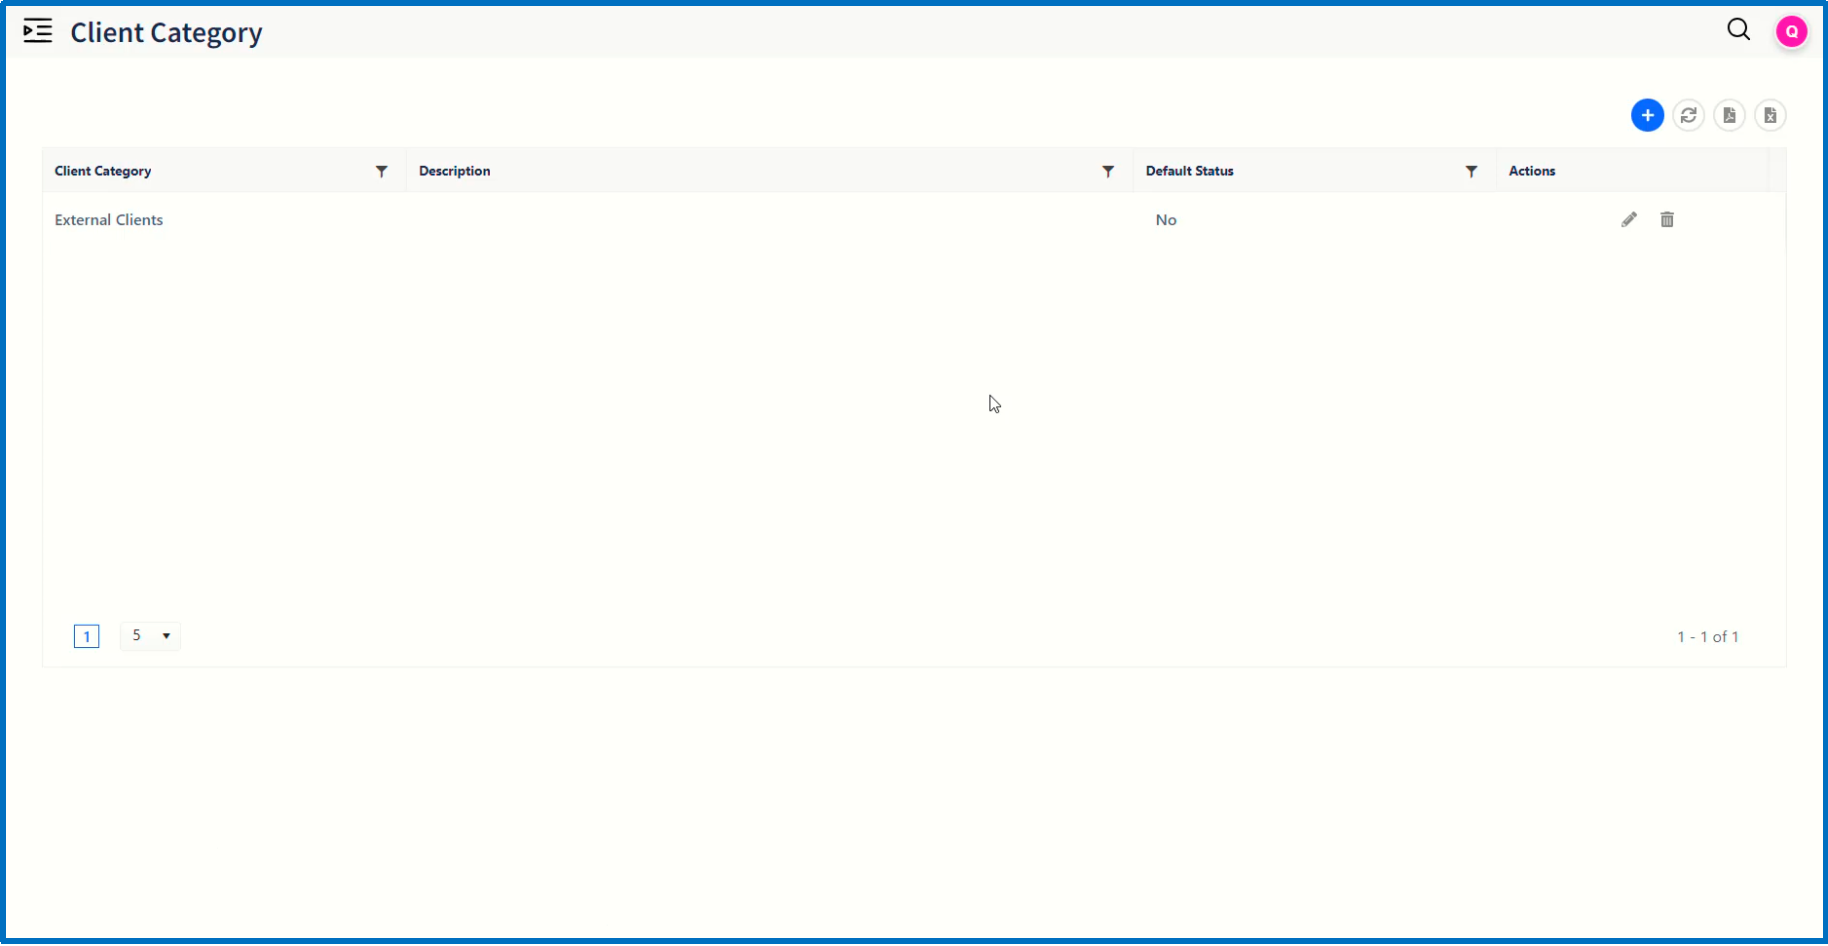
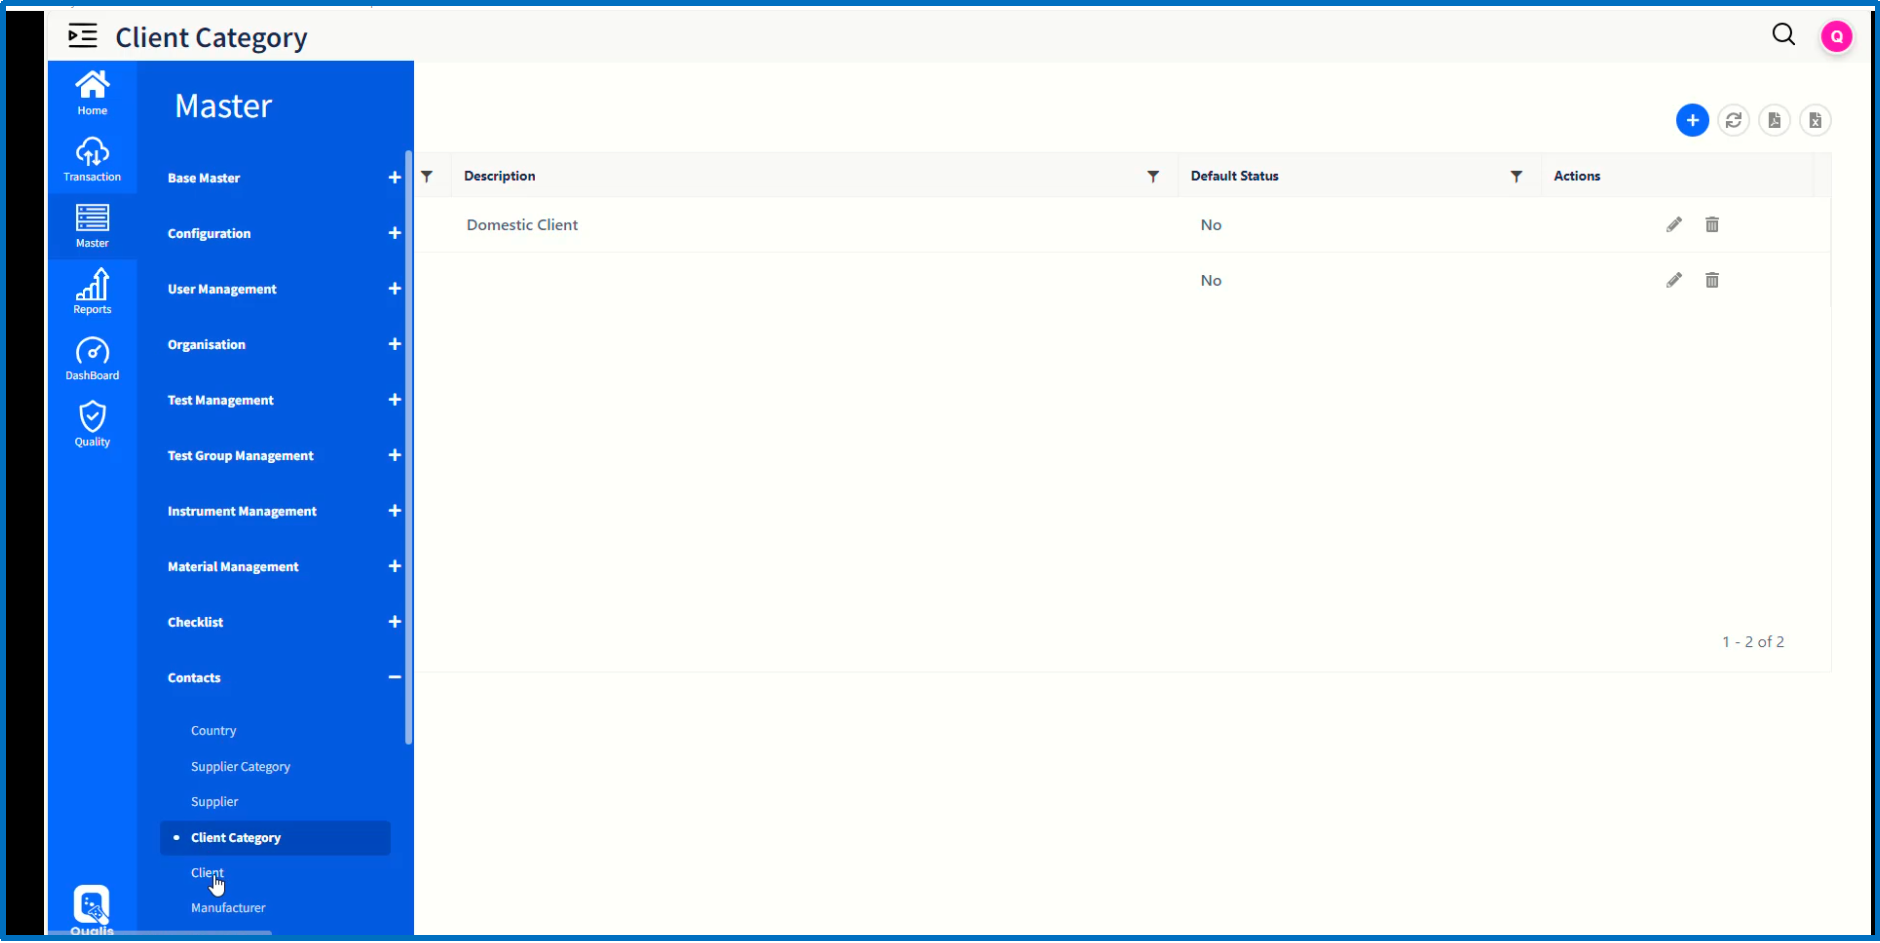
In order to configure client category, click on Client Category page item which will display the existing records on the resulting page.
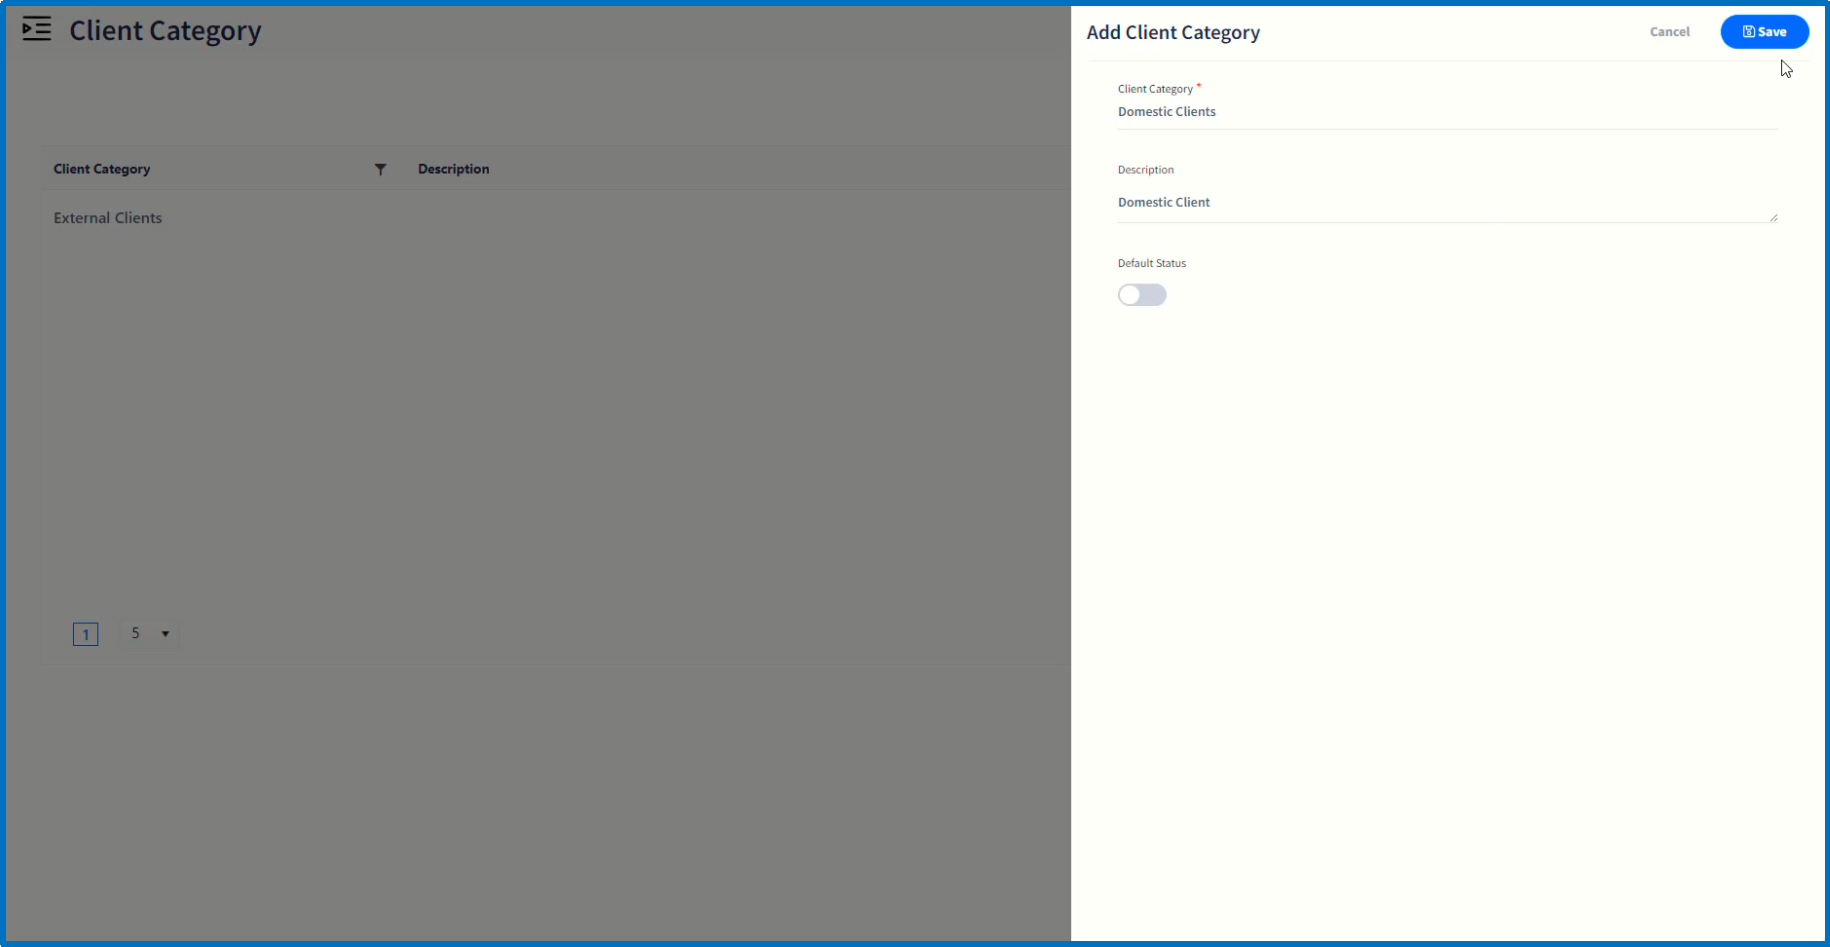
Click on '+' button to add a new record.
On the resulting 'Add Client Category' dialog window, enter the values in the field.
Click 'Save' button to complete the configuration.
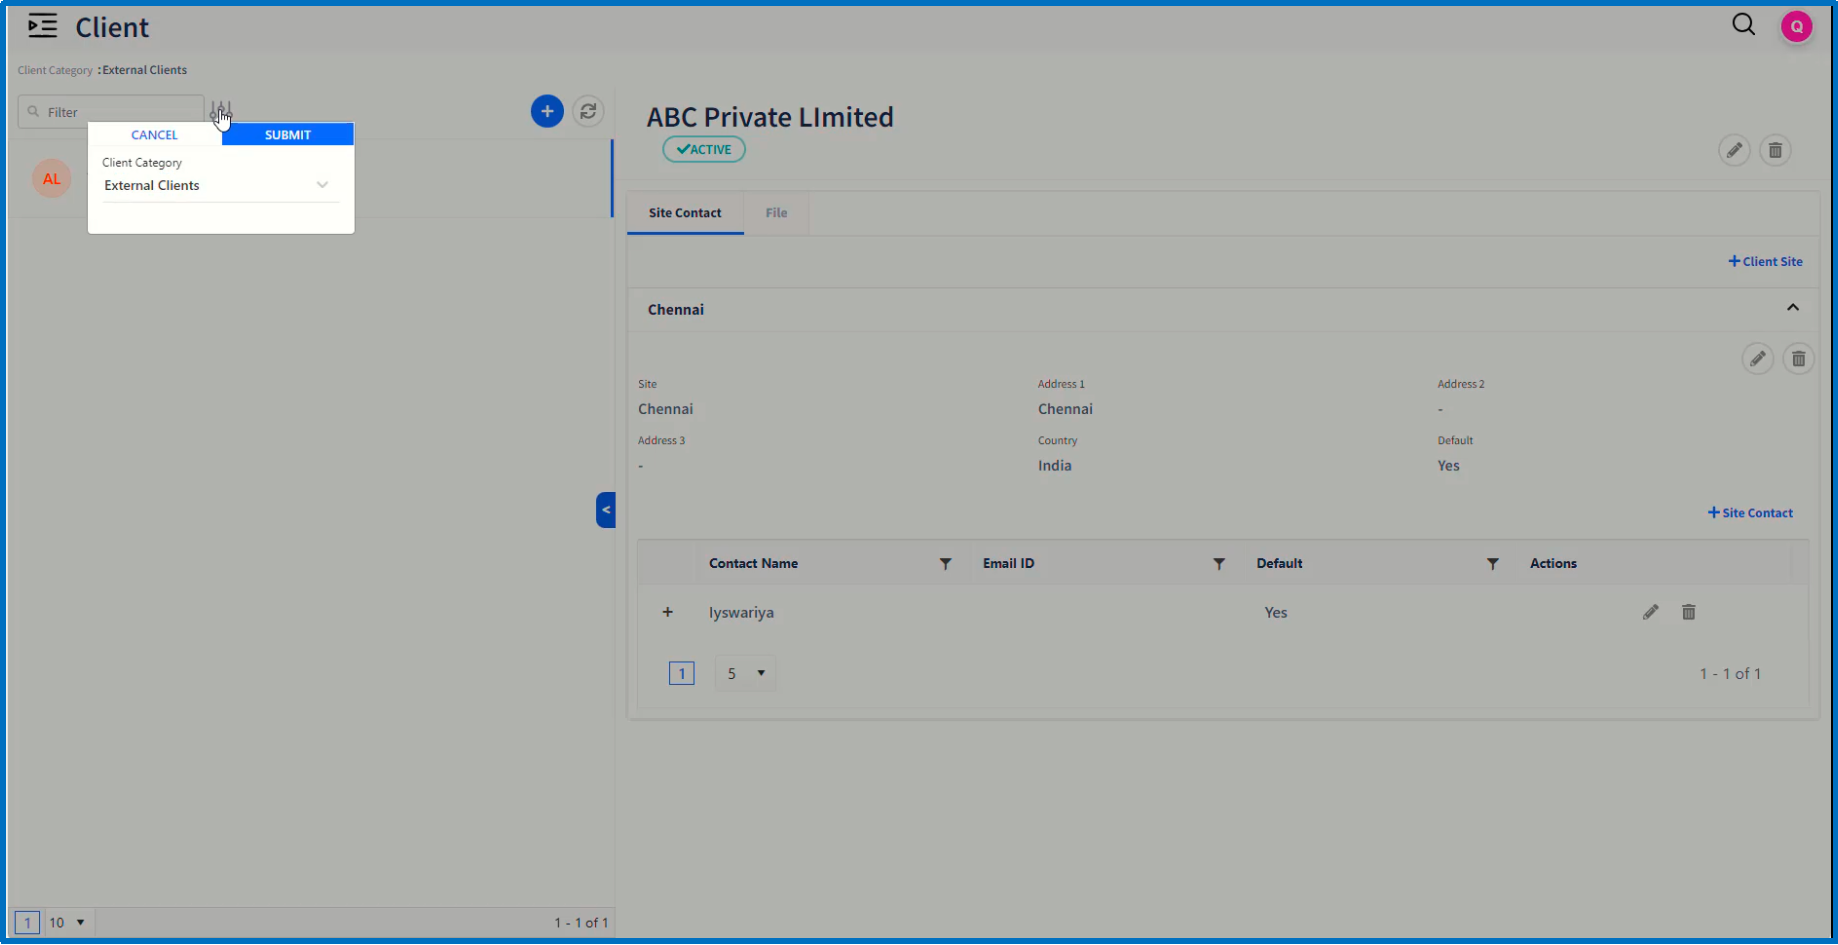
Let us move on to configure clients by clicking on 'Client' page item.
On the resulting page, select the client category to which new clients need to be added by clicking the filter icon.
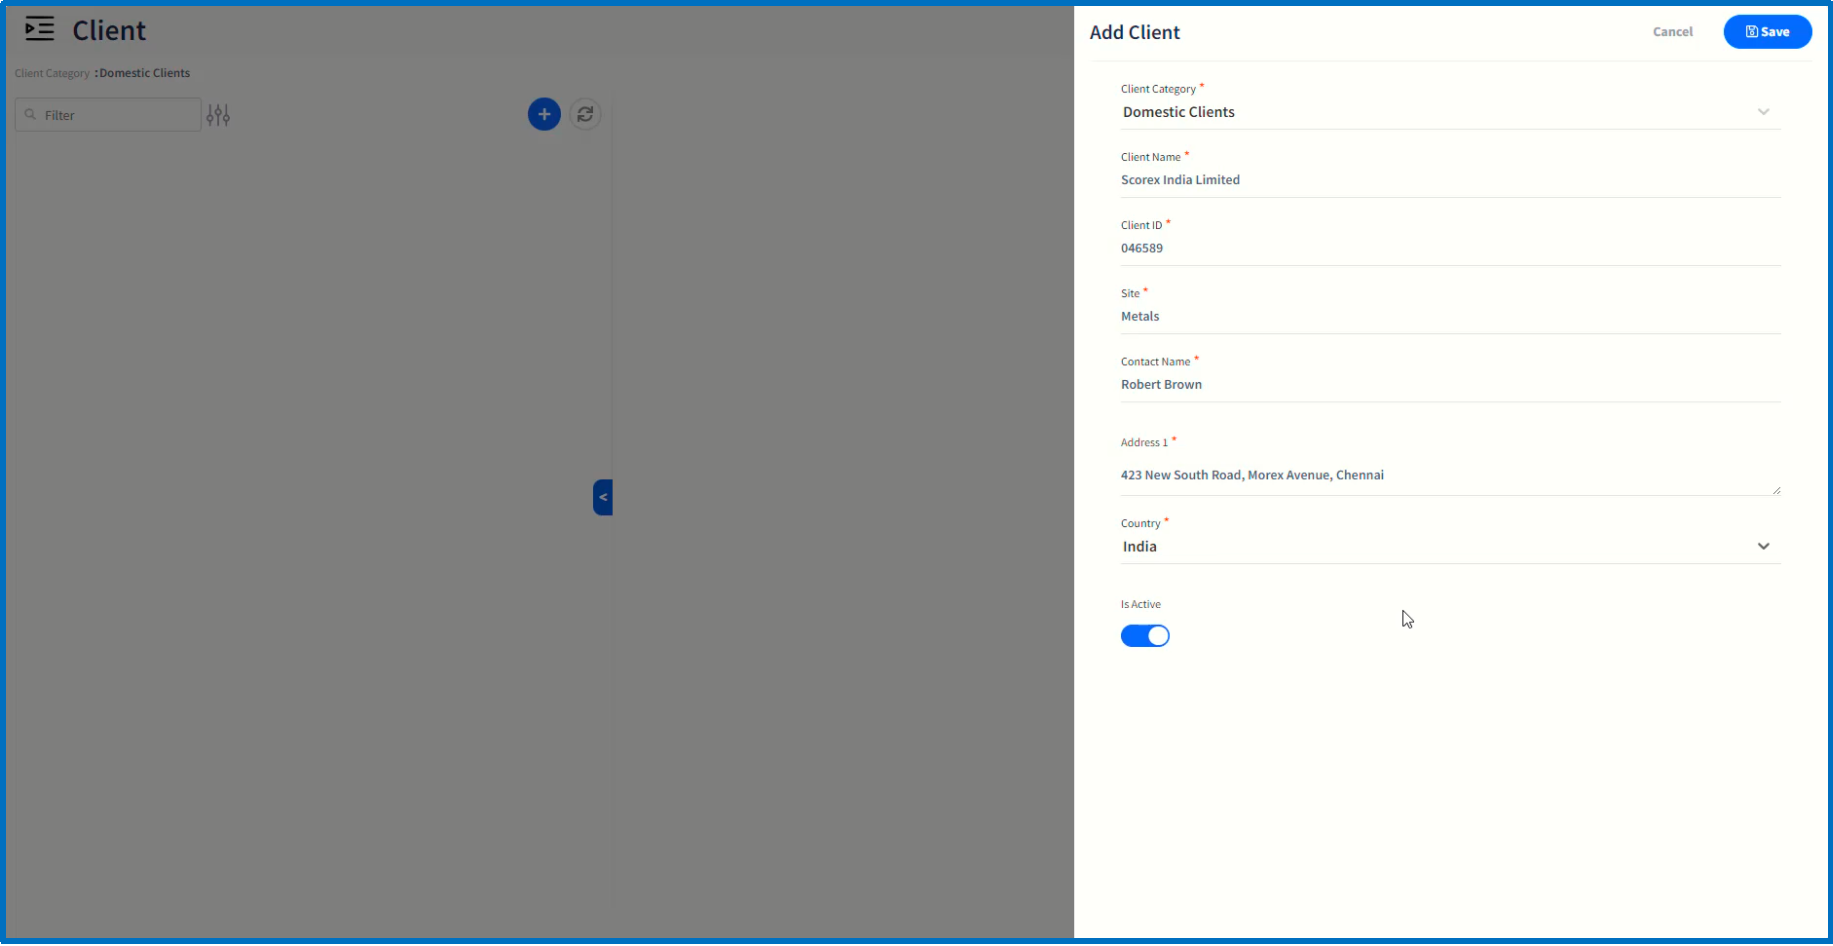
To add a new client, click on '+' icon which will open up 'Add Client' dialog window.
Enter valid values in the respective fields.
Click on 'Save' button which will add a new client record.
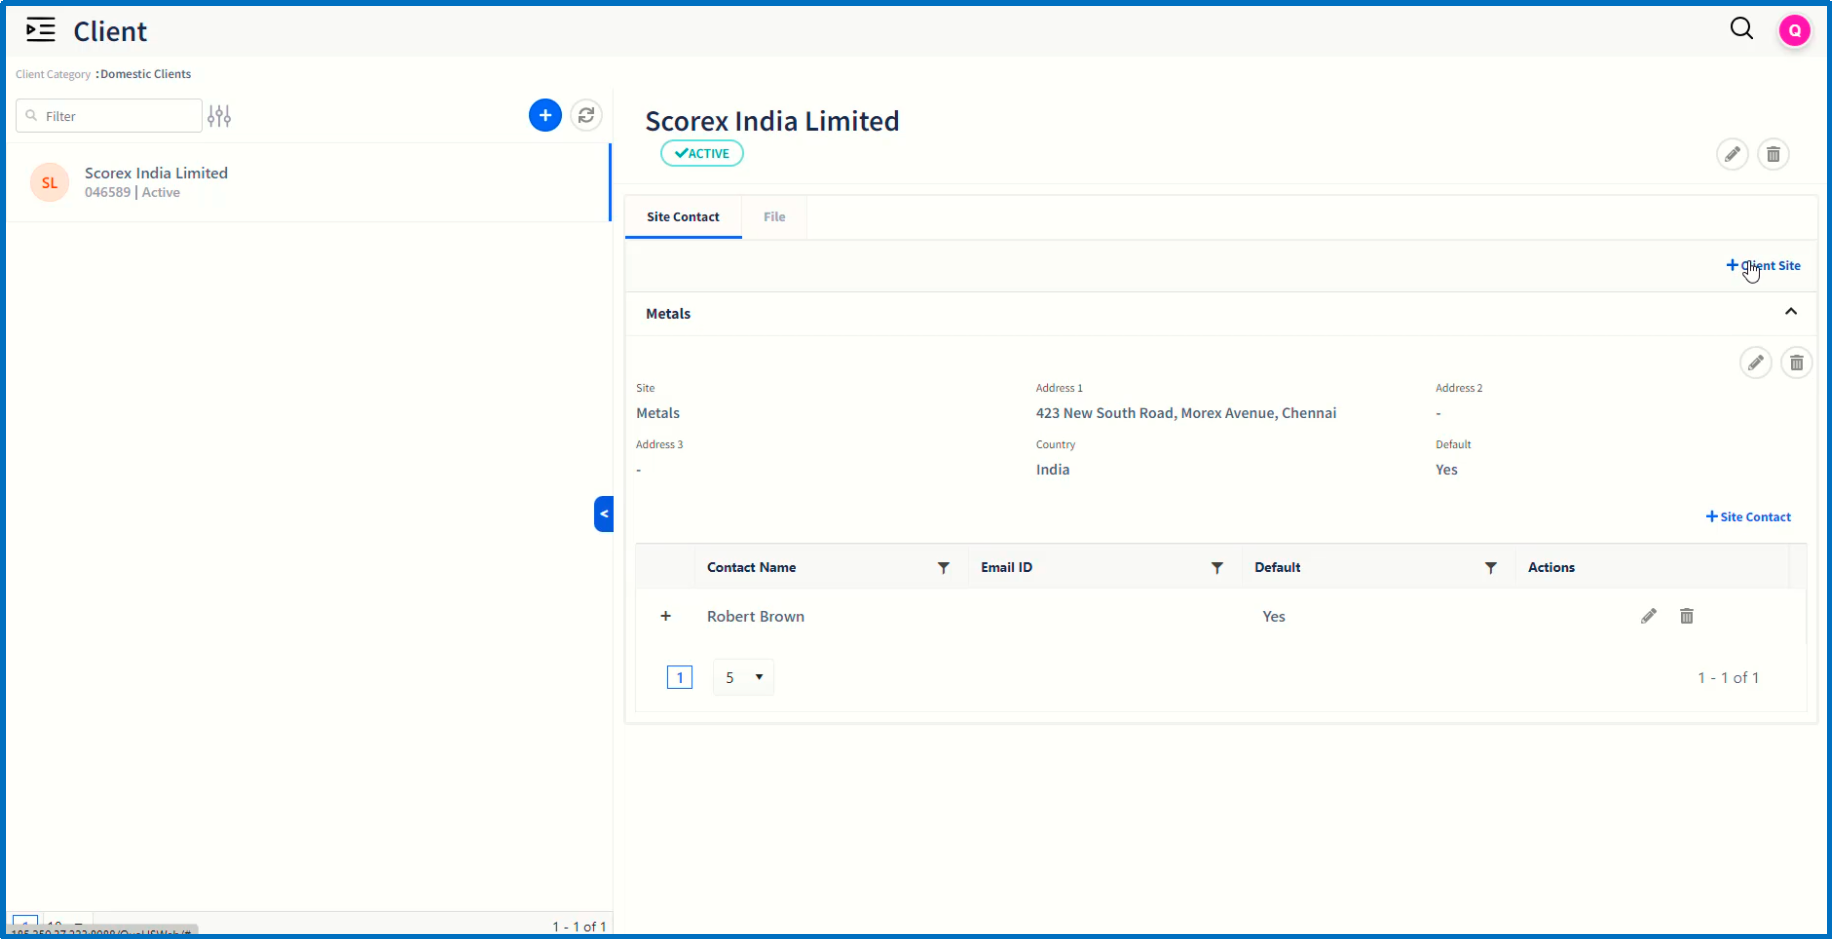
On the client page, the optional fields such as additional sites and site contacts can be added to the client record.
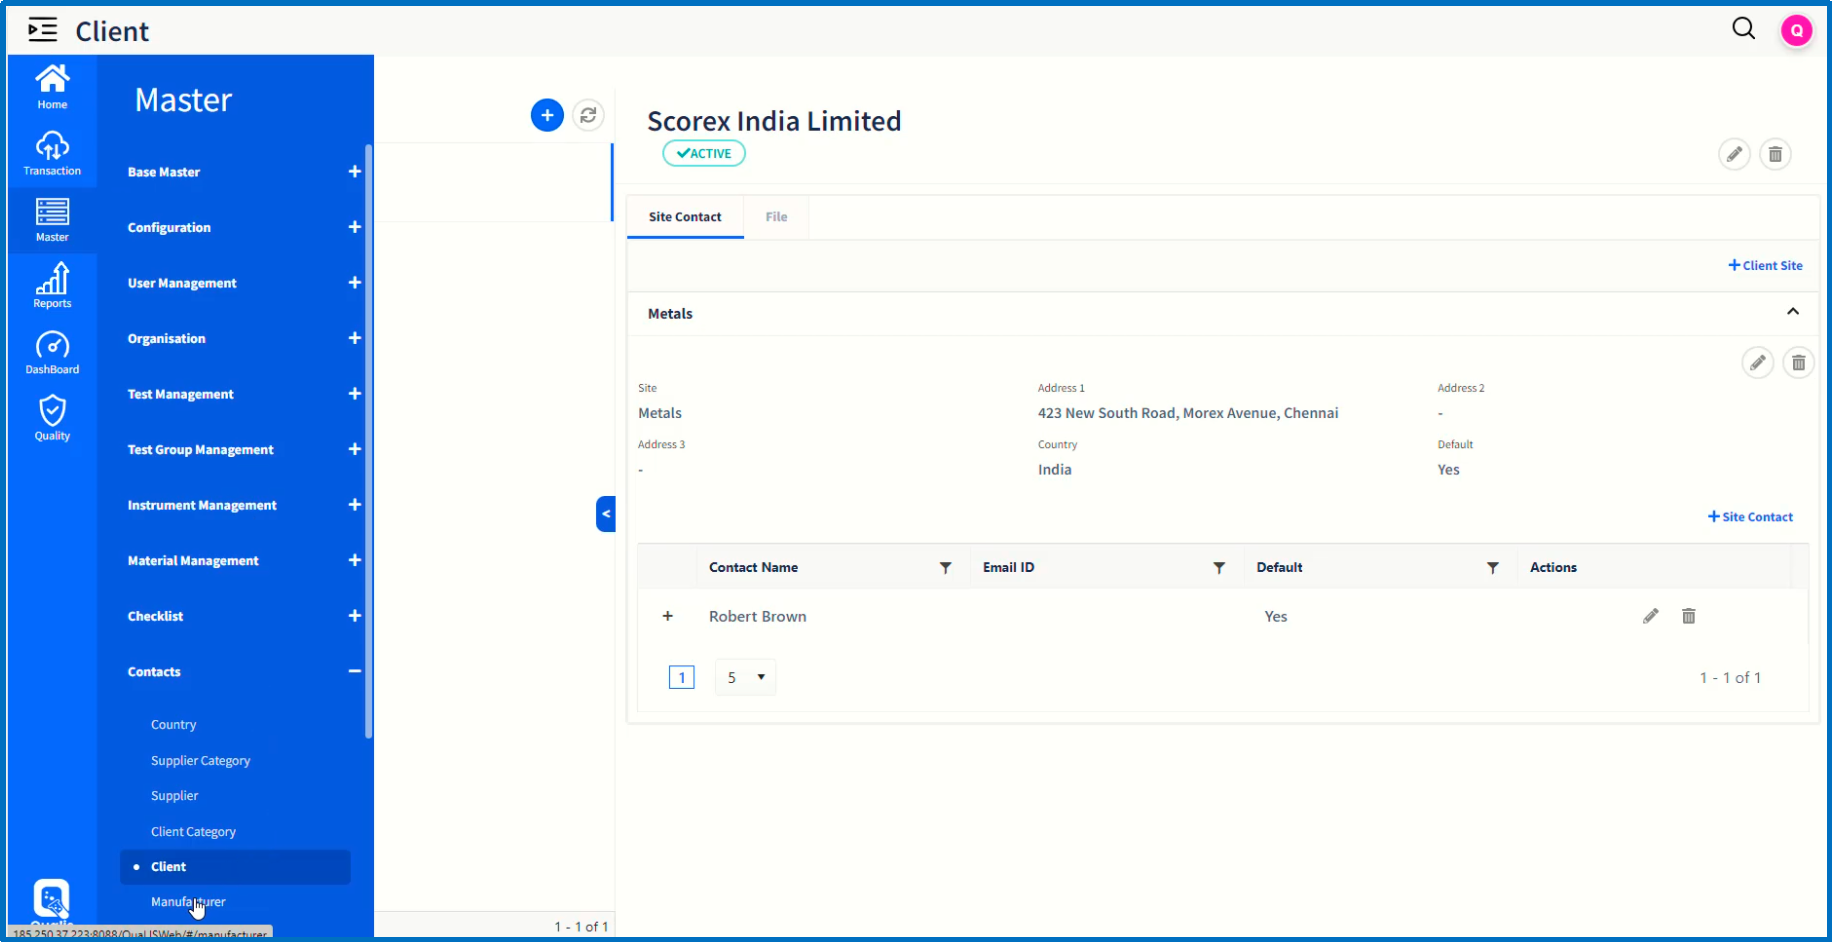
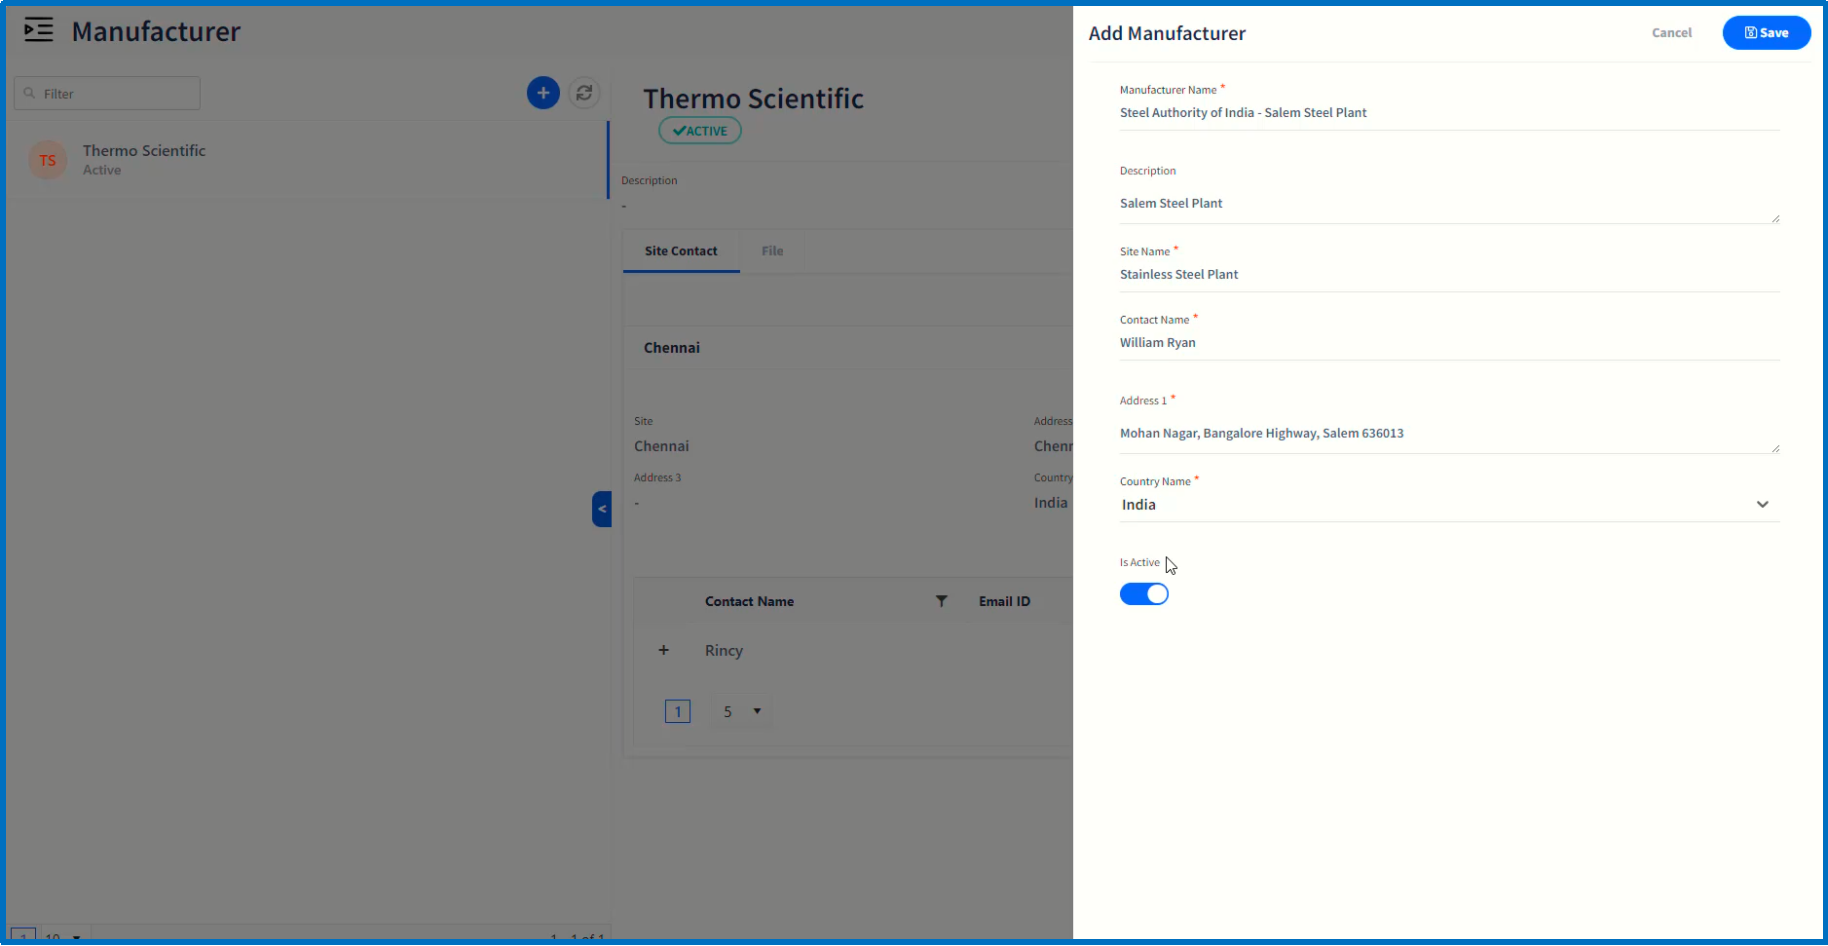
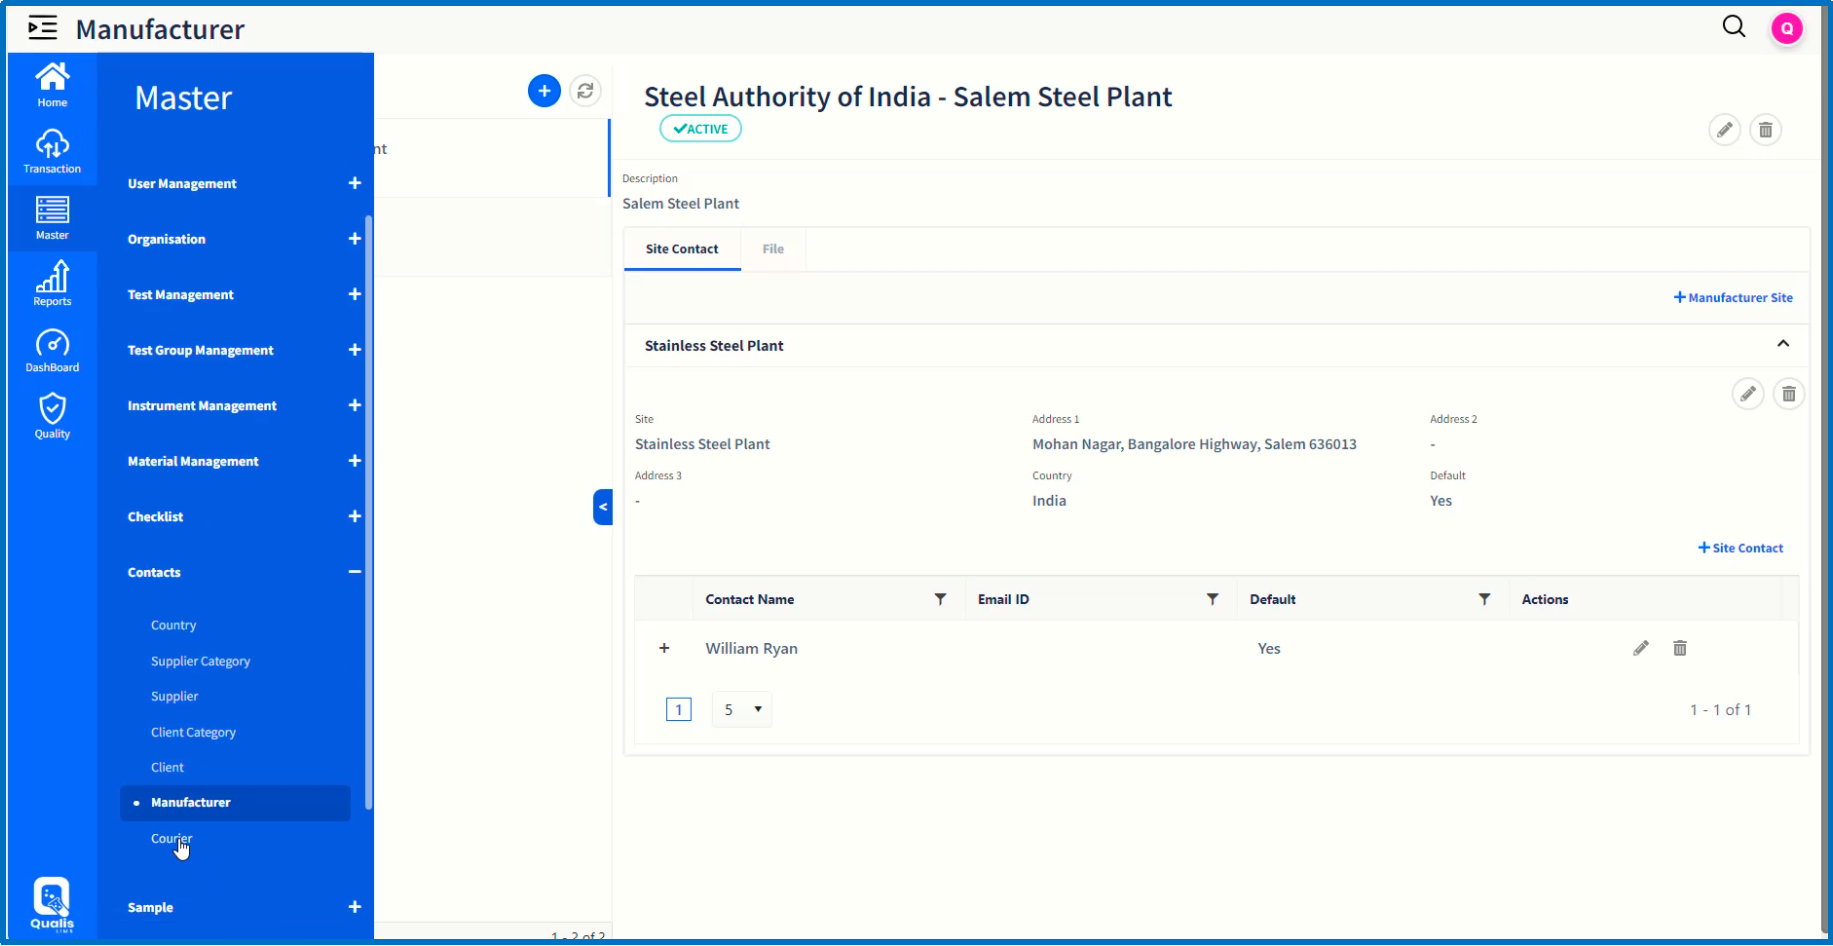
In order to configure Manufacturer, click on Manufacturer page item which will display the existing records on the resulting page.
Click on '+' button to add a new record.
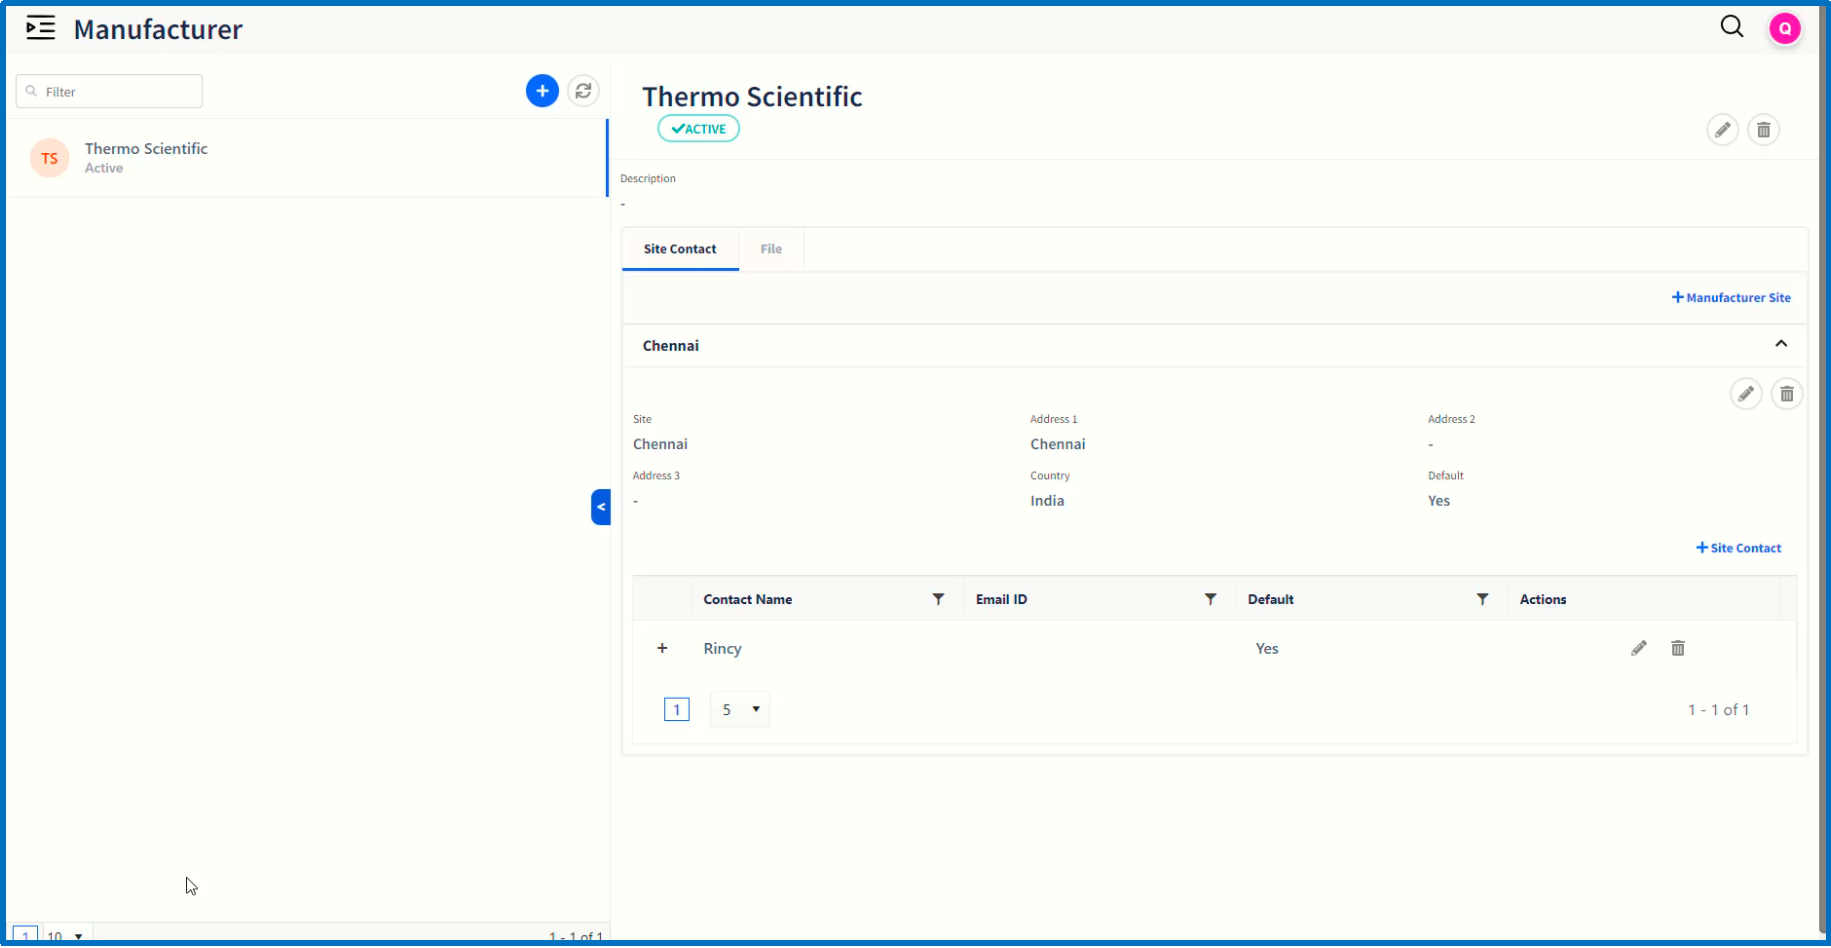
On the resulting 'Add Manufacturer' dialog window, enter the values in the field.
Click 'Save' button to complete the configuration.
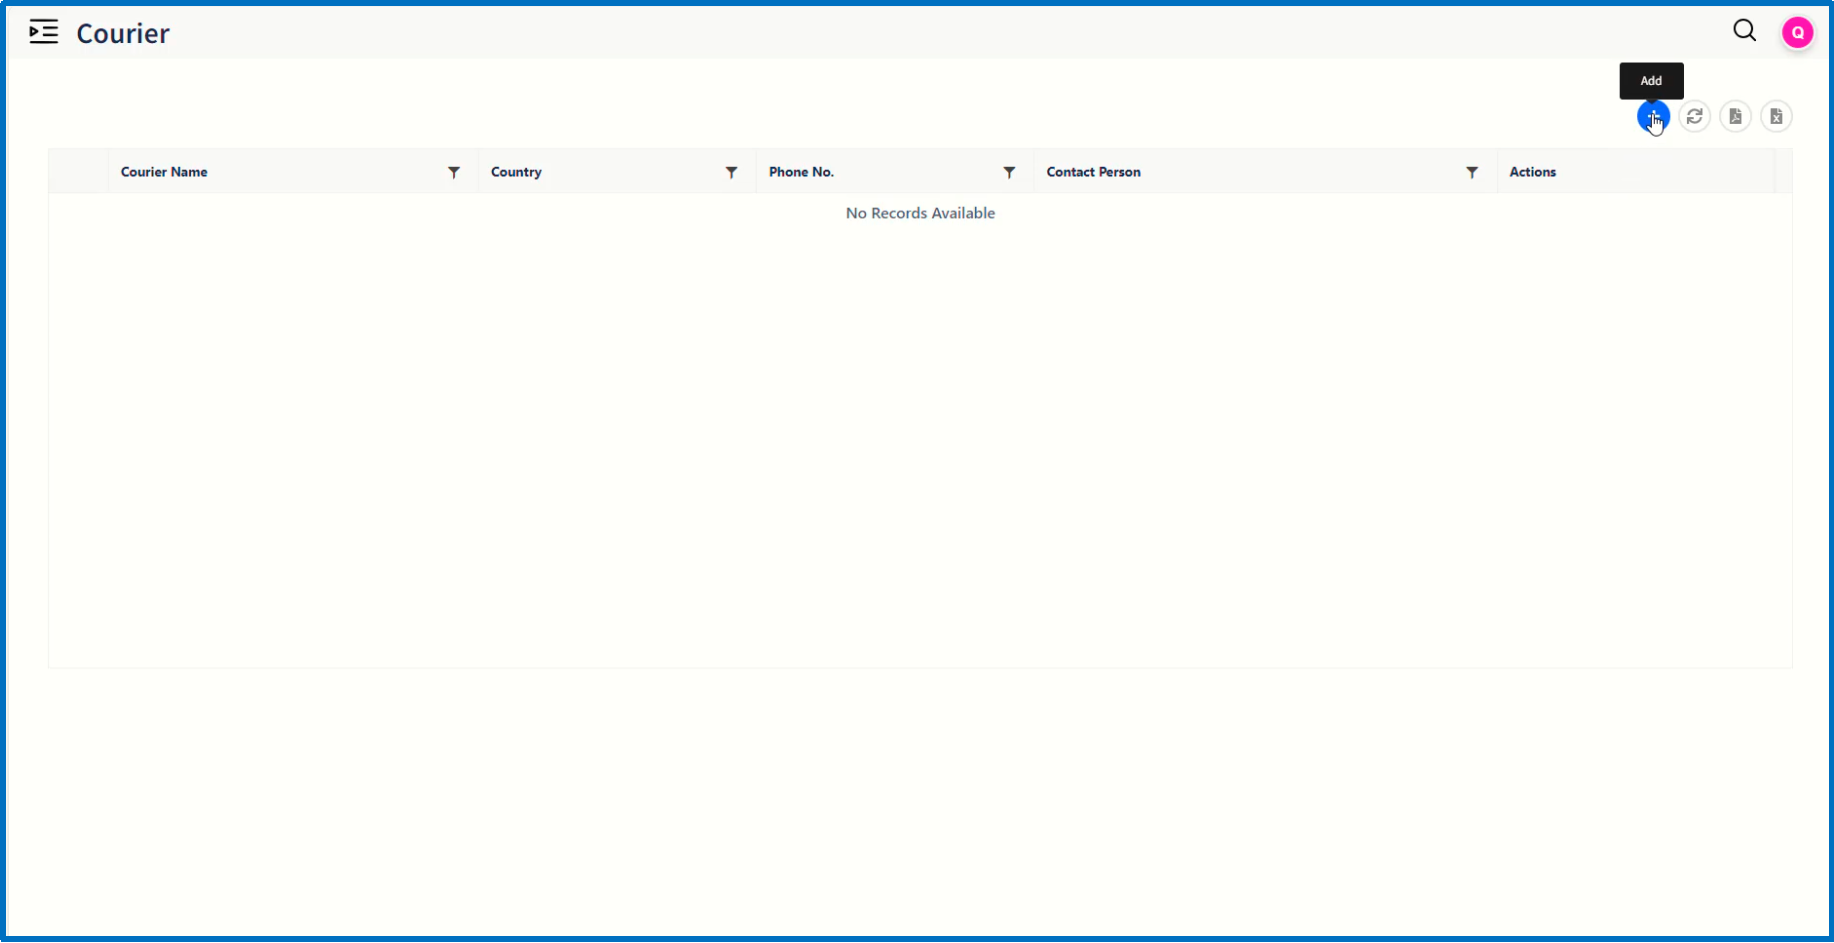
In order to configure Courier, click on Courier page item which will display the existing records on the resulting page.
Click on '+' button to add a new record.
On the resulting 'Add Courier' dialog window, enter the values in the field.
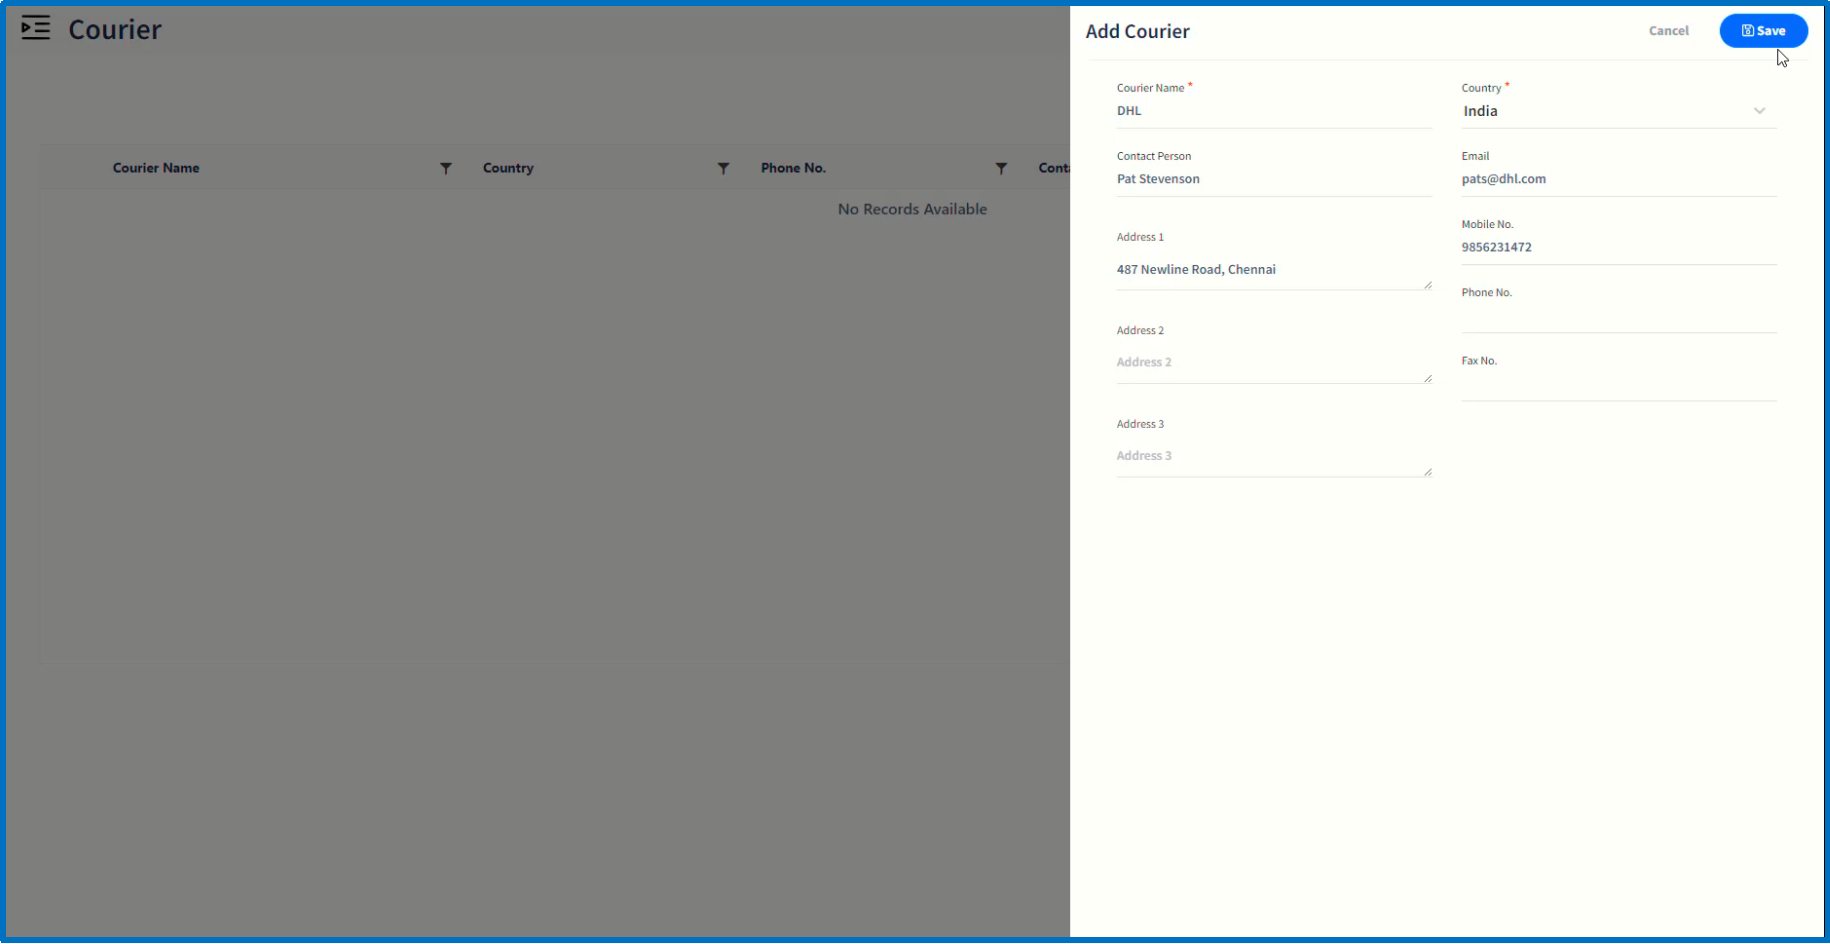
Click 'Save' button to complete the configuration.
This completes the configuration of contacts master.
Logout of the application to navigate to login page.
