User Mapping screen enables you to define the approval hierarchy for the selected approval flow. You can add approver and then add analysts for the selected approver.
To set approval hierarchy, follow these steps:
1.On the main menu, click  Organization and then click User Mapping. The User Mapping screen appears as shown in the figure:
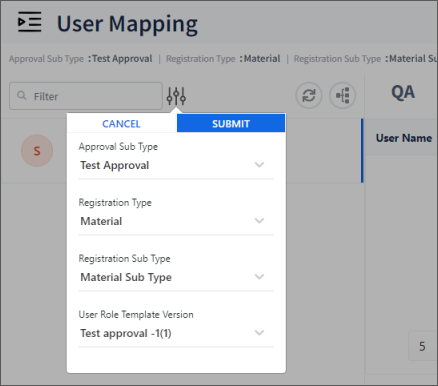
FIGURE: User Mapping Screen
2.In the filter  select Approval Sub type, Registration Type, Registration Sub Type and User Role Template Version
3.List of user roles for the selected user role template version appears as shown in the figure
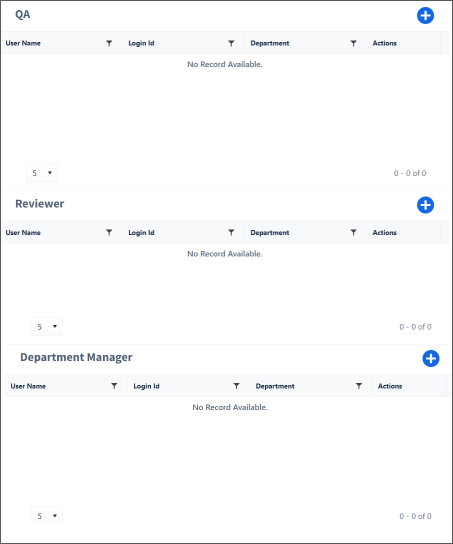
FIGURE: User Mapping Screen
Based on the selected approval flow, sections appear for each role as shown in the above figure.
4.In each section, click.  The AddUser screen appears as shown in the figure:
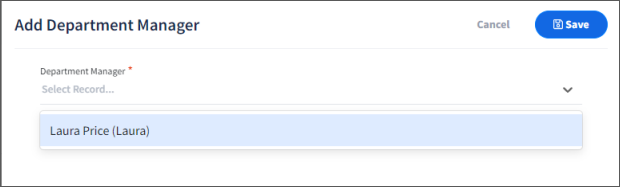
FIGURE: User Mapping – Add User Screen
5.Click to select the users and then click Save.
6.Select a user in the first level and go to the next section. Click  as shown in the figure:
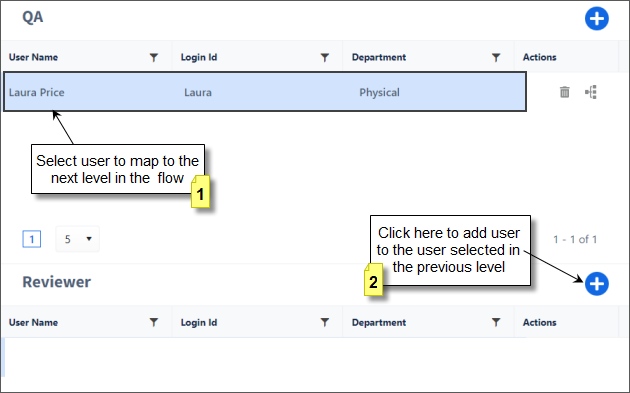
FIGURE: Mapping User to the Next Level
7.Click to select the users and then click Save..
8.Repeat steps to add users to the next level.
9.Now you can see the users mapped to each stage in the approval flow.
In the User Mapping screen, click  to view graphical representation of the user role mapping appears as shown in the figure
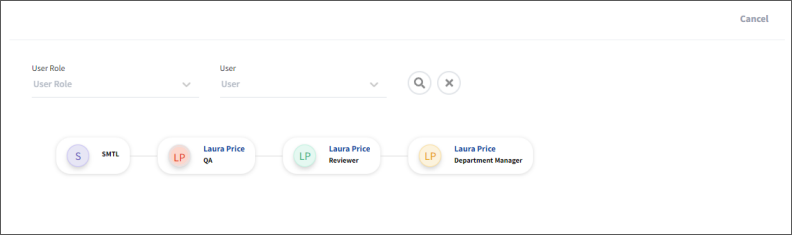
FIGURE: Graphical View of User Mapping - 1
You can also view graphical view role wise.
