To add a new instrument, follow these steps:
1.On the main menu, click,  and then click Instrument Management Instrument. The Instrument master screen appears as shown in the figure:

FIGURE: Instrument Master Screen
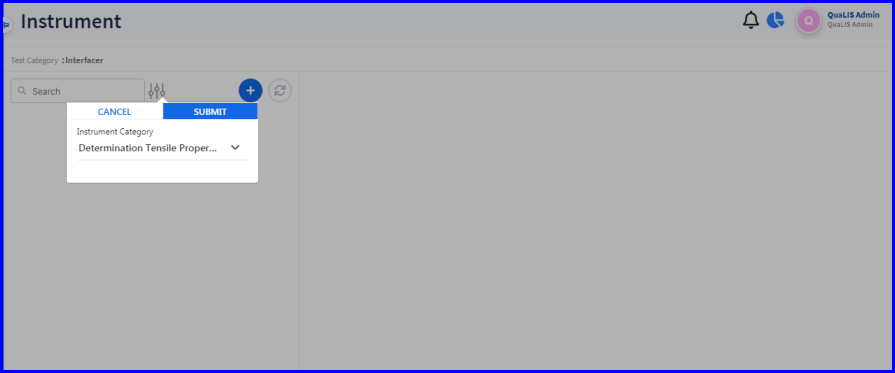
2.In the filter  select the Instrument Category and then click Submit.Instruments that are added to the selected instrument category will appear.
Options to edit and delete instruments appear in each record.
3.Click. The Add Instrument dialog appears as shown in the figure:

FIGURE: Add Instrument Dialog
4.In the Instrument Category field, select the instrument category to which you create the instrument.
5.In the Instrument ID field, type a unique identification number for the instrument.
6.In the Instrument Namefield, type the name of the instrument.
7.In the Supplier field, select the instrument supplier name.
8.In the Service By field, select the vendor who will service the instrument.
9.In the Serial No field, type the serial number of the instrument.
10.In the In Charge field, select the person in charge for the instrument.
11.In the Window + and Window- fields, mention the window period for the test.
Note: The window period for a test designed to detect a specific disease (particularly infectious disease) is the time between first infection and when the test can reliably detect that infection.
12.Fill in other fields appropriately
13.In the Instrument Status field, select Active to make the instrument active.
14.Click to turn on the Default Status option to keep the instrument active by default.
15.Click Save.
You can see the instrument you just created listed in the Instrument master.
Options to edit and delete instrument appear in each record in the Instrument master
1.To edit instrument details, in the Instrument master screen, click  to edit the instrument record. In the Edit Instrument screen, do required changes and then click Save.
2.To delete an instrument, in the Instrument master screen, click  to delete the instrument record.