Template Mapping screen is used to map templates to the selected Registration Sub Type. You must map a template to the selected Registration Sub Type and approve it to use the template for the sub type. You can edit the details until the template mapping is in the Draft state. Once approved you cannot edit the details.
The previous one will expire once you approve an new template mapping.
To map a template, follow these steps
To create a user role template, follow these steps:
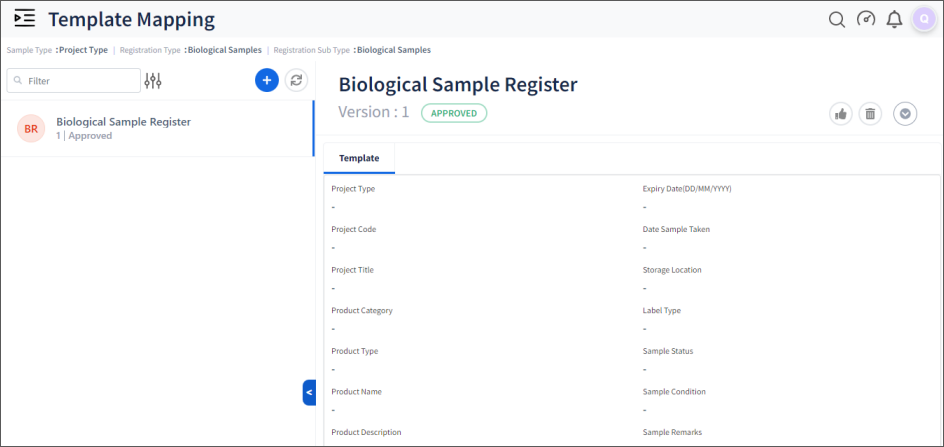
1.On the main menu, click  Configuration and then click Template Mapping. The Template Mapping master screen appears as shown in the figure:

FIGURE: Template Mapping Master Screen
In the Template Mapping master screen, if there are templates already mapped, the list of mapping appears. The approved template mapping will be in use..
Options to edit and delete templates mapping in DRAFT state appear in each record.
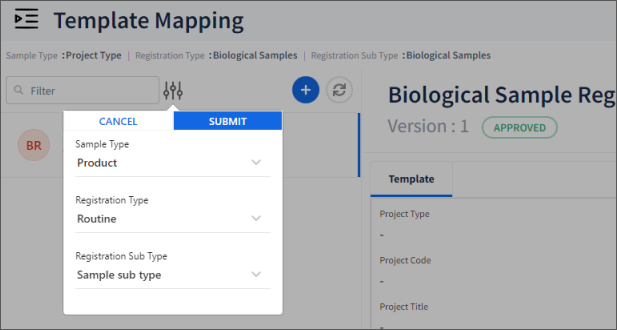
2.Click  The filter dialog appears as shown in the figure:

FIGURE: Selecting Registration Type, and Sub Type to add Template Design
3.Select the Sample Type, Registration Type and Registration Sub Type and then click SUBMIT. The screen appears as shown in the figure:

FIGURE: Template mapping for the selected Registration Sub Type
If there are templates already mapped, the list of mapping appears. The approved template mapping will be in use.
4.Click  The Add Template Mapping screen appears as shown in the figure:

FIGURE: Template Mapping Dialog
5.In the Template field, select a template to map to the selected registration sub type. Templates that are created for the selected Sample Type in Template Design screen will appear here.
6.Click Save. The template is mapped and the record appears in DRAFT state as shown in the figure:

FIGURE: Template Mapped
You can delete the mapping in the DRAFT state. Once approved, the previous mapping will retire.
Select a template mapping record and then click  to approve the mapping.