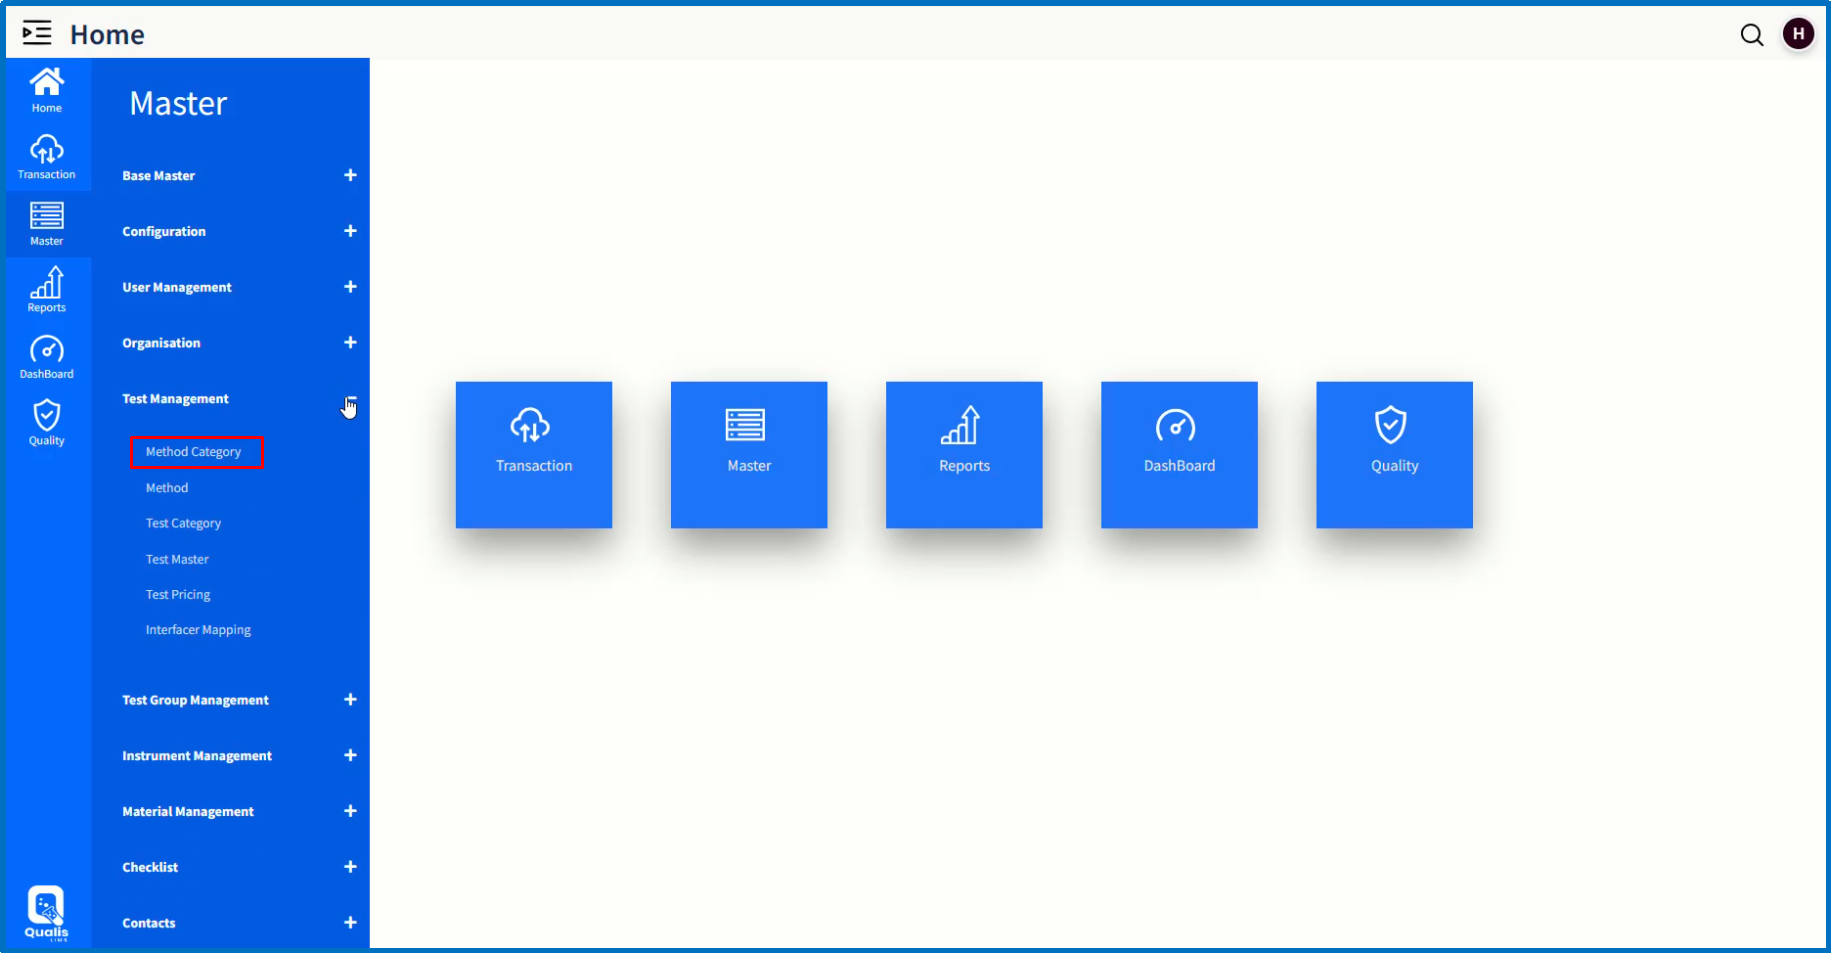
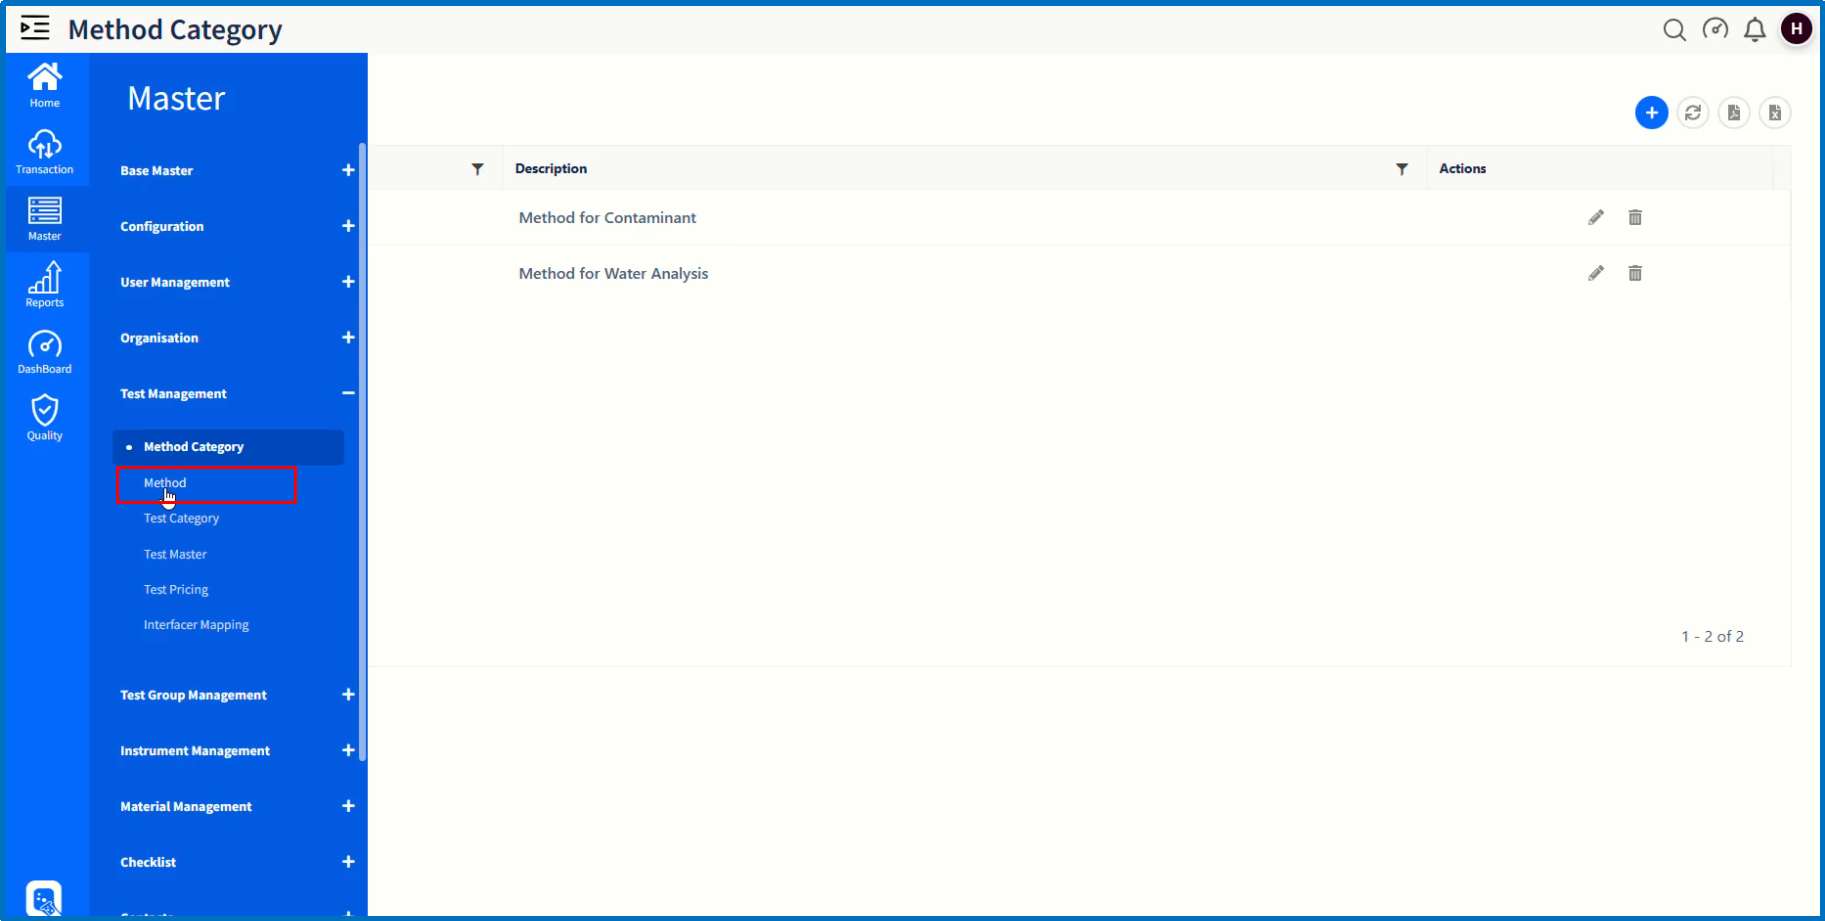
After logging into Qualis LIMS application as an administrator user with required privileges, click on 'Method Category' page item under Test Management submenu which is under Master module.
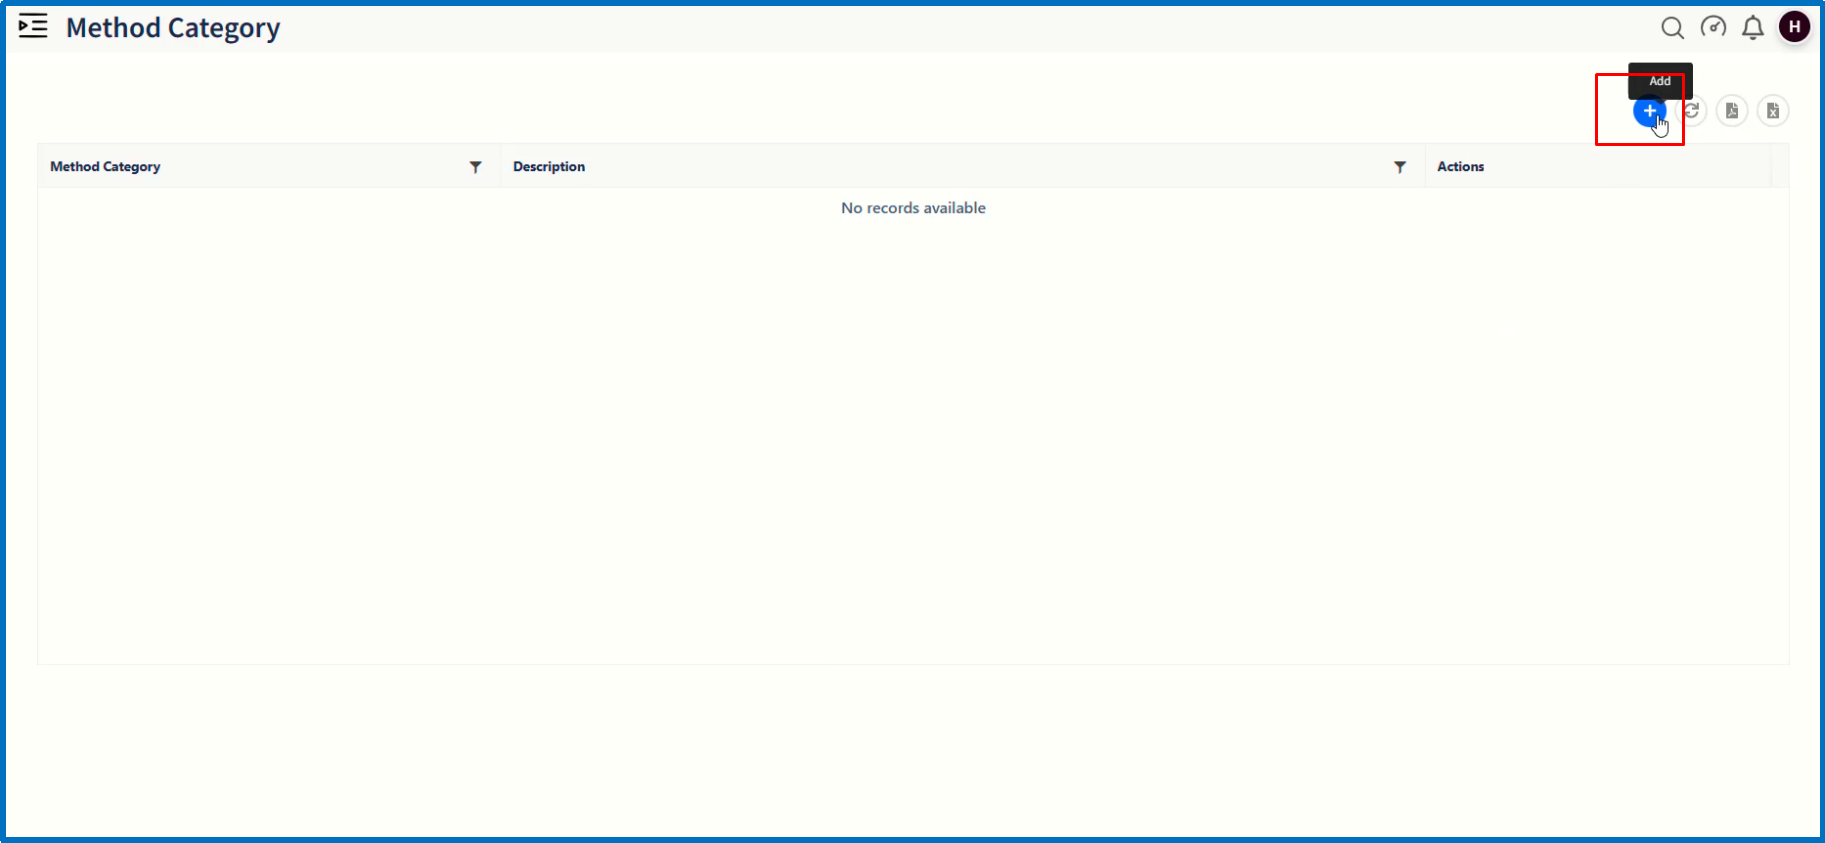
On 'Method Category' page, the list of Method categories already created will be displayed.
Click on '+' icon to create a new method category.
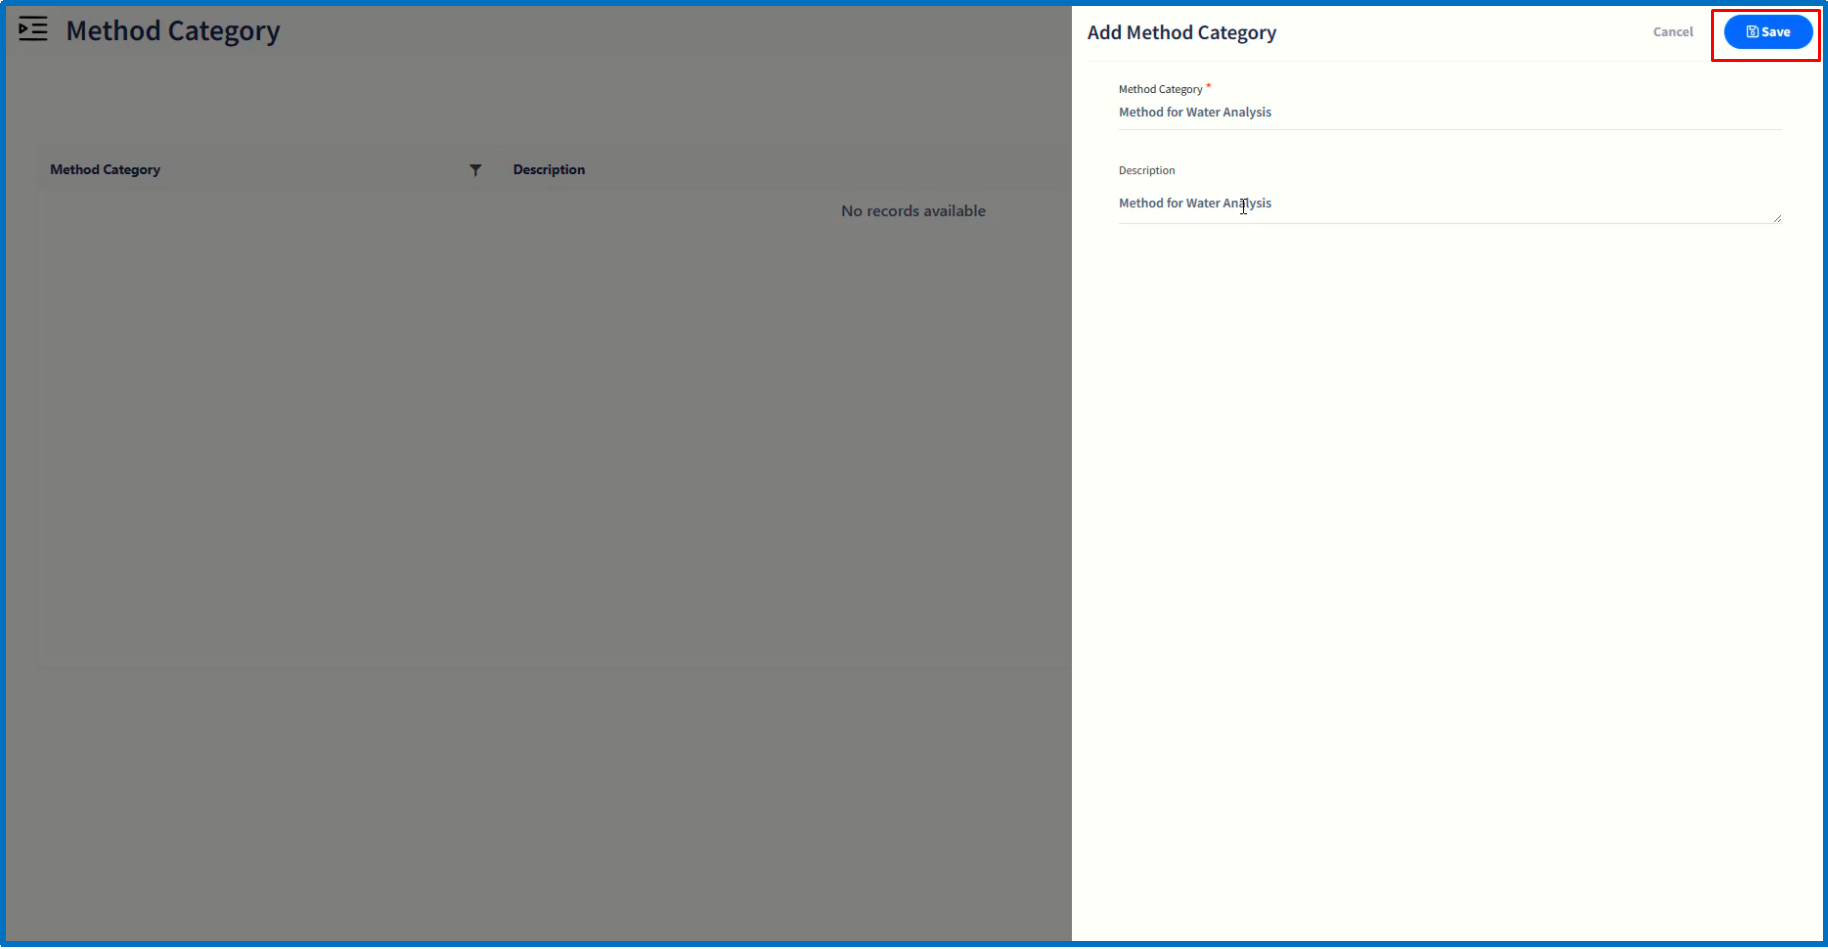
It will open up a dialog window in which enter the values of fields such as Method Category and Description.
Click on 'Save' button to complete creation of method category.
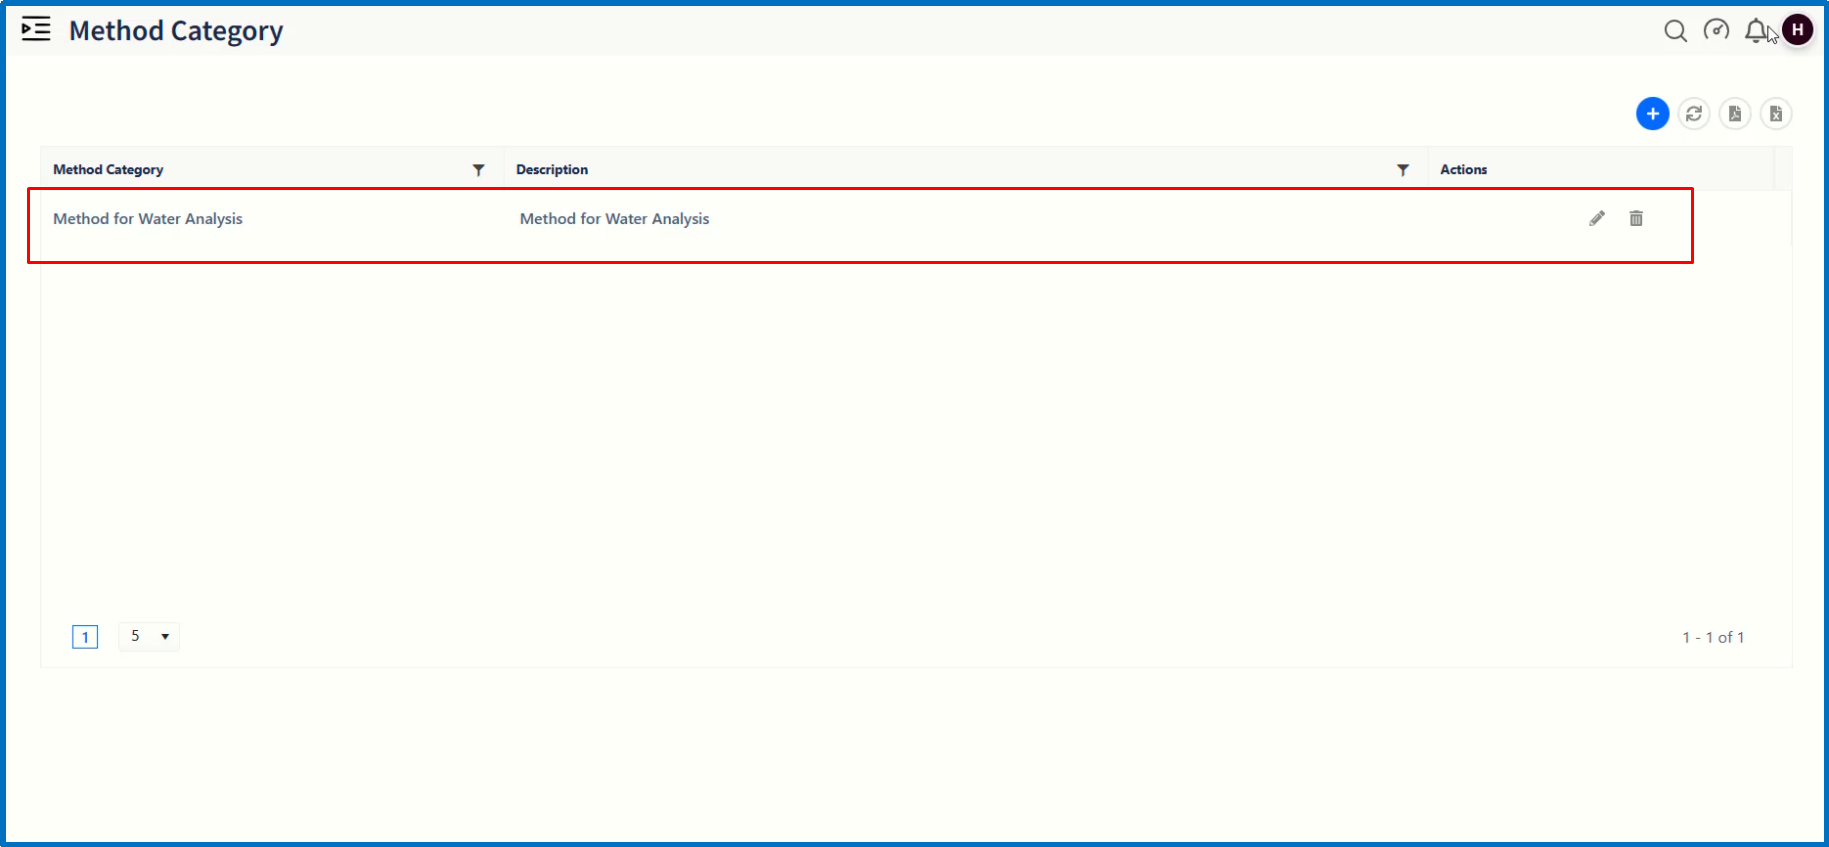
The newly-created method category will get listed on Method Category page.
If required, continue to create more method categories as mentioned above.
Let us move on to create a new method by clicking on 'Method' page item under Test Management submenu.
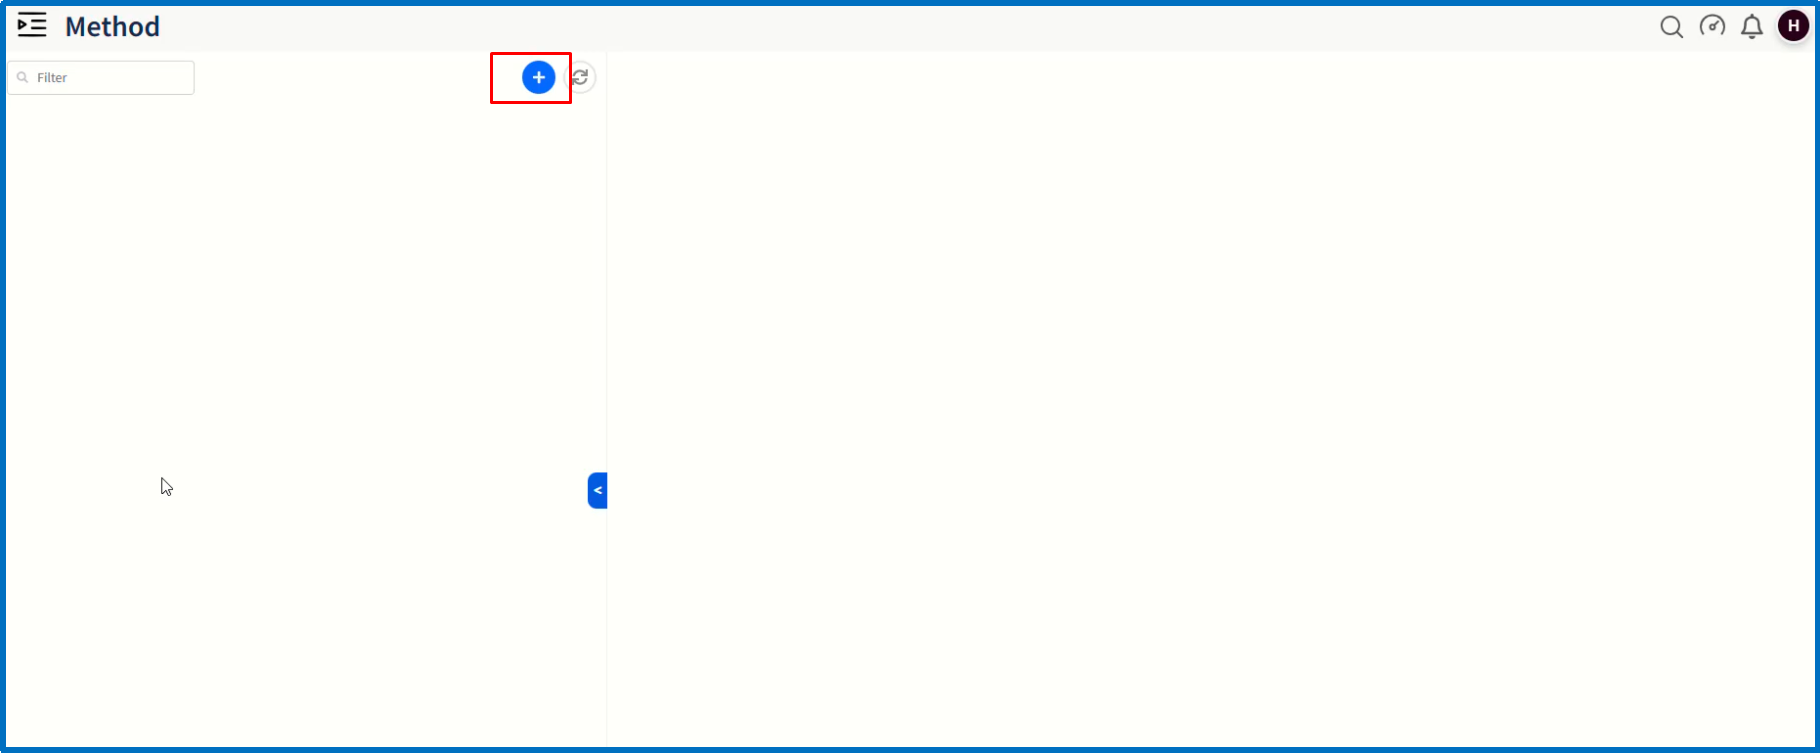
On 'Method' page, the list of Methods already created will be displayed.
Click on '+' icon to create a new method category.
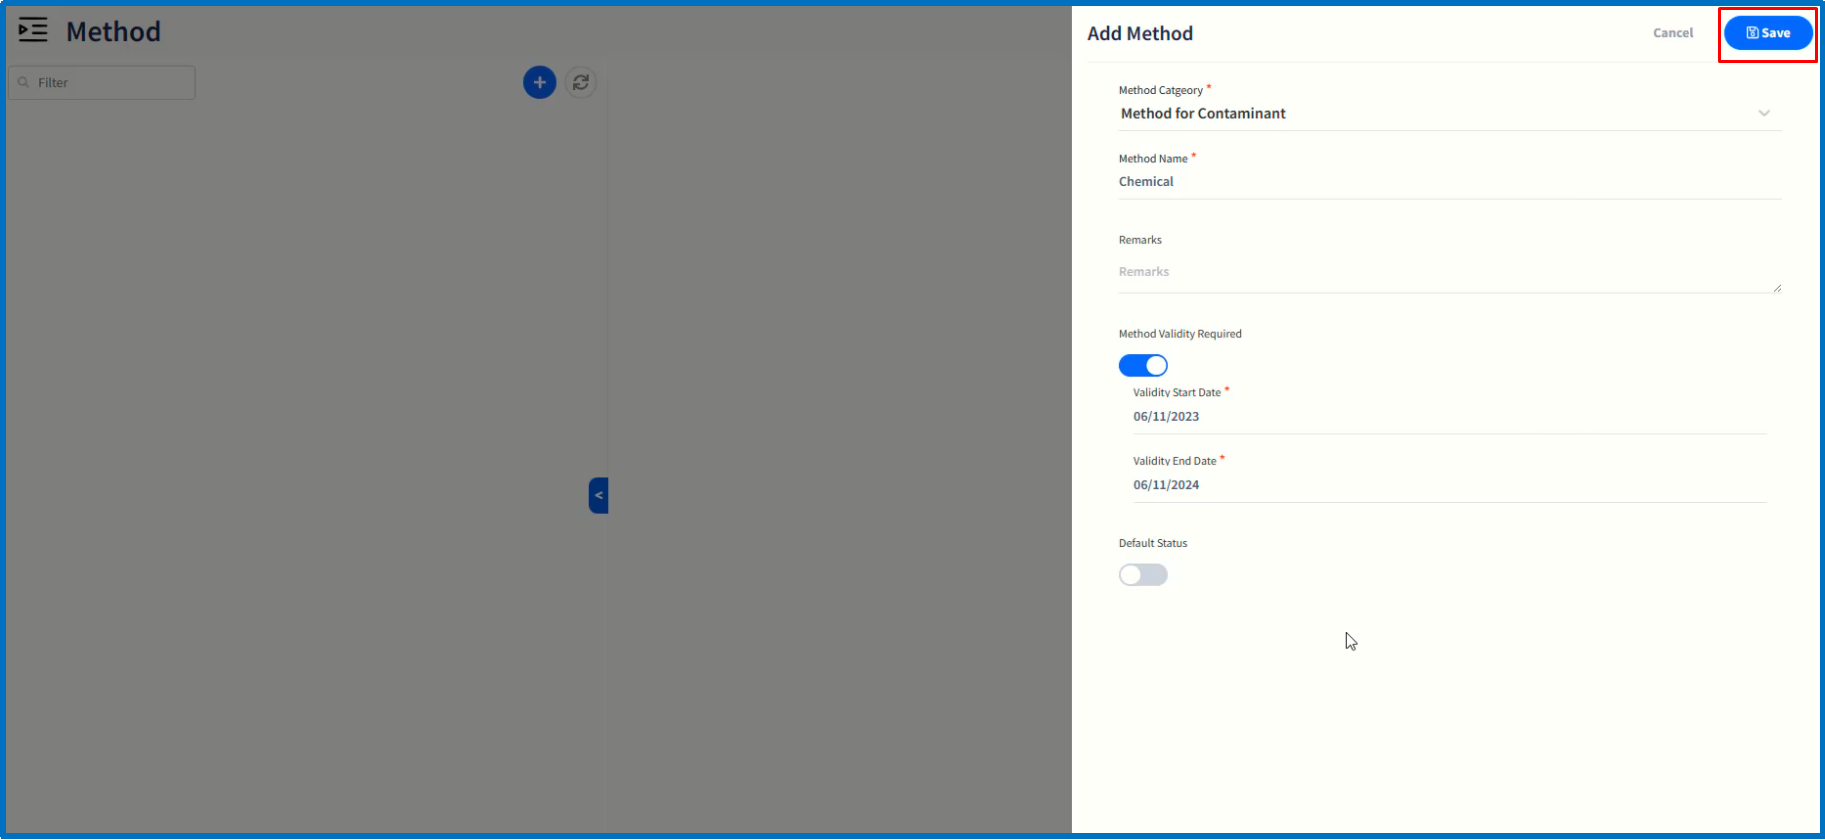
It will open up a dialog window in which enter the values of fields such as Method Category, Method Name and Remarks. Enter valid valid values in the fields. Depending upon the optional requirement of Method Valid, choose the option along with Validity Start and End Dates.
Click on 'Save' button to complete creation of method.
If required, add more methods as mentioned above.
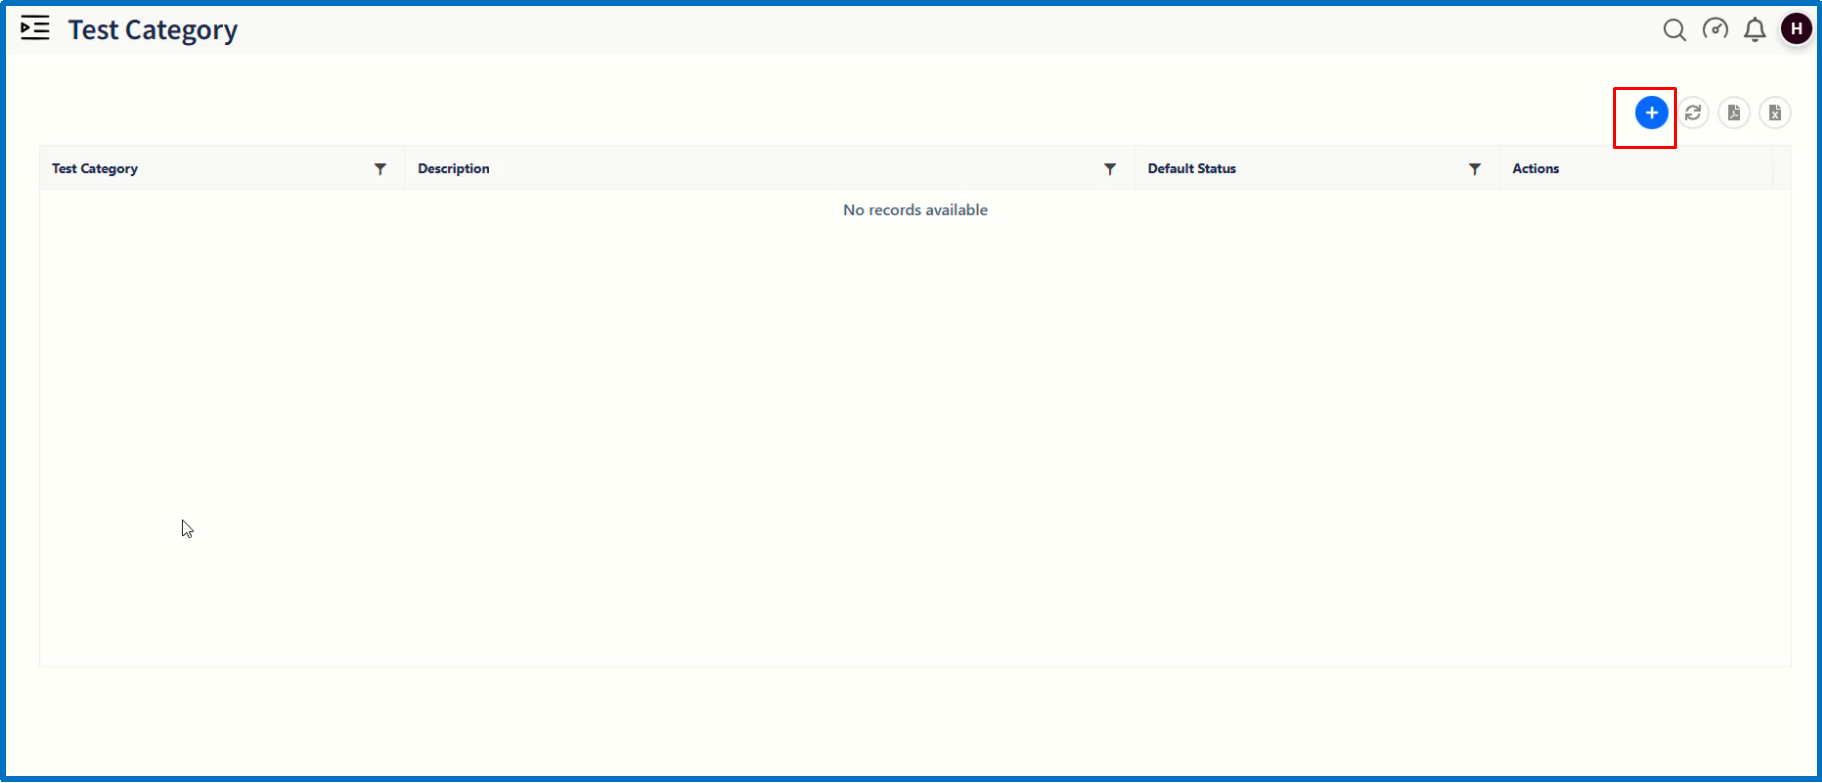
Let us move on to create a new method by clicking on 'Test Category' page item under Test Management submenu.

On 'Test Category' page, the list of Test Categories already created will be displayed.
Click on '+' icon to create a new Test category.
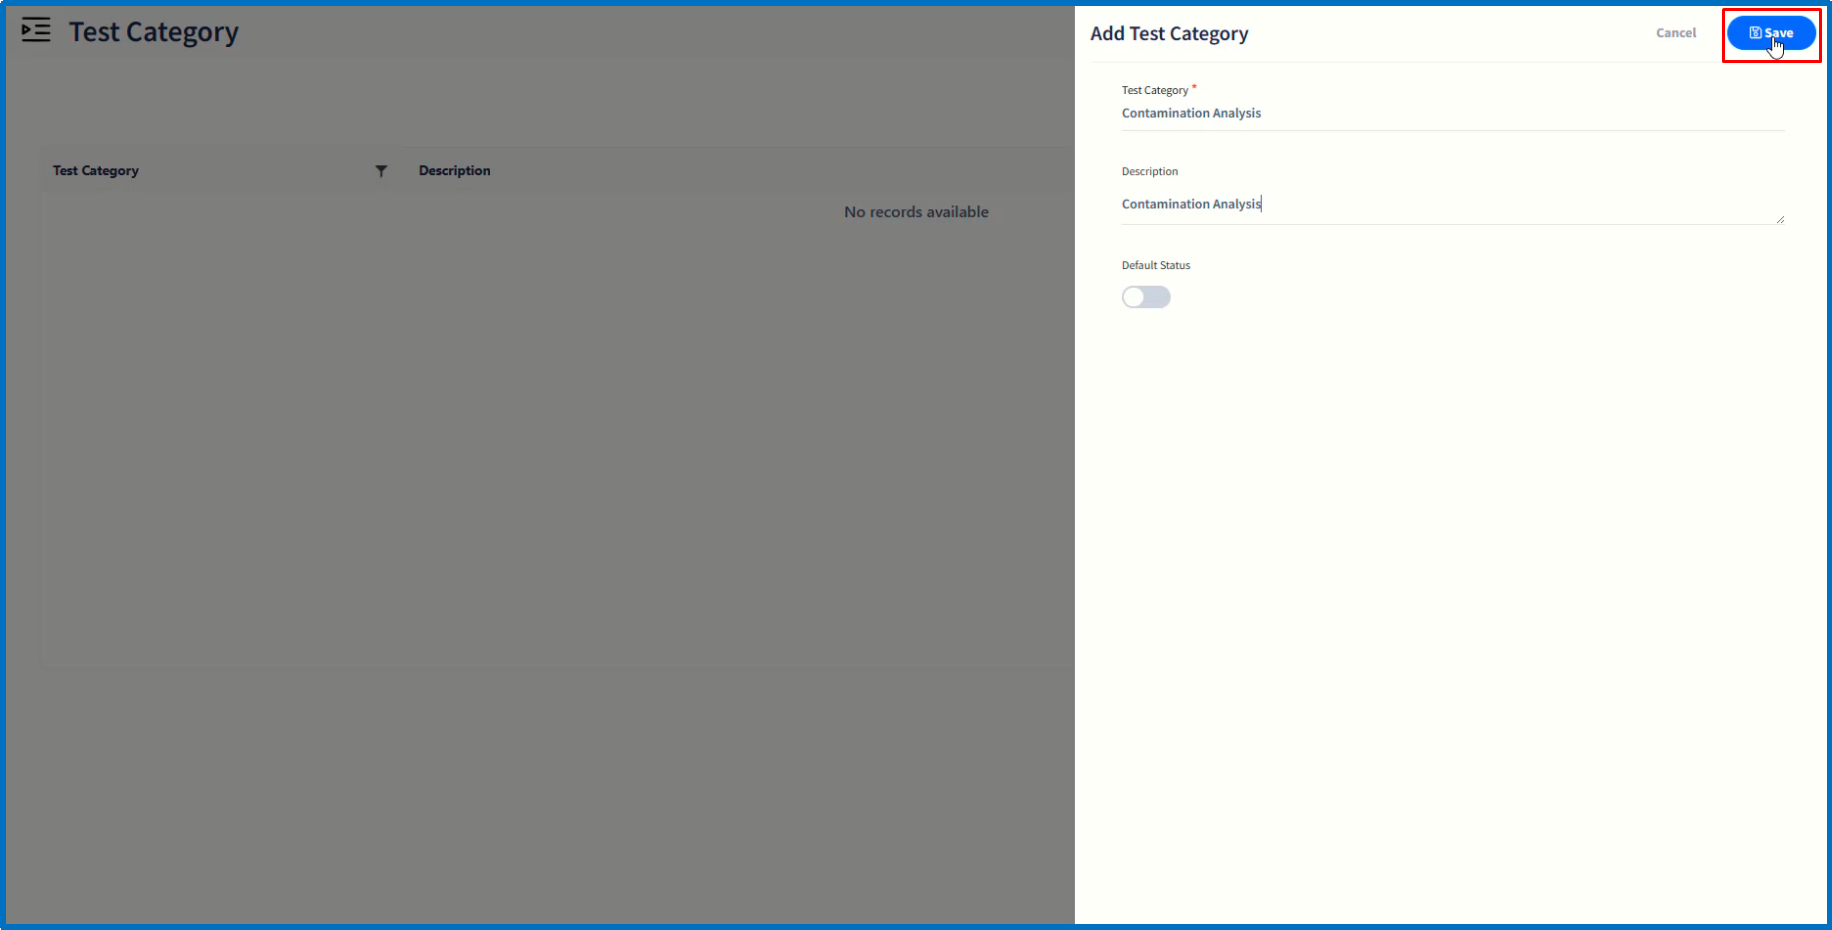
It will open up a dialog window in which enter the values of fields such as Test Category and Description.
Click on 'Save' button to complete creation of Test category.
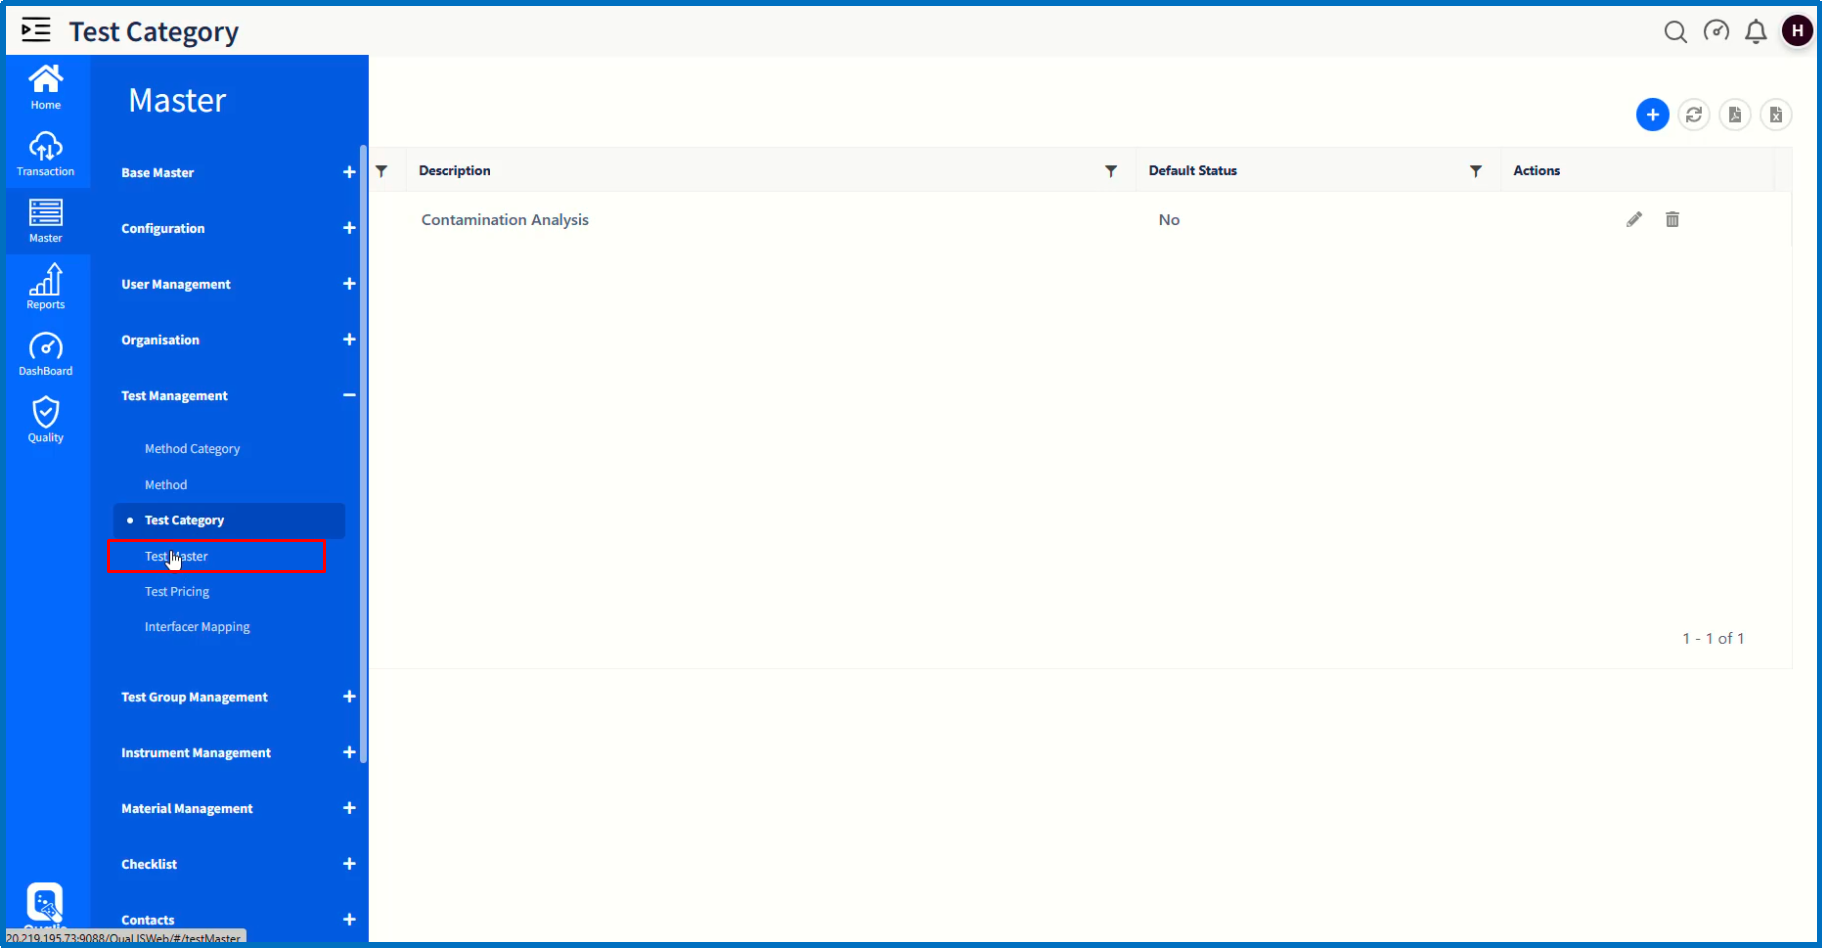
The newly-created Test category will get listed on Test Category page.
Let us move on to create a new Test by clicking on 'Test Master' page item under Test Management submenu.

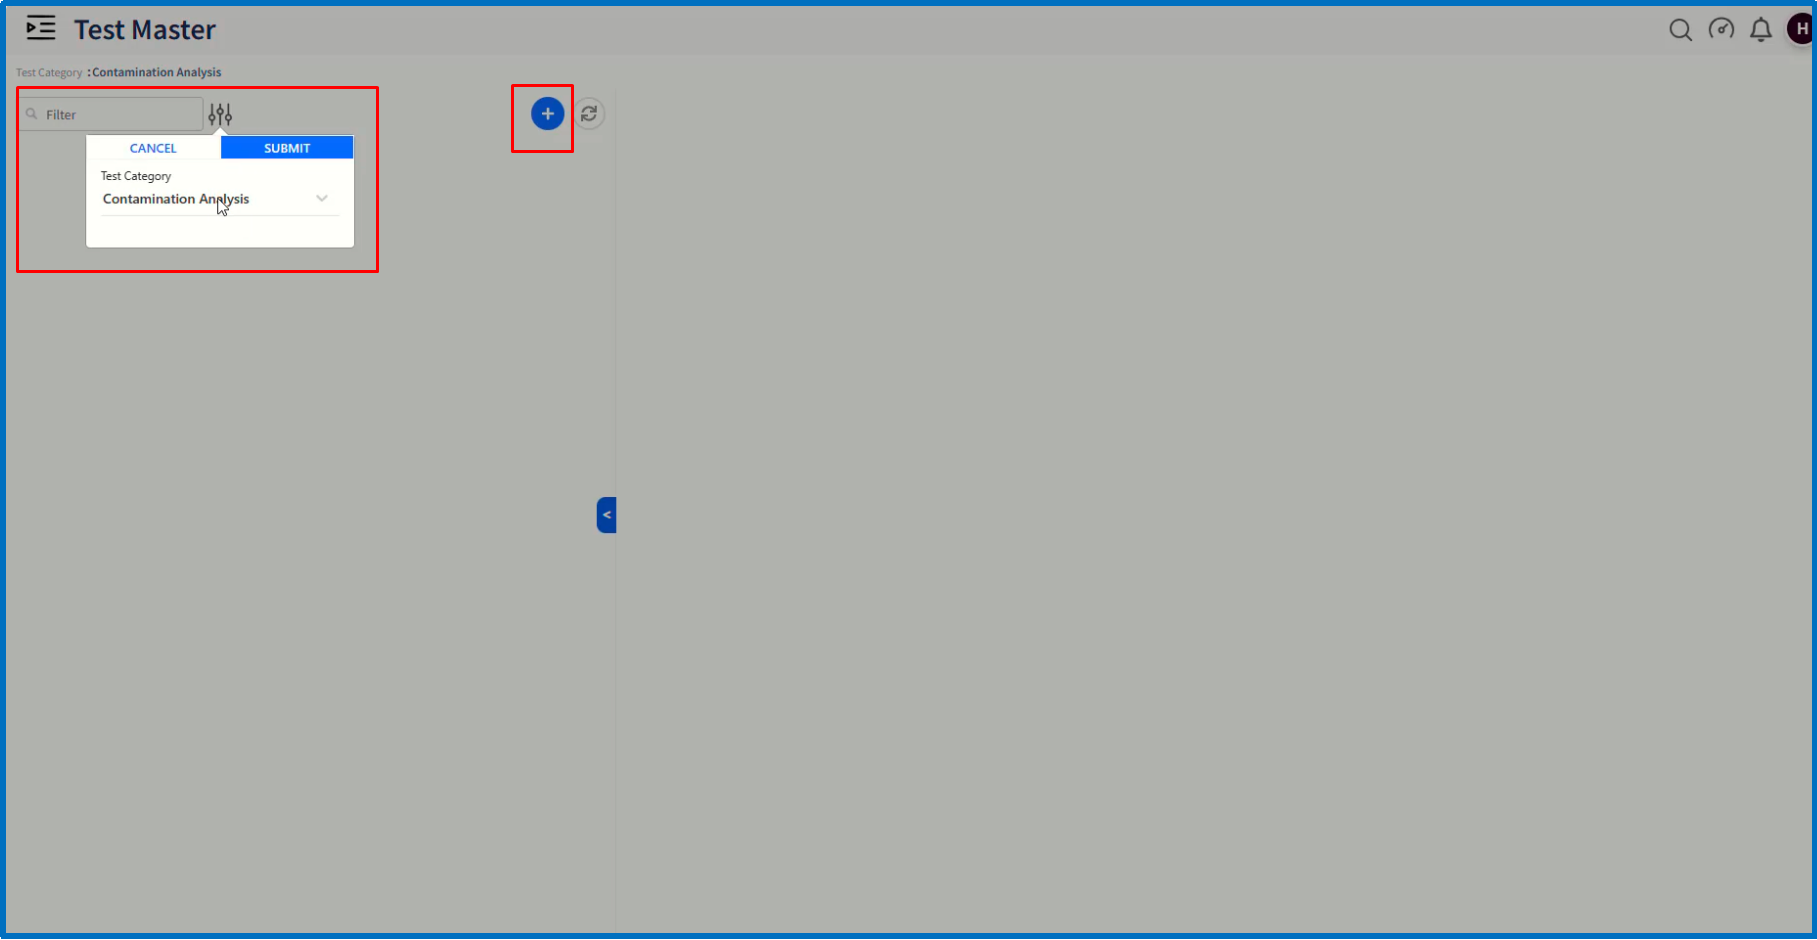
By clicking on 'Filter' icon, choose the appropriate Test Category.
Click on '+' icon to create a new Test under the selected Test Category.
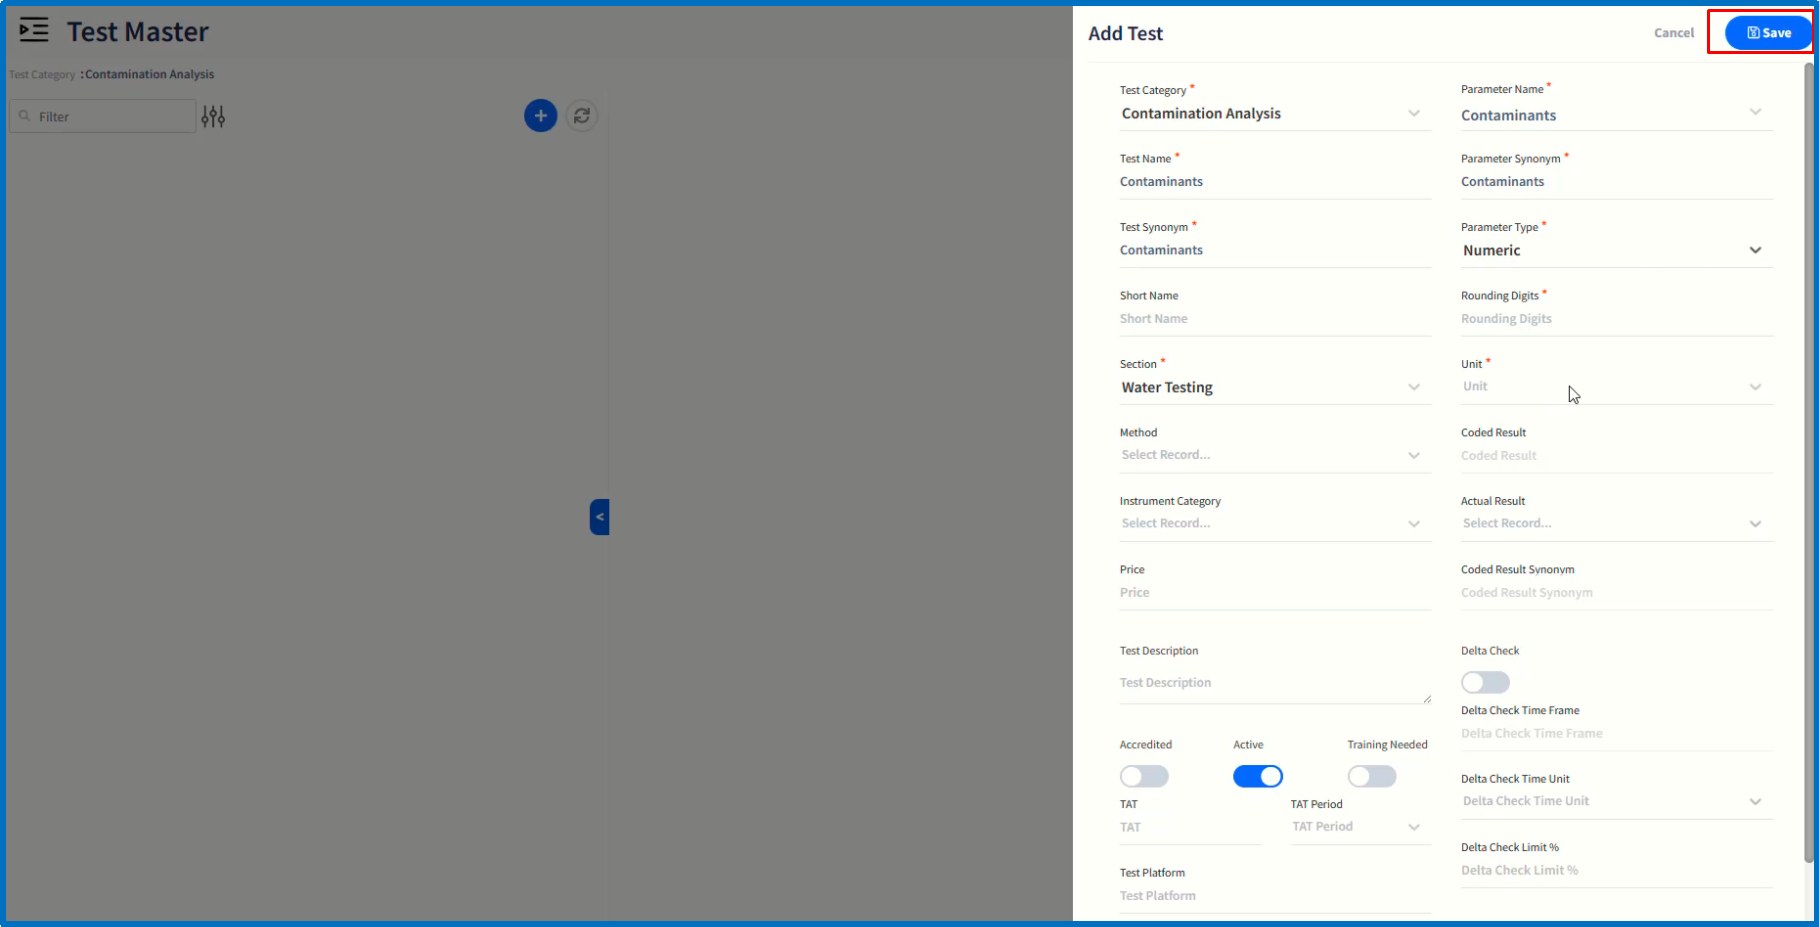
On 'Add Test' dialog window, enter valid appropriate values for the fields.
On completion of entry of fields, click on 'Save' button.
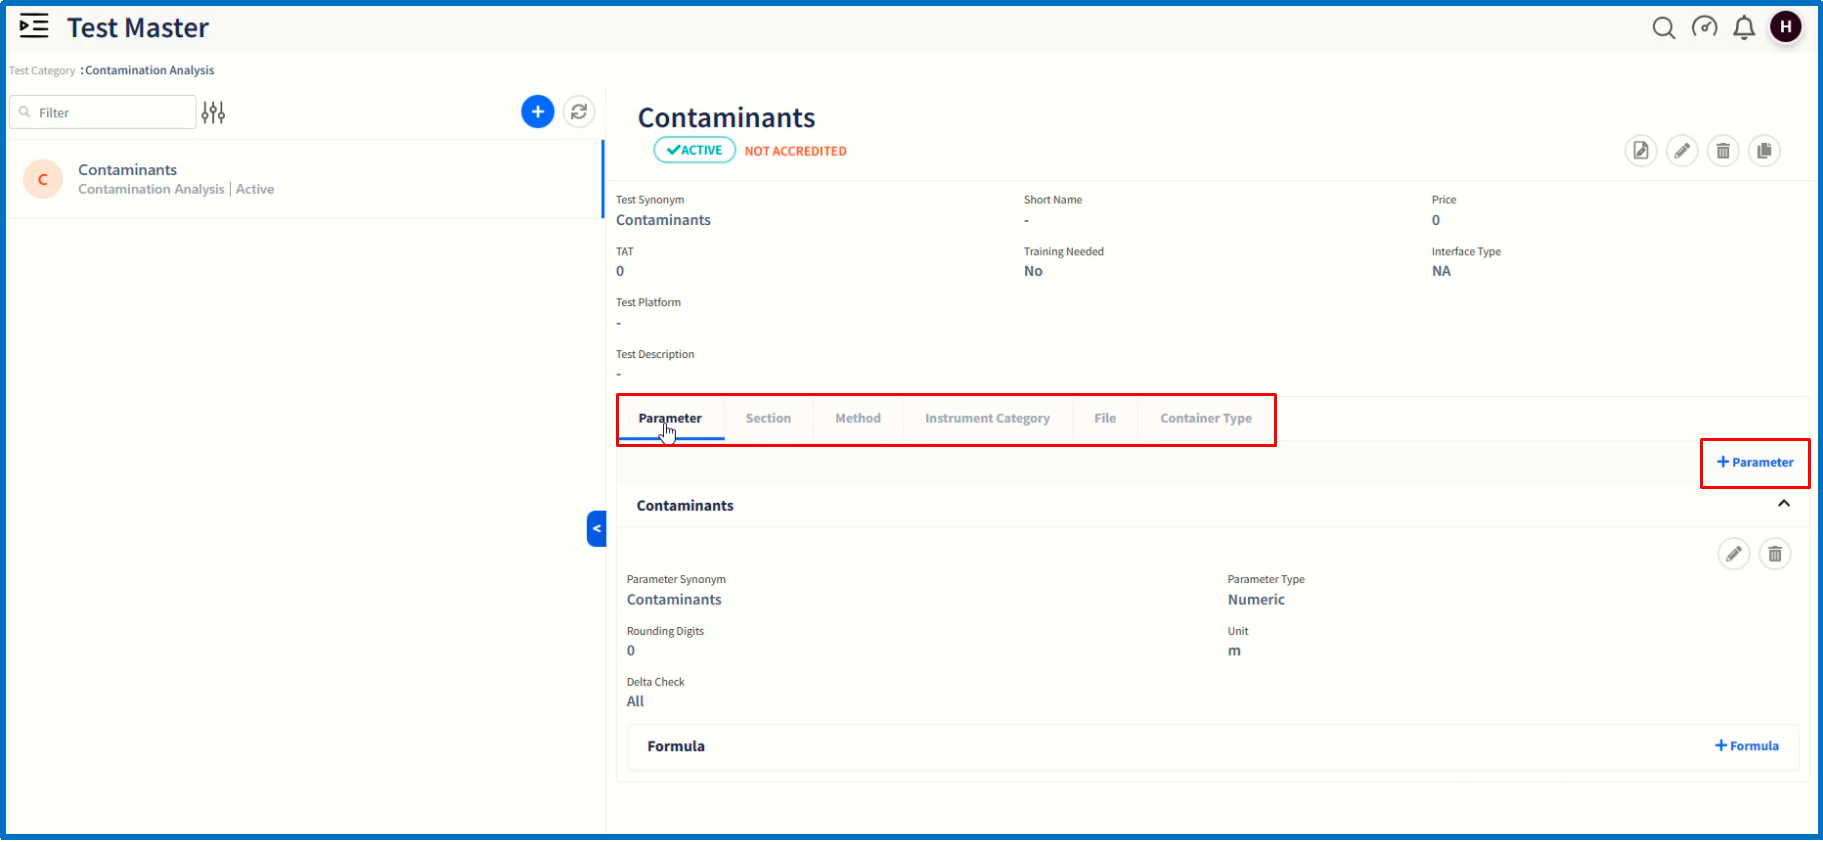
The newly created Test will be displayed on 'Test Master' page on the right hand panel.
This has various subtabs for configuring additional fields.
In order to add parameter, click on 'Parameter' subtab followed by clicking on '+' ' Parameter' link.
In 'Add Parameter' popup dialog window, enter the valid appropriate values for various fields.
If you want to add additional parameters, click on 'Save and Continue' button.
Repeat the above mentioned procedure to add more parameters.
After entering all the required parameters, click on 'Save' button to complete this task.
By clicking additional subtabs such as Section, Method, Instrument Category, File and Container type, corresponding values can be configured and mapped to this Test.
After completing configuration of Test Management Master, log out of the application to navigate to login page.
